

If you’ve ever roasted a turkey and wondered what to do with those rich, flavorful drippings, you’re in for a treat. I’m going to share my go-to Easy Turkey Gravy From Drippings Recipe that turns those golden juices into the sauciest, most comforting gravy you’ll ever taste. It’s super straightforward, uses just a handful of ingredients, and tastes like magic on your plate. Stick around, and I’ll walk you through every step so you can impress your guests (or just yourself) with gravy that’s nothing short of spectacular.
Why You’ll Love This Recipe
- Simple Ingredients: You only need a few pantry staples plus those golden turkey drippings for big flavor.
- Maximize Flavor: Using the drippings means you’re capturing all the savory goodness from roasting your turkey.
- Failsafe Method: I’ll share tips so your gravy is always smooth and perfectly thickened—no lumps, no stress.
- Family Favorite: This recipe has become a staple in my house, and my family always requests seconds!

Ingredients You’ll Need
The magic of this Easy Turkey Gravy From Drippings Recipe lies in the balance of rich turkey juices, buttery roux, and just the right seasoning. Here’s what you’ll grab at the store or pull from your pantry to get started.
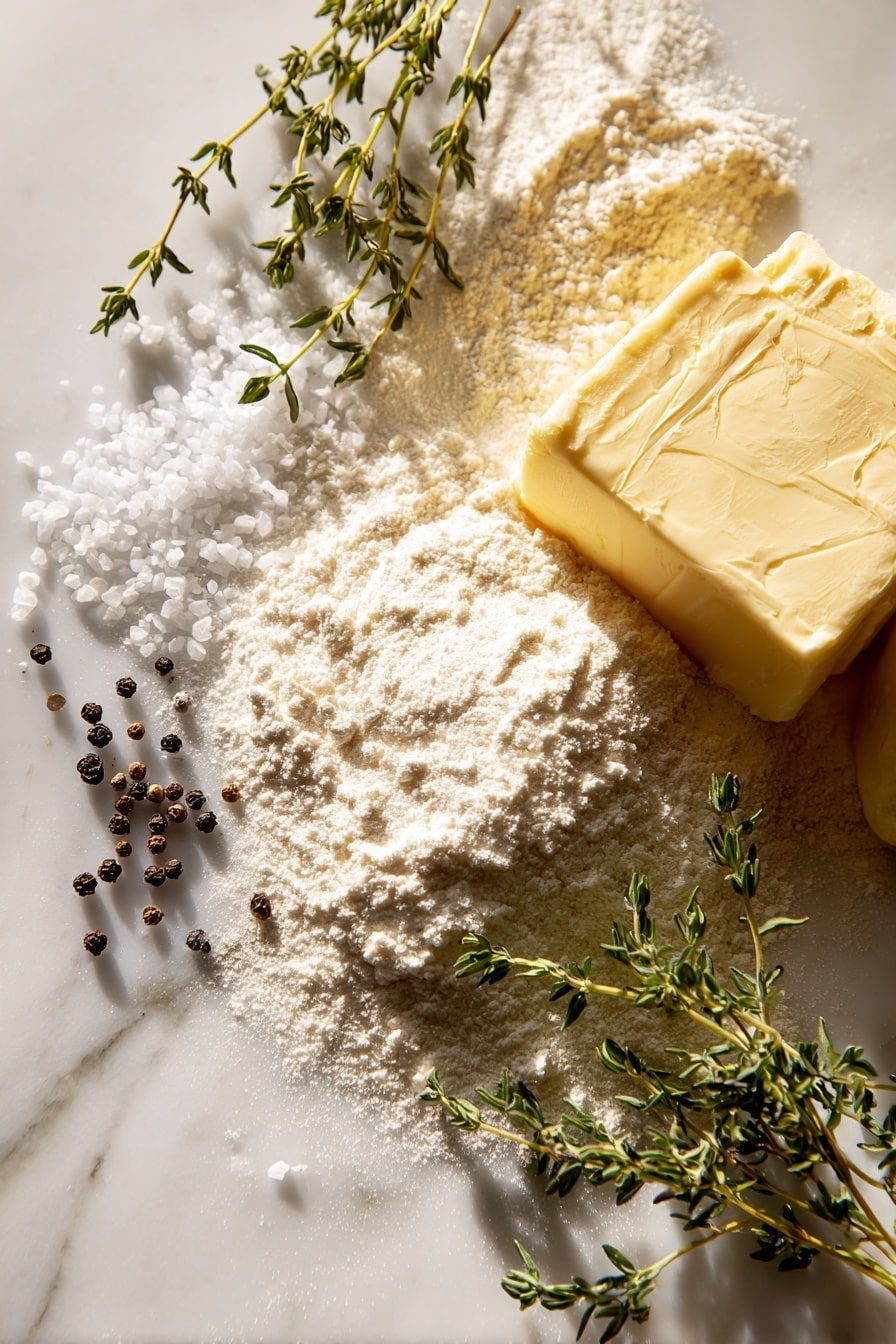
- Turkey drippings: The star of the show! These come from your roasted turkey and offer rich flavor, so make sure to use those precious juices.
- Salted butter: Butter helps build the roux, which thickens the gravy while adding a velvety taste. You can use unsalted if you want more control over saltiness.
- All-purpose flour: This is the thickener. If you need gluten-free, a 1:1 gluten-free flour blend works like a charm.
- Salt and pepper: Seasoning to taste is key. Always taste at the end, because the drippings already hold some saltiness.
Variations
One of the things I love about this Easy Turkey Gravy From Drippings Recipe is how easy it is to personalize. Add or swap flavors based on your mood or what you have on hand—make it your own!
- Herb-infused gravy: I’ve stirred in fresh thyme or sage while cooking the roux to echo those classic Thanksgiving flavors—it adds a lovely aroma and subtle complexity.
- Spicy twist: For some heat, a pinch of cayenne or smoked paprika works wonders. My family actually got hooked on this version one holiday!
- Gluten-free option: Swapping the flour for a gluten-free blend keeps the texture just right without missing out on any flavor.
How to Make Easy Turkey Gravy From Drippings Recipe
Step 1: Collect and Strain Those Precious Drippings
Once your turkey has finished roasting, carefully pour the drippings into a bowl through a fine mesh strainer. Here’s a key trick: If you see a layer of liquid fat floating on top, use a turkey baster to remove it and discard—that fat can make the gravy greasy if left in. This simple step always helps me avoid a greasy or overly heavy gravy.
Step 2: Make a Smooth Roux
In a medium saucepan, melt ¼ cup of salted butter over medium heat. Once melted, whisk in ¼ cup of all-purpose flour. Keep whisking steadily—this prevents lumps and helps the mixture cook evenly. Cook the roux for about one minute, just until it thickens and starts to turn a pale golden brown. This gives your gravy a fantastic nutty depth.
Step 3: Whisk in the Drippings and Simmer
Slowly pour the strained turkey drippings into the roux while whisking constantly. This steady whisking ensures a silky, lump-free gravy. Bring the mixture to medium-high heat and stir frequently as it begins to thicken, which usually takes 5-10 minutes. You’ll know it’s ready when it coats the back of a spoon.
Step 4: Taste and Season
After your gravy has thickened, taste it carefully. Depending on how salty your turkey drippings are, you may not need much additional salt. Add salt and pepper little by little until it’s just right for your palate. I always recommend seasoning gently because you can always add more, but you can’t take it away!
Step 5: Serve Warm and Enjoy!
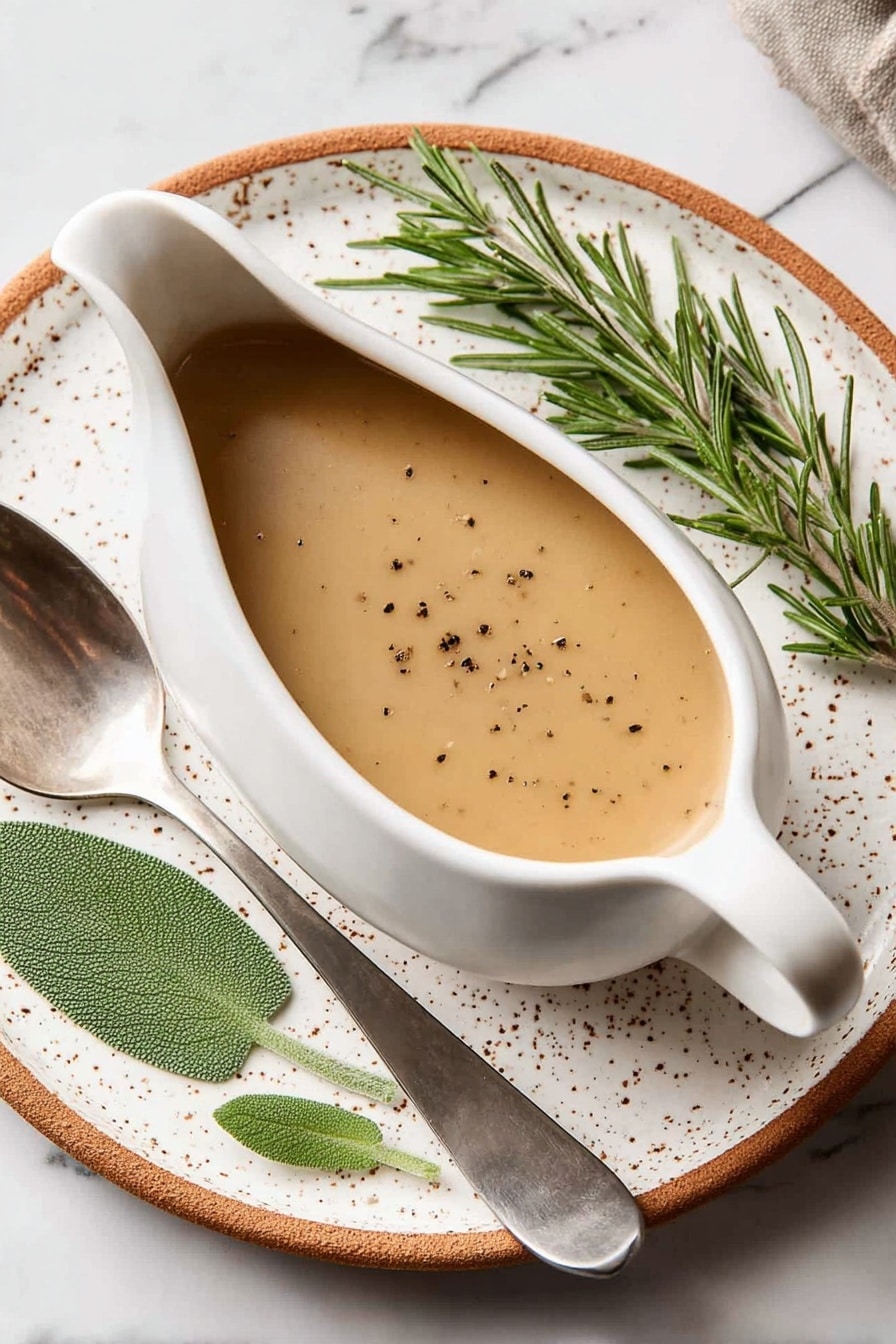
Transfer your gorgeous turkey gravy to a gravy boat or serving bowl and get ready for compliments. The rich, smooth texture and deep flavor always get raves at my holiday table.
Pro Tips for Making Easy Turkey Gravy From Drippings Recipe
- Remove Fat Completely: Removing the excess fat using a baster before making your gravy ensures it’s silky, not greasy—this is a game changer I discovered after a few messy tries.
- Whisk Without Stopping: Constant whisking when adding drippings keeps lumps at bay, making the texture beautifully smooth every time.
- Cook the Roux Just Right: Don’t rush the roux step; letting it gently brown adds a depth of flavor that brings the gravy to life.
- Adjust Seasoning Last: Because drippings can be salty, I always season lightly at first and adjust after tasting—the safest path to perfect flavor.
How to Serve Easy Turkey Gravy From Drippings Recipe
Garnishes
I like to top my turkey gravy with a sprinkle of freshly chopped parsley or thyme—it adds a pop of color and a fresh herbal note that really brightens things up. Sometimes, I add a little cracked black pepper on top for visual appeal and a touch of spice.
Side Dishes
This gravy is fantastic poured over mashed potatoes, roasted vegetables, and of course, slices of juicy turkey. I’ve also drizzled it on stuffing, and my family goes crazy for that combo every time.
Creative Ways to Present
For a special occasion, try serving the gravy in a rustic ceramic gravy boat with a small side dish of herbed croutons. I’ve even warmed mini ceramic ramekins with a spout for individual servings—it makes the meal feel extra fancy and thoughtful.
Make Ahead and Storage
Storing Leftovers
Leftover gravy stores beautifully in a glass jar or airtight container in the fridge for up to one week. I’ve found that a jar helps it cool evenly and keeps it fresher, ready for a delicious second round.
Freezing
If you want to freeze turkey gravy, just pour cooled gravy into a freezer-safe container, leaving some space for expansion. It freezes well and thaws smoothly without losing taste or texture, making it perfect for planning ahead.
Reheating
Here’s a little secret: this gravy thickens a lot when cold but melts right back to silky smooth when reheated. I like to reheat it gently on the stovetop over low heat, stirring often. Or, if reheating with leftovers, just pour some gravy on top of the food and warm everything together—it’s that easy.
FAQs
-
Can I use store-bought turkey stock instead of drippings?
You can, but the flavor won’t be quite as rich or authentic. Turkey drippings carry natural turkey fat and roasted veggies flavor, which is what makes this gravy stand out. If you don’t have drippings, a good quality stock plus butter makes a passable gravy but try to get those drippings whenever you can!
-
Why does my gravy get lumpy?
Lumps usually happen if you add the drippings too quickly or stop whisking. Whisk continuously while slowly pouring in the drippings, and make sure the roux is smooth before adding liquid. Also, cooking the roux for at least a minute helps prevent lumps.
-
How can I make my gravy thicker?
If your gravy is too thin, whisk in a little more flour mixed with cold water (called a slurry) and simmer until it thickens. Just be cautious—add slowly so it doesn’t get too thick!
-
Can I prepare this gravy in advance?
Absolutely! Make the gravy, cool it completely, and store it in the fridge. Reheat gently when ready to serve. It keeps well and actually tastes even better after the flavors meld overnight.
Final Thoughts
This Easy Turkey Gravy From Drippings Recipe is one of those comforting classics that never gets old. I remember the first time I made this gravy—it was a revelation how those simple steps transformed turkey drippings into the rich, flavorful sauce that made the meal unforgettable. Whether it’s a festive holiday or a cozy family dinner, this recipe always brings smiles at the table. So next time you roast a turkey, don’t skip this gravy—your taste buds (and friends!) will thank you.
Print
Easy Turkey Gravy From Drippings Recipe
- Prep Time: 5 minutes
- Cook Time: 20 minutes
- Total Time: 25 minutes
- Yield: 24 servings
- Category: Sauce/Gravy
- Method: Stovetop
- Cuisine: American
Description
This easy turkey gravy recipe uses flavorful turkey drippings combined with a classic roux base to create a rich, smooth gravy perfect for Thanksgiving or any roasted turkey meal. The gravy is thickened with butter and all-purpose flour, seasoned simply with salt and pepper, and can be easily reheated for leftovers.
Ingredients
Turkey Gravy Ingredients
- 4 cups turkey drippings*
- ¼ cup salted butter
- ¼ cup all-purpose flour
- Salt and pepper to taste
Instructions
- Strain the drippings: Strain the turkey drippings through a fine metal mesh strainer into a bowl. Use a turkey baster to remove and discard any layer of liquid fat on top to prevent greasy gravy.
- Melt butter: In a 4-quart saucepan, melt the salted butter over medium heat.
- Make roux: Add the all-purpose flour to the melted butter, whisking to combine thoroughly. Cook for about 1 minute until the roux thickens and just begins to brown, stirring constantly to avoid burning.
- Add turkey drippings: Slowly pour in the strained turkey drippings while whisking continuously to prevent lumps from forming.
- Thicken gravy: Increase heat to medium-high and cook the mixture, stirring frequently, until the gravy thickens, about 5 to 10 minutes.
- Season and serve: Taste the gravy and season with salt and pepper as desired. Pour into a gravy boat and serve immediately.
Notes
- Ingredient substitutions: Use unsalted butter if preferred; for gluten-free gravy, substitute all-purpose flour with a 1:1 gluten-free flour blend.
- Store: Store leftover gravy in an airtight container (preferably a glass jar with a lid) in the refrigerator for up to 1 week.
- Reheat: Reheat gravy by microwaving directly on leftovers or warming in a saucepan over low heat. Chilled gravy solidifies but will liquefy again when reheated.
- Use aromatics when roasting turkey: Including aromatics during roasting helps achieve flavorful drippings for best gravy results.
Nutrition
- Serving Size: 1/4 cup
- Calories: 70
- Sugar: 0g
- Sodium: 150mg
- Fat: 5g
- Saturated Fat: 3g
- Unsaturated Fat: 2g
- Trans Fat: 0g
- Carbohydrates: 5g
- Fiber: 0g
- Protein: 1g
- Cholesterol: 15mg


