If you’re looking for a snack or side dish that’s both comforting and a little bit fancy, you’ve got to try this Baked Butternut Squash Fries Recipe. I absolutely love how these fries come out crispy on the outside but tender and naturally sweet inside—plus, baking them means you can enjoy them guilt-free without the mess and calories of frying. Whether you’re craving a crowd-pleaser for game day or just a cozy treat to enjoy with dinner, this recipe hits all the right notes and is super easy to pull together.
Why You’ll Love This Recipe
- Crunchy Outside, Soft Inside: The cornstarch coating helps these fries crisp up beautifully without frying.
- Simple Ingredients: You likely have everything at home, and the flavors come together quickly and naturally.
- Healthier Alternative: Baking instead of frying keeps calories and fat lower, but with all the satisfying texture.
- Versatile and Customizable: You can play with herbs and spices to suit your taste or dietary needs.
Ingredients You’ll Need
When I first experimented with baked butternut squash fries, I realized that the magic lies in choosing the right squash and some clever seasoning. The butternut’s natural sweetness pairs perfectly with savory spices, and the cornstarch trick makes all the difference for that irresistible crispiness.
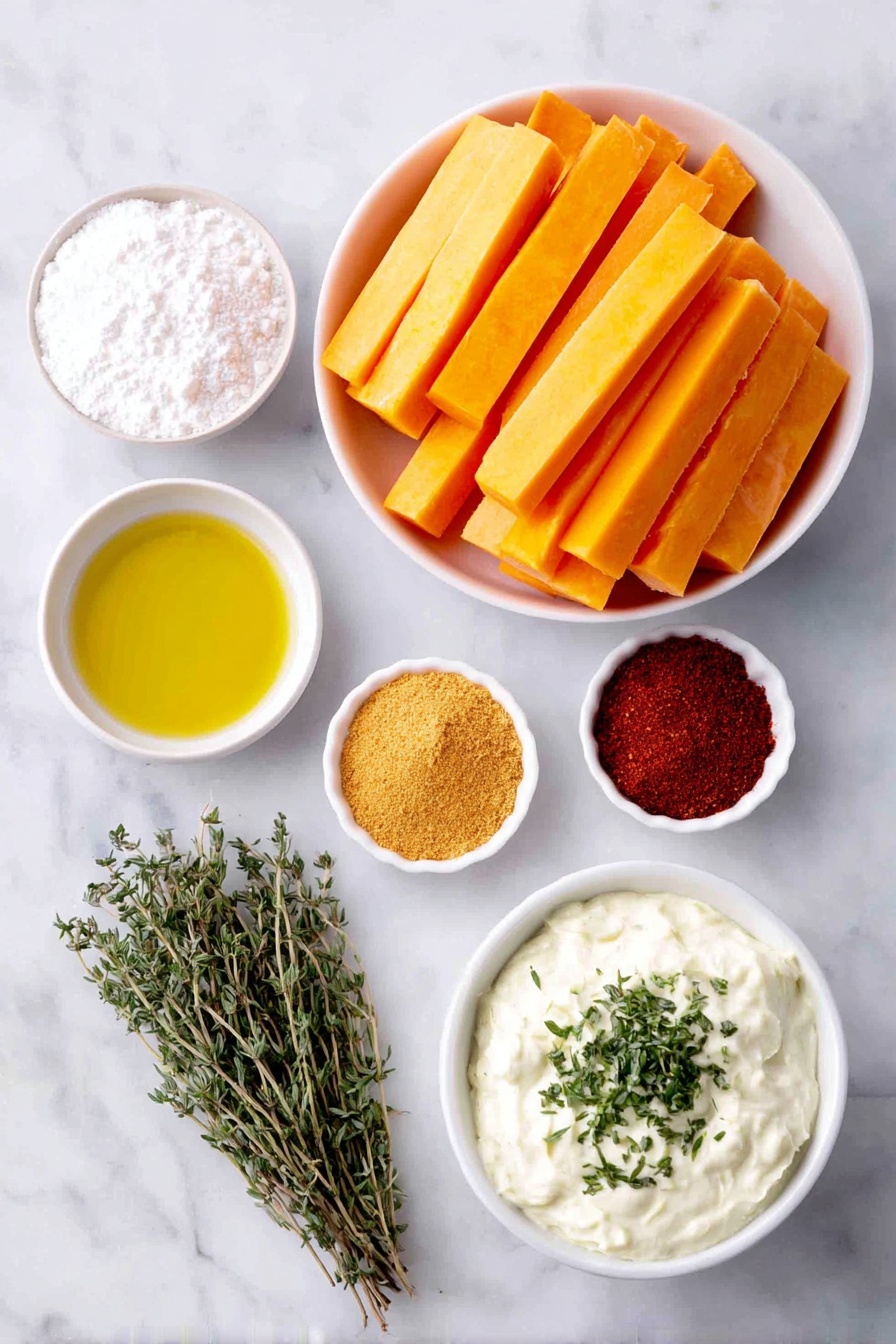
- Butternut squash: Use the long neck part only for perfect fries—it’s firm and less watery.
- Cornstarch: This coats the fries and helps achieve that golden crisp everyone loves.
- Olive oil: Adds flavor and keeps the edges from drying out.
- Garlic powder: A subtle punch of savory that complements the squash’s sweetness without overwhelming it.
- Paprika: Adds a mild smoky warmth that makes these fries feel special.
- Dried thyme: A lovely herbaceous note that’s subtle but elevates the whole dish.
- Salt and pepper: Essential seasonings to balance and enhance flavors.
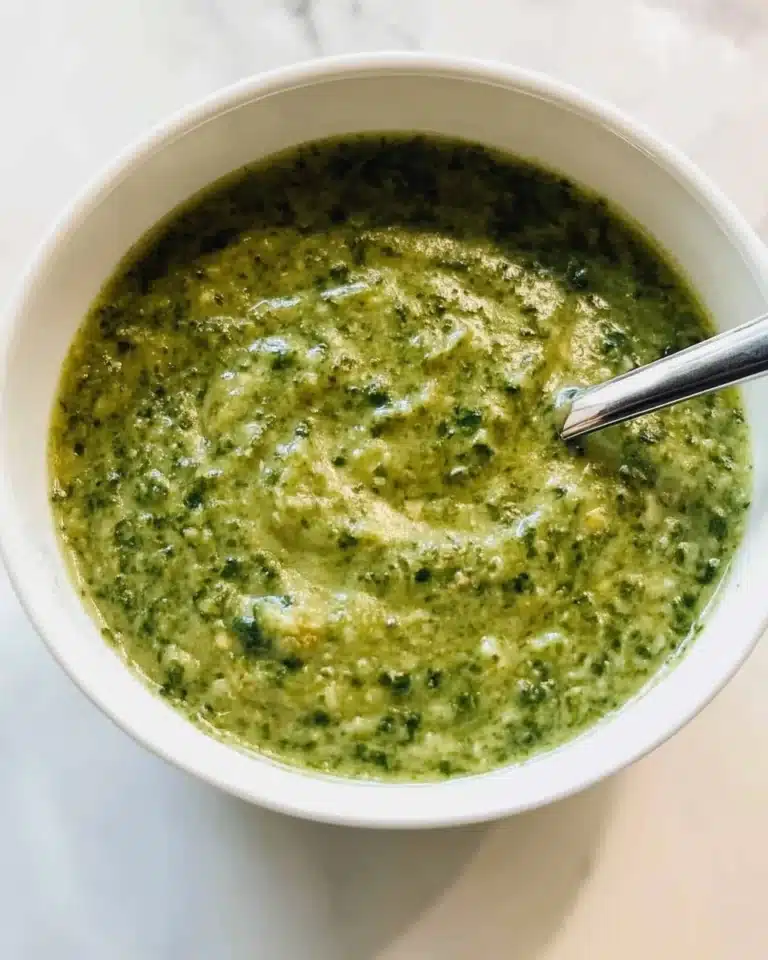
- Mayo & herbs for dipping: My go-to dip to add a creamy, fresh touch that brings the fries to life.
Variations
I love playing around with the seasoning on these baked butternut squash fries. It’s such an easy recipe to tweak for your personal taste, dietary preferences, or even the seasons.
- Spicy Kick: Once, I tossed the fries with a pinch of cayenne and smoked chili powder, and my family couldn’t get enough of the subtle heat paired with the squash’s sweetness.
- Herb Swap: If you don’t have thyme, rosemary or sage work beautifully too—try fresh if you can for an extra burst of flavor.
- Gluten-Free Friendly: Stick with cornstarch, but if you prefer, arrowroot powder also makes a great substitute for that crispy coating.
How to Make Baked Butternut Squash Fries Recipe
Step 1: Prep Your Squash and Oven
First things first—preheat your oven to 425°F and line two large baking sheets with parchment paper. I highly recommend using parchment since it prevents sticking and helps the fries brown evenly. While the oven warms up, peel your butternut squash and cut the long neck part into sticks about the size of regular fries. This part is key because the wide bulb part has a different texture and moisture level, which can make baking uneven.
Step 2: Coat the Fries with Cornstarch
Place your cut butternut squash sticks in a large bowl and pat them dry with a paper towel—this helps the cornstarch stick better. Sprinkle the cornstarch evenly over the squash, and then use your hands to toss and coat each piece well. This step is my favorite trick because it’s what guarantees that crispy exterior we all want. Next, transfer the coated fries to a colander and shake gently to remove any excess cornstarch since too much can make things gummy.
Step 3: Season and Oil the Fries
Return the fries to your bowl, then drizzle them with olive oil and sprinkle on garlic powder, paprika, dried thyme, salt, and pepper. Toss everything together until the fries are fully coated. This even seasoning means every bite is flavorful without needing extra salt later—though you can always adjust after baking if you want.
Step 4: Arrange and Bake
Spread your fries out in a single layer on the parchment-lined baking sheets—you’ll want to avoid overcrowding to ensure they get nice and crispy rather than steaming. Bake for 30-35 minutes, flipping once about halfway through. Keep an eye on them toward the end so they don’t burn! When they’re golden and tender, pull them out and let them cool for about 5-10 minutes. This little resting period helps them crisp up even more.
Pro Tips for Making Baked Butternut Squash Fries Recipe
- Dry Your Squash Thoroughly: Moisture is the enemy of crispiness—patting the squash dry before coating is a game changer.
- Use Two Baking Sheets: Crowding them slows cooking and keeps the fries from getting crispy, so spread them out.
- Flip Halfway Through: Turning the fries ensures even browning on all sides.
- Be Patient Before Serving: Letting the fries rest after baking lets the coating firm up into that perfect crunch.
How to Serve Baked Butternut Squash Fries Recipe

Garnishes
I love sprinkling a little fresh parsley or finely chopped chives over the fries right before serving. It adds a pop of color and freshness that pairs beautifully with the warm spices. Sometimes, I add a light dusting of Parmesan cheese when I want something a bit more indulgent.
Side Dishes
These fries are a fantastic side to grilled chicken or a juicy burger, and they also make a fabulous snack with a fresh green salad. One of my favorite combos is serving them alongside a simple turkey sandwich with mustard and arugula—it’s a game day tradition in my house now!
Creative Ways to Present
For special occasions, I sometimes serve the baked butternut squash fries in mini paper cones or rustic bowls with a trio of dipping sauces: herbed mayo, spicy ketchup, and a tangy yogurt dip. It’s such a crowd-pleaser and makes the fries feel restaurant-worthy.
Make Ahead and Storage
Storing Leftovers
Whenever I have leftovers, I pop them into an airtight container and keep them in the fridge, where they last for up to 3 days. Just make sure they’re fully cooled before storing to avoid sogginess.
Freezing
I’ve tried freezing baked butternut squash fries, and while it’s doable, I found they lose some of their crispness when thawed. If you plan to freeze, lay them out in a single layer on a baking sheet first, freeze until solid, then transfer to a freezer bag. Reheat in a toaster oven to help restore crunch as much as possible.
Reheating
To bring leftover fries back to life, I recommend reheating them briefly in a preheated oven at 350°F for about 5 minutes or popping them in a toaster oven. Microwaving tends to make them soft and less enjoyable.
FAQs
-
Can I use regular potatoes instead of butternut squash for this recipe?
This recipe is designed specifically for butternut squash, which has a sweeter, softer texture than potatoes. While you can make baked fries with potatoes, they won’t require the cornstarch coating and seasoning used here—plus the baking time and temperature might differ.
-
Why is cornstarch necessary in the Baked Butternut Squash Fries Recipe?
Cornstarch helps draw out excess moisture from the squash and forms a thin, crispy crust during baking that keeps the fries delightfully crisp instead of soggy.
-
How do I know when the fries are done?
The fries are done when they’re golden brown on the edges and tender inside—you can test by inserting a fork or tasting one. Baking for 30-35 minutes and flipping halfway usually nails the timing perfectly.
-
Can I make this recipe vegan?
Absolutely! The fries themselves are naturally vegan, and you can swap the mayo for a plant-based version or use dairy-free dips like guacamole or hummus for serving.
-
What’s the best way to cut the squash for fries?
I recommend peeling the long neck part of the butternut squash and slicing it lengthwise into sticks about ¼ to ½ inch thick. This thickness lets them cook evenly without becoming mushy or too dry.
Final Thoughts
I’ve made this Baked Butternut Squash Fries Recipe countless times, and it never disappoints. What started as a way to enjoy fries in a healthier way became a favorite for my whole family—so much so that it’s become our go-to cozy snack or side for weeknight dinners. You really can’t beat the combination of natural sweetness, savory spices, and that perfect crunch. Give this recipe a try—I promise it’ll become one of your favorite ways to enjoy fall flavors all year round!
Print
Baked Butternut Squash Fries Recipe
- Prep Time: 10 minutes
- Cook Time: 30 minutes
- Total Time: 40 minutes
- Yield: 4 servings
- Category: Side Dish
- Method: Baking
- Cuisine: American
- Diet: Vegetarian
Description
Deliciously crispy and flavorful baked butternut squash fries seasoned with garlic, paprika, and thyme. These healthy, oven-baked fries are an excellent alternative to traditional potato fries and make a perfect snack or side dish served with your favorite dipping sauce.
Ingredients
Butternut Squash Fries
- 1 medium butternut squash, peeled and cut into sticks (use only long neck part)
- 3 tablespoons cornstarch
- 3 tablespoons olive oil
- 1 teaspoon garlic powder
- ½ teaspoon paprika
- ½ teaspoon dried thyme
- Salt and pepper, to taste
Dipping Sauce
- Mayo & herbs for dipping
Instructions
- Preheat Oven: Preheat your oven to 425°F (220°C) and line two large baking sheets with parchment paper to prevent sticking and promote even cooking.
- Prepare Squash Fries: Place the cut butternut squash sticks into a large bowl and pat them dry thoroughly with paper towels to remove excess moisture, which helps in crisping the fries.
- Coat with Cornstarch: Sprinkle the cornstarch evenly over the squash sticks and use your hands to coat each piece completely. Transfer the coated squash to a colander and shake gently to remove any excess cornstarch for a light, crisp coating.
- Season and Toss: Return the squash fries to the bowl and add olive oil, garlic powder, paprika, dried thyme, salt, and pepper. Toss everything together until all pieces are evenly coated with oil and spices.
- Arrange on Baking Sheets: Spread the fries out in a single layer on the prepared baking sheets, ensuring they are not overcrowded to allow for even baking and crisping.
- Bake the Fries: Place the trays in the preheated oven and bake for 30-35 minutes, flipping the fries halfway through the cooking time to ensure all sides become golden and crisp.
- Cool and Serve: Once baked, remove the fries from the oven and let them cool for 5-10 minutes to firm up. Serve warm with mayo and herb dipping sauce for a delicious snack or side dish.
Notes
- Storage: Store any leftovers in an airtight container in the refrigerator. To reheat and maintain crispness, warm them in the oven at 350°F (175°C) for 5 minutes or use a toaster oven.
- Substitutes: For variation, you can substitute cornstarch with flour if needed. Feel free to experiment with different dried herbs to customize the flavor.
Nutrition
- Serving Size: 1 serving (about 1/4 of recipe)
- Calories: 160 kcal
- Sugar: 3 g
- Sodium: 150 mg
- Fat: 9 g
- Saturated Fat: 1.3 g
- Unsaturated Fat: 7 g
- Trans Fat: 0 g
- Carbohydrates: 18 g
- Fiber: 3 g
- Protein: 2 g
- Cholesterol: 0 mg

