
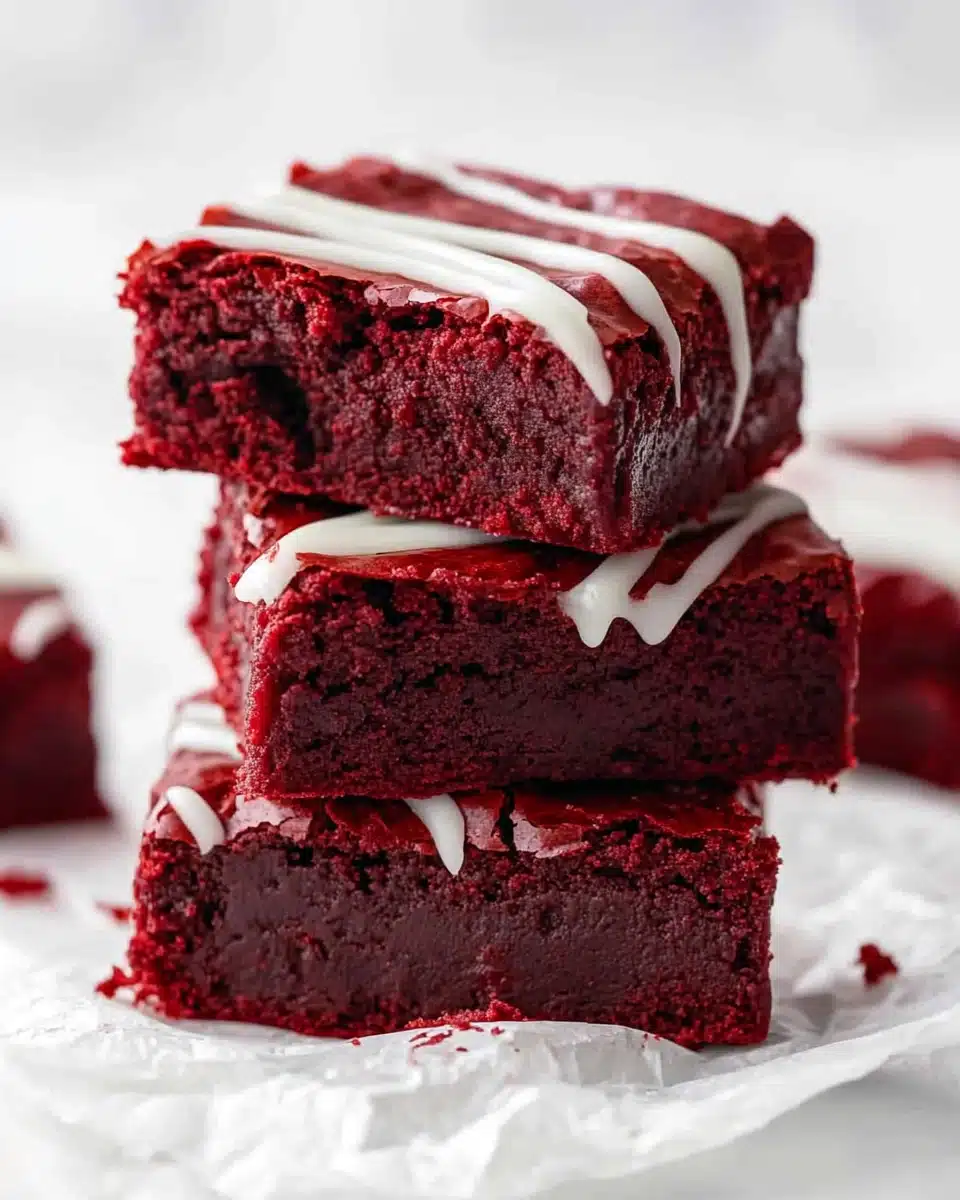
Put aside everything you know about ordinary brownies—these Red Velvet Brownies are on an entirely different level! Chewy, rich, and tinged with that gorgeous, lipstick-red hue, they have the tangy undertones and creamy finish you only find in the very best Red Velvet desserts. If you love classic brownies but crave a twist, this recipe will take center stage on your dessert table.
Why You’ll Love This Recipe
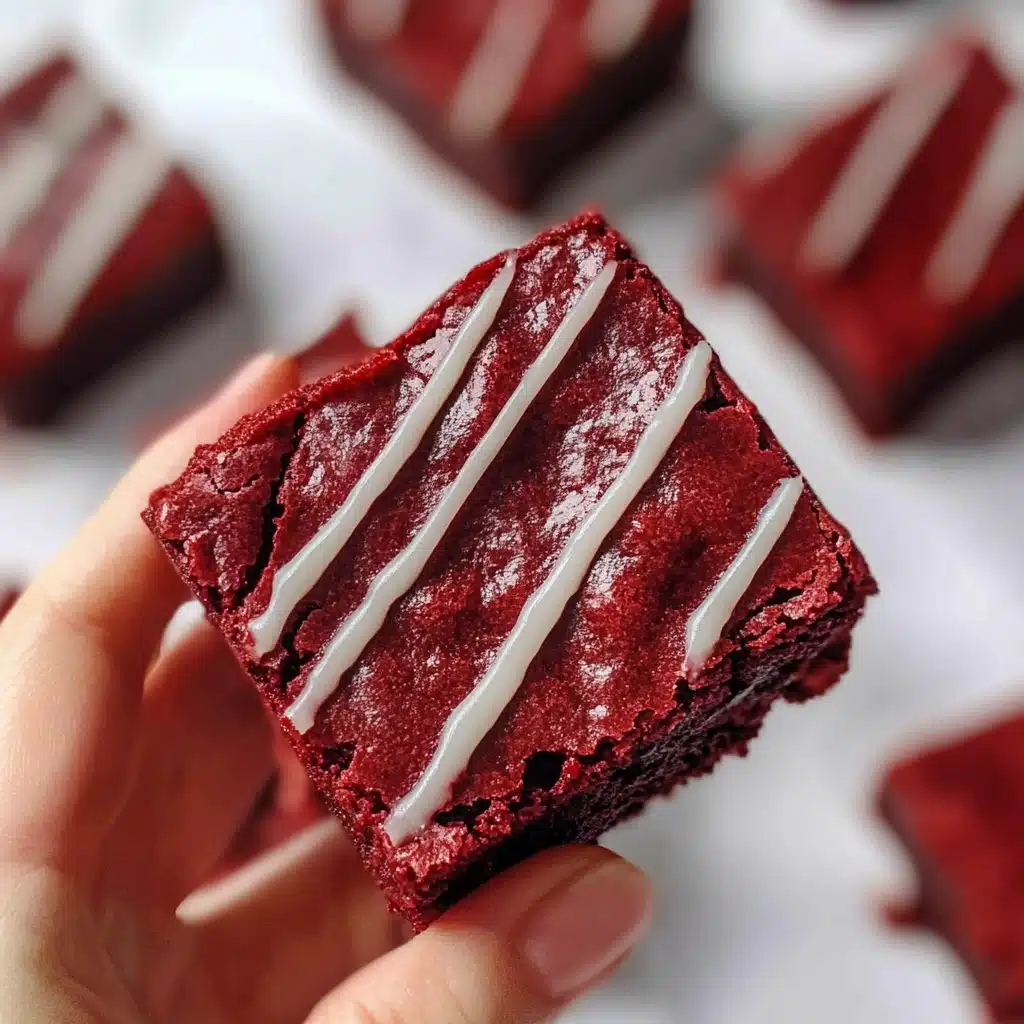
- Stunning Red Color: The gorgeous, vibrant hue makes these brownies a showstopper for any celebration or everyday treat.
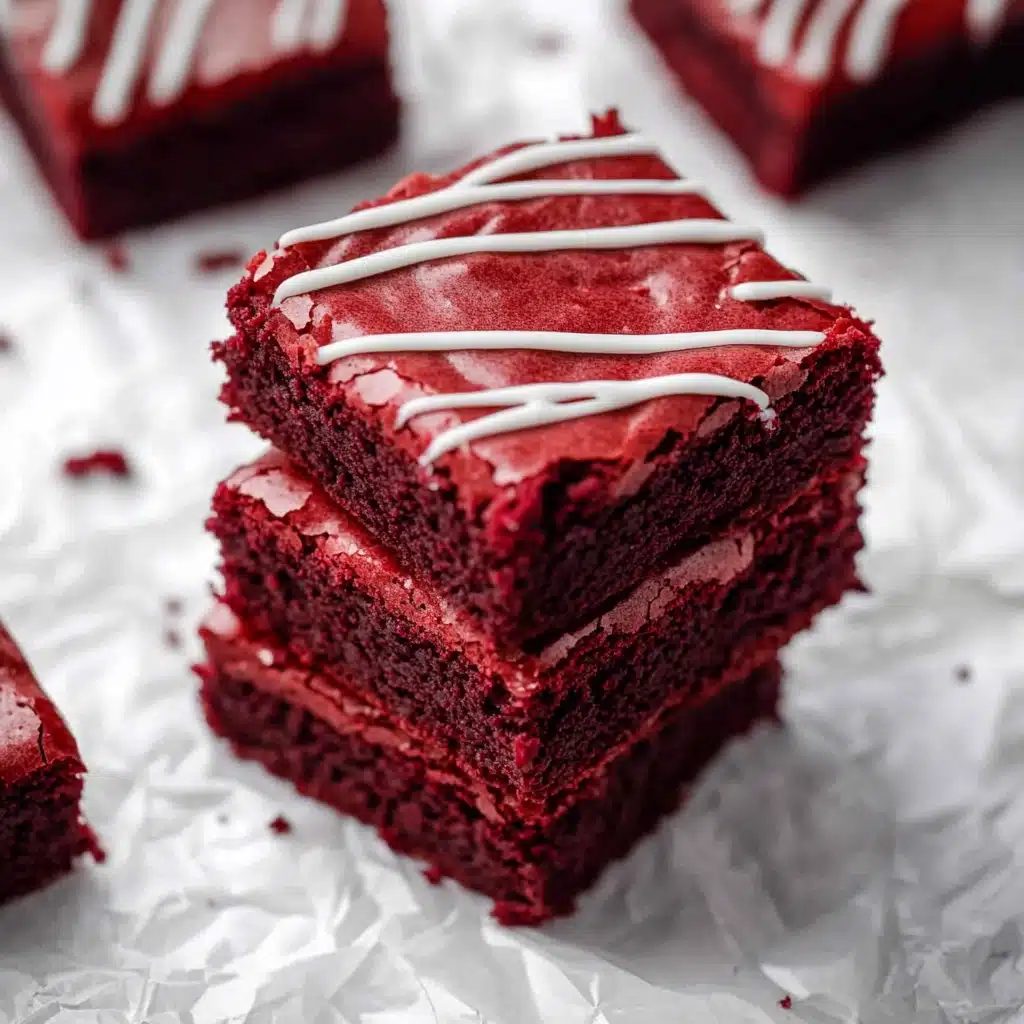
- Irresistibly Fudgy Texture: Thanks to melted chocolate and just the right amount of cocoa, every bite is indulgent and oh-so-chewy, just like a perfect brownie should be.
- Crave-Worthy Flavor: Classic Red Velvet tang with hints of vanilla and chocolate in every bite, topped off with creamy white chocolate if you choose.
- Simple, Familiar Ingredients: You don’t need anything fancy—pantry basics come together to create something truly memorable.
Ingredients You’ll Need
You’ll be amazed at how a handful of everyday ingredients transform into bold, bakery-worthy Red Velvet Brownies. Each element is essential, building flavor, structure, and that signature red velvet magic.
- Unsalted butter (melted): Gives the brownies their rich, homemade flavor and creates a perfectly fudgy crumb.
- Semi-sweet chocolate bar: Deepens the chocolate base and provides structure, resulting in brownies that taste decadent and not too sweet.
- Granulated sugar: Aside from adding sweetness, sugar also brings out the flavors and helps create that signature crackly brownie top.
- Large eggs: Bind everything together and contribute to the brownies’ irresistibly chewy texture.
- Vanilla extract: Adds aromatic warmth and ties all the flavors together with a classic vanilla note.
- White vinegar: Classic in red velvet! This tiny addition amplifies the tang and enhances the red color.
- Red gel food coloring: Essential for that vibrant, unmistakable Red Velvet flair—gel food coloring gives the boldest results.
- Unsweetened cocoa powder: A little goes a long way to give depth, color, and the subtle chocolate undertones we all crave.
- All-purpose flour: Classic structural ingredient, balancing the richness and ensuring the brownies aren’t too dense.
- Salt: Just a pinch makes all the flavors pop and keeps the sweetness in check.
- White chocolate chips (optional): Stirred into the batter or drizzled on top for pockets of creamy sweetness and extra prettiness.
Variations
The best part about these Red Velvet Brownies? You can truly make them your own! Whether you’re craving extra chocolate, a gluten-free treat, or want to dial up the cream cheese magic, there are so many easy and tasty tweaks to explore.
- Gluten-Free: Substitute your favorite 1-to-1 gluten-free all-purpose flour blend for a celiac-friendly batch—you won’t lose any of the fudgy goodness.
- Cream Cheese Swirl: Drop dollops of sweetened cream cheese over the brownie batter and swirl with a knife for that classic red velvet-and-cream cheese combo in every bite.
- Nutty Crunch: Stir in a handful of chopped pecans or walnuts for a delightful crunch and contrast to the smooth, chewy brownies.
- Extra Chocolatey: Double up on the chocolate chips—add both white and dark chocolate chips for an ultra-decadent treat.
How to Make Red Velvet Brownies
Step 1: Prep Your Pan and Oven
Start by preheating your oven to 350°F (177°C). Line an 8×8-inch baking pan with parchment paper, letting a bit hang over the sides for easy lifting later. This step ensures your Red Velvet Brownies pop out cleanly once they’re cooled, and keeps washing-up to a minimum!
Step 2: Melt Butter & Chocolate
In a large microwave-safe bowl, combine the melted butter and chopped semi-sweet chocolate bar. Microwave in 30-second bursts, stirring after each, until completely melted and smooth. This duo creates the base of your brownies and contributes to their rich, glossy texture.
Step 3: Add Sugar and Wet Ingredients
With the chocolate mixture still warm (but not hot), add granulated sugar and whisk until combined. Beat in the eggs one at a time, mixing well after each. Stir in the vanilla extract, white vinegar, and red gel food coloring until the mixture is vibrantly red and silky.
Step 4: Combine Dry Ingredients
In a separate bowl, sift together the all-purpose flour, unsweetened cocoa powder, and salt. Sifting helps ensure a uniform, lump-free batter and a more even bake.
Step 5: Mix and Fold
Gradually add the dry ingredients to the wet mixture, stirring gently until just combined—be careful not to overmix, or your brownies might turn cakey. If you’re adding white chocolate chips or any mix-ins, fold them in at this stage.
Step 6: Bake to Fudgy Perfection
Pour the batter into your prepared pan and smooth out the top. Bake in your preheated oven for 30–35 minutes, or until a toothpick inserted into the center comes out with moist crumbs (but not wet batter!). Resist the urge to overbake—fudgy is the goal!
Step 7: Cool, Finish, and Enjoy
Allow the brownies to cool completely in the pan (this makes slicing so much neater). For an extra flourish, drizzle melted white chocolate over the top before cutting into squares, and don’t be shy about sneaking a corner while they’re still a little warm.
Pro Tips for Making Red Velvet Brownies
- Bold Red Color: Use gel food coloring for that deep, dramatic red—liquid coloring just won’t pack the same punch!
- Stop at Moist Crumbs: Your brownies are done when a toothpick comes out with a few moist crumbs; avoid waiting for a clean toothpick to keep them gooey and fudgy.
- Cooling is Key: Let the brownies cool in the pan for the cleanest slices—good things really do come to those who wait!
- Mix-In Magic: If adding chocolate chips, toss them in a bit of flour before folding them into the batter; this prevents them from sinking to the bottom.
How to Serve Red Velvet Brownies
Garnishes
Top your Red Velvet Brownies with a dramatic drizzle of white chocolate, a sprinkle of powdered sugar, or even a handful of festive sprinkles for special occasions. A dollop of whipped cream or a small swirl of cream cheese frosting can take these from simple to totally unforgettable!
Side Dishes
Pair your brownies with a scoop of vanilla ice cream or a bowl of fresh berries. A hot cup of coffee or a tall glass of cold milk makes a wonderful companion, letting the rich cocoa and tangy notes of the Red Velvet shine even brighter.
Creative Ways to Present
Cut your brownies into hearts for Valentine’s Day, layer them with cream cheese frosting in parfait glasses, or stack them up on a tiered dessert stand for a stunning party centerpiece. You can even wrap individual squares in wax paper and tie with twine for a charming homemade gift.
Make Ahead and Storage
Storing Leftovers
Red Velvet Brownies keep beautifully in an airtight container at room temperature for up to 3 days. For optimal freshness, store them in a single layer or separate layers with parchment paper so the tops stay shiny and the texture perfectly chewy.
Freezing
Planning ahead? These brownies freeze like a dream! Once fully cooled, wrap them individually and tuck them in a freezer bag—perfect for emergency dessert cravings or prepping for special events. Just thaw at room temperature and you’re good to go.
Reheating
If you love a warm, gooey brownie, pop an individual piece in the microwave for about 10-15 seconds. They’ll taste just-baked and the drizzle (if you added it) will become deliciously melty again!
FAQs
-
Can I use liquid red food coloring instead of gel for Red Velvet Brownies?
You can, but gel coloring gives you a much more vibrant red with less liquid—important for keeping the brownies fudgy instead of cakey. If you only have liquid, you may need to increase the amount, but expect a slightly less intense color.
-
Can I double the Red Velvet Brownies recipe for a larger crowd?
Absolutely! Simply double the ingredients and bake in a 9×13-inch pan. You may need to add 5–10 minutes to the baking time—just keep an eye on the doneness using the toothpick trick for moist crumbs.
-
Why do you add vinegar to Red Velvet Brownies?
The vinegar helps bring out that signature tangy flavor associated with Red Velvet and activates the baking process, preserving the vivid red hue and balancing the overall sweetness.
-
How do I know when my Red Velvet Brownies are done baking?
Check a few minutes before you expect them to be done. A toothpick inserted in the center should come out with a few moist crumbs. If it’s clean, you’ve probably gone a bit too far, so try to catch them at their fudgy best!
Final Thoughts
If you’re looking for the perfect fusion of classic chocolaty chewiness and the irresistible flair of Red Velvet, these brownies are your new go-to. I hope you’ll give these Red Velvet Brownies a try—bake them for your loved ones, share them at a party, or keep a secret stash just for you. There’s nothing quite like a homemade treat that’s as beautiful as it is delicious!
Print
Red Velvet Brownies Recipe
- Prep Time: 15 minutes
- Cook Time: 30 minutes
- Total Time: 45 minutes
- Yield: 16 servings
- Category: Dessert
- Method: Baking
- Cuisine: American
- Diet: Vegetarian
Description
Indulge in the rich and decadent flavors of these Red Velvet Brownies. A perfect combination of moist, chocolatey goodness with a hint of tanginess.
Ingredients
Brownie Batter:
- 3/4 cup unsalted butter, melted
- 2 oz chopped semi-sweet chocolate bar
- 1 & 1/4 cup granulated sugar
- 2 large eggs
- 2 teaspoons vanilla extract
- 1 teaspoon white vinegar
- 1/2 tablespoon red gel food coloring
- 2 tablespoons unsweetened cocoa powder
- 1 & 1/4 cup all-purpose flour
- 1/4 teaspoon salt
Optional White Chocolate Chips:
- 1/2 cup white chocolate chips, optional – mixed in the batter or melted for drizzling on top
Instructions
- Preheat Oven: Preheat the oven to 350°F and line an 8×8 inch baking pan with parchment paper.
- Melt Butter and Chocolate: In a microwave-safe bowl, melt the butter and chopped chocolate in 30-second increments, stirring until fully melted.
- Mix Wet Ingredients: Add granulated sugar, then eggs one at a time, followed by vanilla extract, white vinegar, and red food coloring.
- Combine Dry Ingredients: Sift cocoa powder, flour, and salt in a separate bowl. Gradually add to wet ingredients, being careful not to overmix.
- Optional: Fold in white chocolate chips if desired. Pour batter into the prepared pan.
- Bake: Bake for 30-35 minutes until a toothpick comes out with a few moist crumbs.
- Cool and Serve: Let the brownies cool completely before cutting into squares. Drizzle melted white chocolate on top if desired.
Notes
- You can adjust the amount of red food coloring based on your desired shade of red.
- For fudgier brownies, slightly underbake and let them set after removing from the oven.
Nutrition
- Serving Size: 1 brownie
- Calories: 240
- Sugar: 18g
- Sodium: 110mg
- Fat: 14g
- Saturated Fat: 8g
- Unsaturated Fat: 5g
- Trans Fat: 0g
- Carbohydrates: 28g
- Fiber: 1g
- Protein: 3g
- Cholesterol: 55mg


