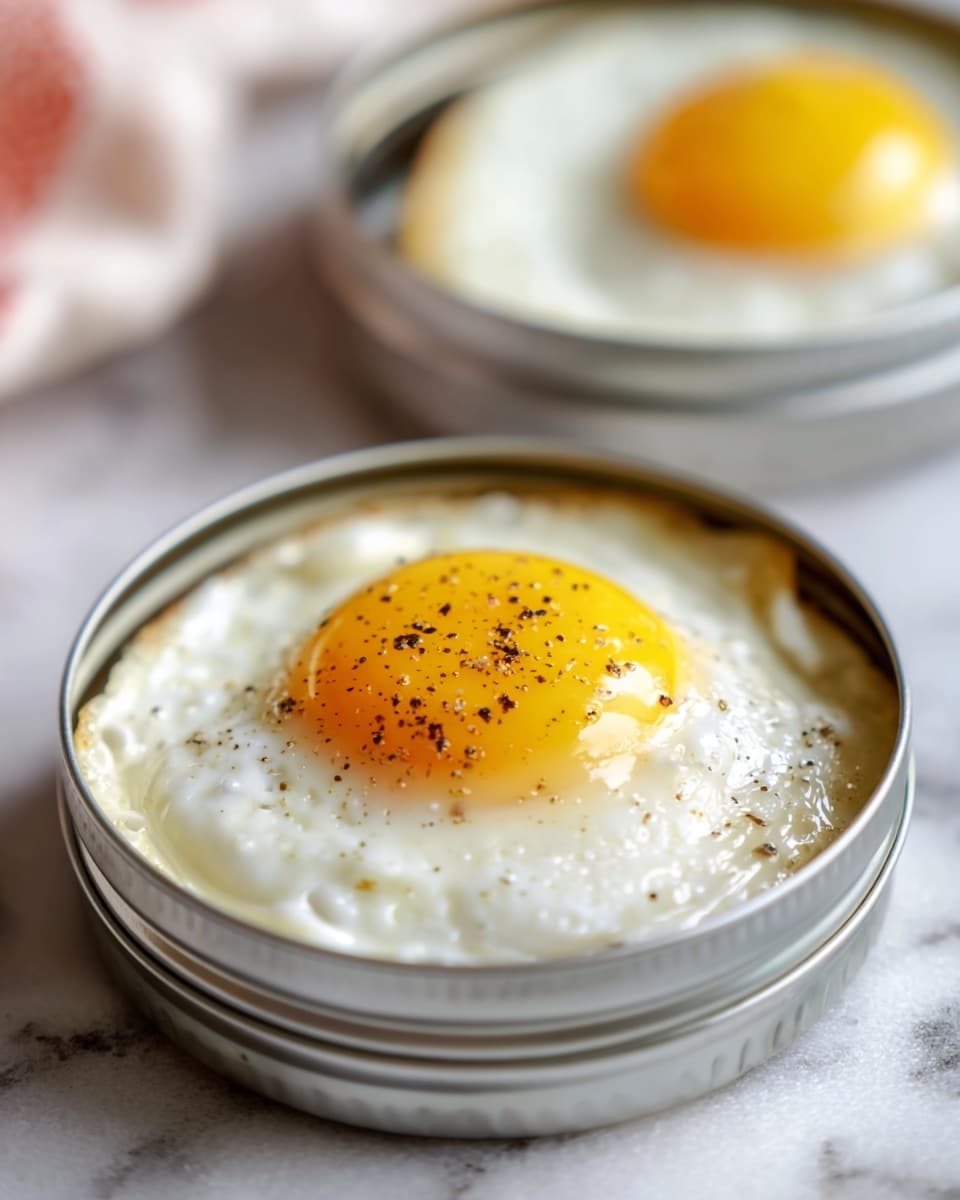
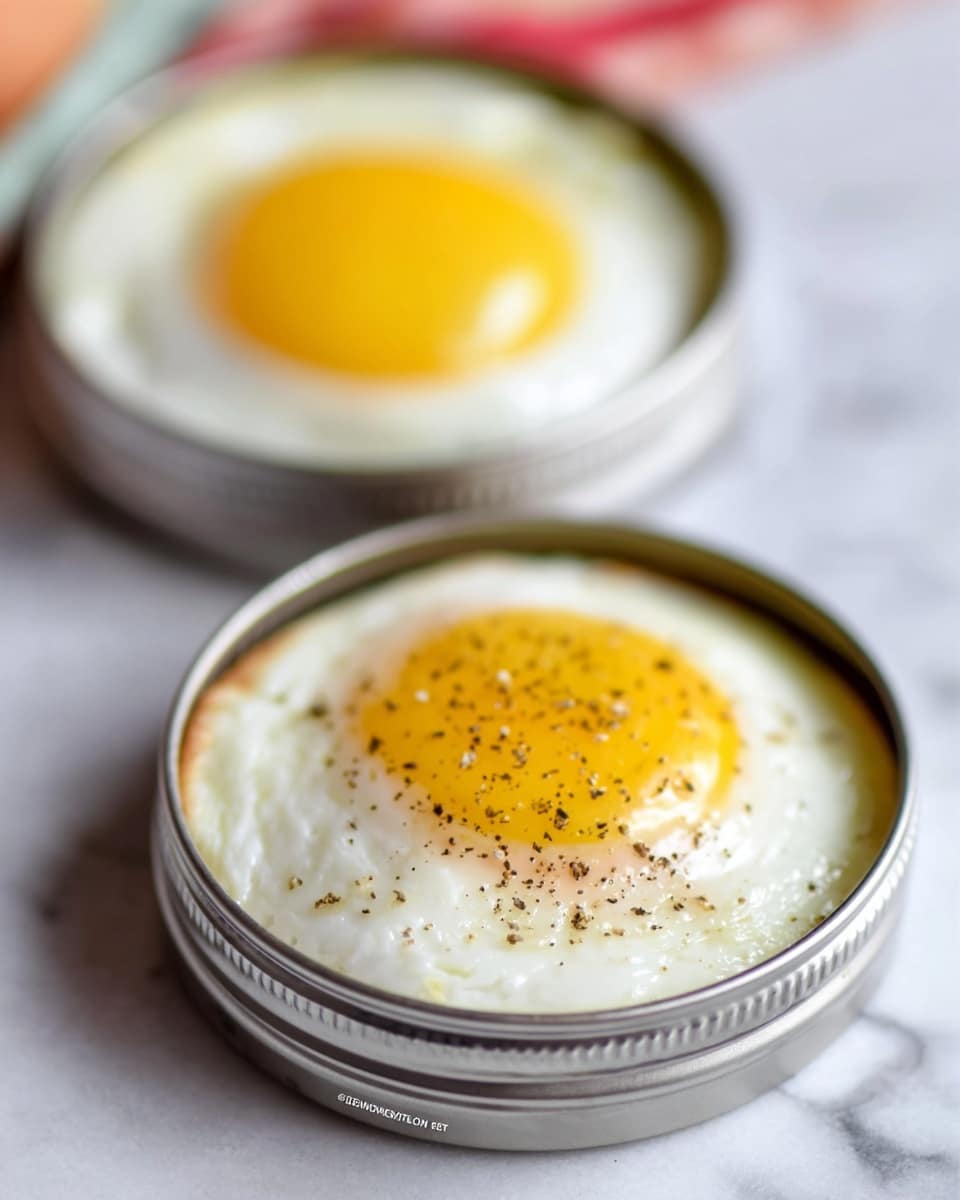
I absolutely love the charm and simplicity of this Baked Eggs in Mason Jar Lids Recipe. It’s one of those clever kitchen hacks that feels special without being fussy, and you’ll find it’s perfect when you want a neat, uniform little egg treat. I first tried this when I was looking for an easy way to make portioned eggs for a brunch, and I was hooked from that moment on!
What makes this recipe stand out is how effortlessly it comes together and the fact that the eggs bake in these cute little vessel lids, which means less mess and easy serving. Plus, the eggs cook beautifully and slide right out, making it a recipe you’ll want in your brunch rotation. Trust me, once you try this Baked Eggs in Mason Jar Lids Recipe, you’ll wonder why you didn’t think of it sooner.
Why You’ll Love This Recipe
- Effortless Preparation: Just crack eggs into mason jar lids and bake—minimal hands-on time.
- Perfect Portions Every Time: Each egg comes out uniformly shaped, ideal for brunch or breakfast buffets.
- Mess-Free Cooking: Non-stick spray or butter keeps eggs from sticking, making cleanup a breeze.
- Versatile Doneness: Easy to customize baking time to get runny yolks or firm whites exactly how you like.
Ingredients You’ll Need
The beauty of this Baked Eggs in Mason Jar Lids Recipe is its simplicity, relying on just a few ingredients that work perfectly together. You can find these staples pretty easily, and I always recommend fresh eggs for the best flavor and texture.
- Eggs: Fresh eggs give you cleaner edges and nice, rich yolks that pop visually and taste amazing.
- Non-stick spray (or butter): This prevents the eggs from sticking to the mason jar lids, making removal super easy.
Variations
I love playing around with this Baked Eggs in Mason Jar Lids Recipe by adding different flavors and textures. You can keep it simple or jazz it up depending on your mood or what you have in your fridge.
- Cheesy Twist: I often sprinkle a bit of shredded cheddar or parmesan on top before baking. It melts into pure goodness!
- Veggie Boost: Add finely diced peppers, spinach, or mushrooms inside the lid with the egg for extra flavor and nutrition.
- Herb Infusion: Fresh herbs like chives, parsley, or dill mixed in or sprinkled on top brighten the whole dish.
- Diet-Friendly Option: Use egg whites only or add a touch of cottage cheese for a protein-packed, lower-calorie twist.
How to Make Baked Eggs in Mason Jar Lids Recipe
Step 1: Get Your Oven and Lids Ready
Start by preheating your oven to 325°F. While it warms up, give those mason jar lids a good coating of non-stick spray or a little butter—this step is crucial because it helps your eggs slide right out once they’re baked. Place the lids upside down on a baking sheet so they’re stable for cracking eggs onto them.
Step 2: Crack and Bake Your Eggs
Carefully crack one egg into each prepared lid. Try to keep the yolks intact, but if one breaks, it still tastes delicious! Slide the baking sheet into the oven and bake for about 10 to 15 minutes. I usually check around 10 minutes to see how it’s progressing—less time if you love runny yolks, longer if you prefer them firm. You’ll notice them start to bubble a bit when they’re almost done.
Step 3: Cool and Remove
When the eggs look perfectly cooked to your liking, pull the sheet out and let them rest for a minute or so. This cool-down helps the eggs firm up just enough for easy handling. Now, the fun part: using an oven mitt to protect your hands, gently lift the eggs off the lids. They should slide right out like magic! If one gets a little stubborn, a butter knife run carefully around the edge will help release it.
Pro Tips for Making Baked Eggs in Mason Jar Lids Recipe
- Use Fresh Eggs: I learned that fresher eggs hold their shape better and look prettier once baked.
- Mind Your Oven: Oven temps can vary, so start checking on your eggs around 10 minutes to avoid overcooking.
- Prep Your Lids Well: The non-stick spray or butter is a game-changer—it saves you from frustrating stuck eggs.
- Cool Before Removing: Let the eggs cool a bit to prevent breaking when taking them off the lids.
How to Serve Baked Eggs in Mason Jar Lids Recipe
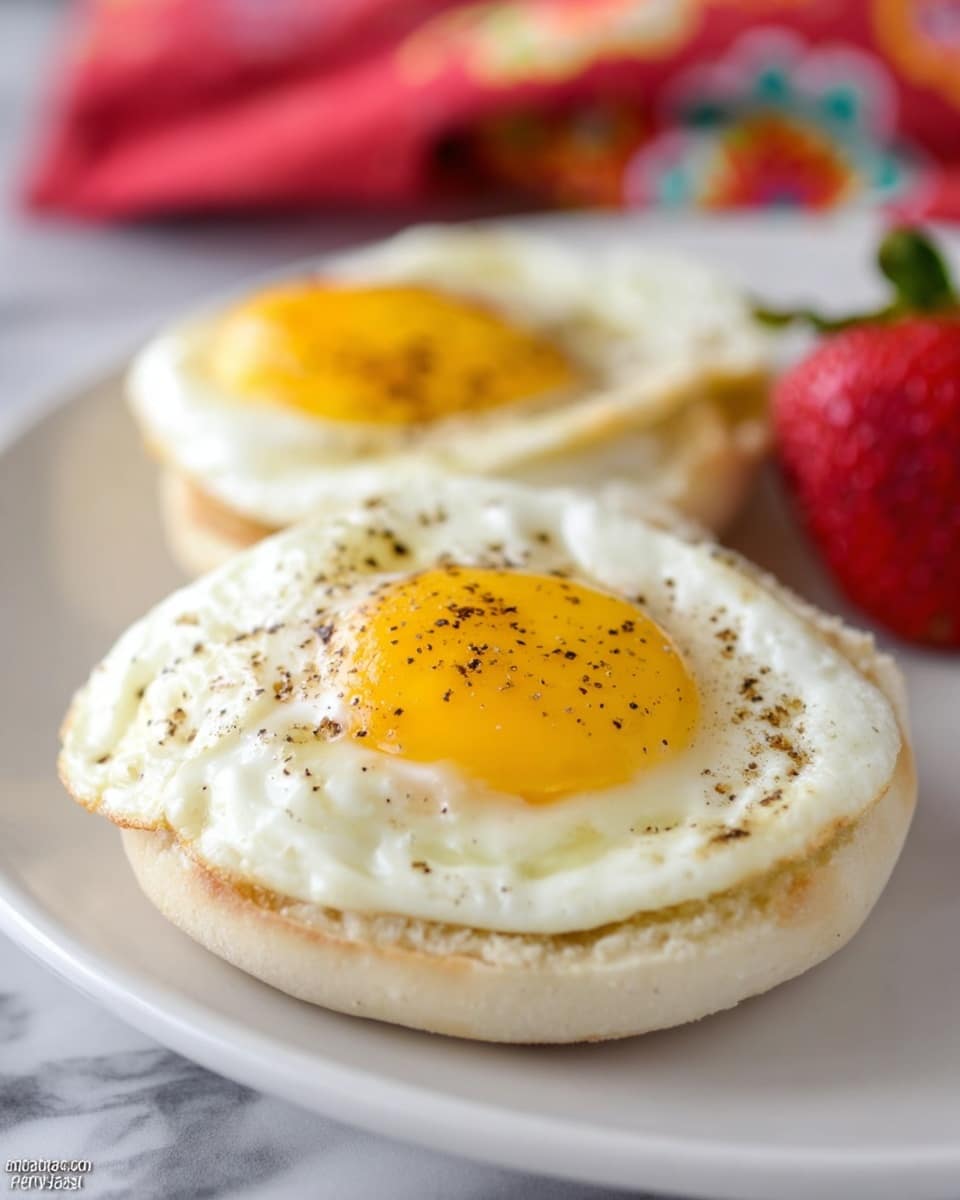
Garnishes
I usually top mine with a sprinkle of fresh chives or a pinch of smoked paprika for just a little pop of color and flavor. Sometimes a dollop of pesto or a bit of crumbled feta adds a lovely punch that complements the eggs perfectly.
Side Dishes
I love pairing these baked eggs with crispy toast or a fresh arugula salad dressed with lemon. My family goes crazy for them alongside roasted potatoes or even some sautéed spinach for a quick, balanced breakfast or light lunch.
Creative Ways to Present
For a special touch, I’ve served these eggs right inside the mason jar lids placed on small wooden boards with a side of avocado slices or cherry tomatoes. It’s a cute presentation that always gets compliments at brunch parties or holiday mornings.
Make Ahead and Storage
Storing Leftovers
If you have leftovers, I suggest gently placing the baked eggs in an airtight container and refrigerating them up to two days. They hold their texture surprisingly well, though they’re best eaten fresh.
Freezing
I’ve tried freezing these once or twice, but I find that the texture changes a bit after freezing and reheating. Still, it’s doable—just make sure to thaw overnight in the fridge for the best result.
Reheating
To reheat leftover baked eggs, I use a gentle microwave setting or pop them in a 300°F oven for about 5 minutes. This keeps them from turning rubbery while warming them through nicely.
FAQs
-
Can I use other sizes of mason jar lids for this recipe?
Absolutely! Standard mason jar lids work best to hold the eggs firmly, but you can experiment with different sizes. Just keep in mind that smaller lids will yield smaller eggs and may require less baking time.
-
Do I need to cover the eggs while baking?
Nope! There’s no need to cover them because the baking time is short and the eggs cook evenly in the open air. Covering might actually affect the texture you’re aiming for.
-
How do I ensure my eggs don’t stick to the lids?
Coating the mason jar lids with a good layer of non-stick spray or butter before cracking the eggs in is key. This little step saves you from frustration and keeps those eggs coming out clean and intact.
-
Can I add seasoning before baking?
Yes! Feel free to sprinkle salt, pepper, or your favorite herbs right on top of the eggs before baking. It infuses flavor right into the eggs and enhances every bite.
Final Thoughts
Honestly, this Baked Eggs in Mason Jar Lids Recipe has become one of my favorite ways to enjoy eggs, especially when hosting or making breakfast a little more special without extra effort. It’s fuss-free, fun, and delivers perfectly cooked eggs every time. I can’t recommend giving it a try enough—you’ll enjoy how simple, charming, and tasty it is. So, next time you want to impress yourself or your guests, pop some eggs in mason jar lids and bake your way to breakfast bliss!
Print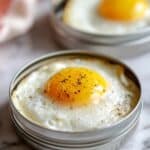
Baked Eggs in Mason Jar Lids Recipe
- Prep Time: 5 minutes
- Cook Time: 10-15 minutes
- Total Time: 15-20 minutes
- Yield: 1 egg per mason jar lid
- Category: Breakfast
- Method: Baking
- Cuisine: American
Description
This simple and creative recipe shows you how to bake eggs perfectly using mason jar lids in the oven. It’s an easy way to cook eggs without a skillet, producing neat, round eggs ideal for breakfast sandwiches or a quick meal. The baking method ensures even cooking with minimal fuss and cleanup.
Ingredients
Ingredients
- Eggs (as many as mason jar lids you have)
- Non-stick spray or butter (for greasing the lids)
Instructions
- Preheat the Oven: Set your oven to 325°F to warm up while you prepare the mason jar lids.
- Prepare Mason Jar Lids: Grease the underside of each mason jar lid thoroughly with non-stick spray or butter to prevent the eggs from sticking during baking.
- Arrange Lids: Place the mason jar lids upside down on a baking sheet to create a shallow cooking surface.
- Crack Eggs: Crack one egg into each prepared mason jar lid, being careful not to break the yolk unless you prefer it.
- Bake the Eggs: Transfer the baking sheet to the oven and bake for 10-15 minutes. Monitor the eggs at around 10 minutes; shorter baking yields runnier yolks, longer for fully cooked eggs.
- Cool and Remove: Remove the eggs from the oven and let them cool for a minute on the baking sheet. With oven mitts, carefully slide the eggs out of the lids. If any egg sticks, gently run a butter knife around the edge to release it.
Notes
- For runny sunny-side-up style eggs, reduce baking time to closer to 10 minutes.
- For fully set yolks, bake the eggs longer than 15 minutes.
- You can season the eggs with salt and pepper after baking if desired.
- Use fresh eggs for best results and easier removal from the lids.
Nutrition
- Serving Size: 1 egg
- Calories: 70
- Sugar: 0.5 g
- Sodium: 70 mg
- Fat: 5 g
- Saturated Fat: 1.5 g
- Unsaturated Fat: 3 g
- Trans Fat: 0 g
- Carbohydrates: 1 g
- Fiber: 0 g
- Protein: 6 g
- Cholesterol: 185 mg

