
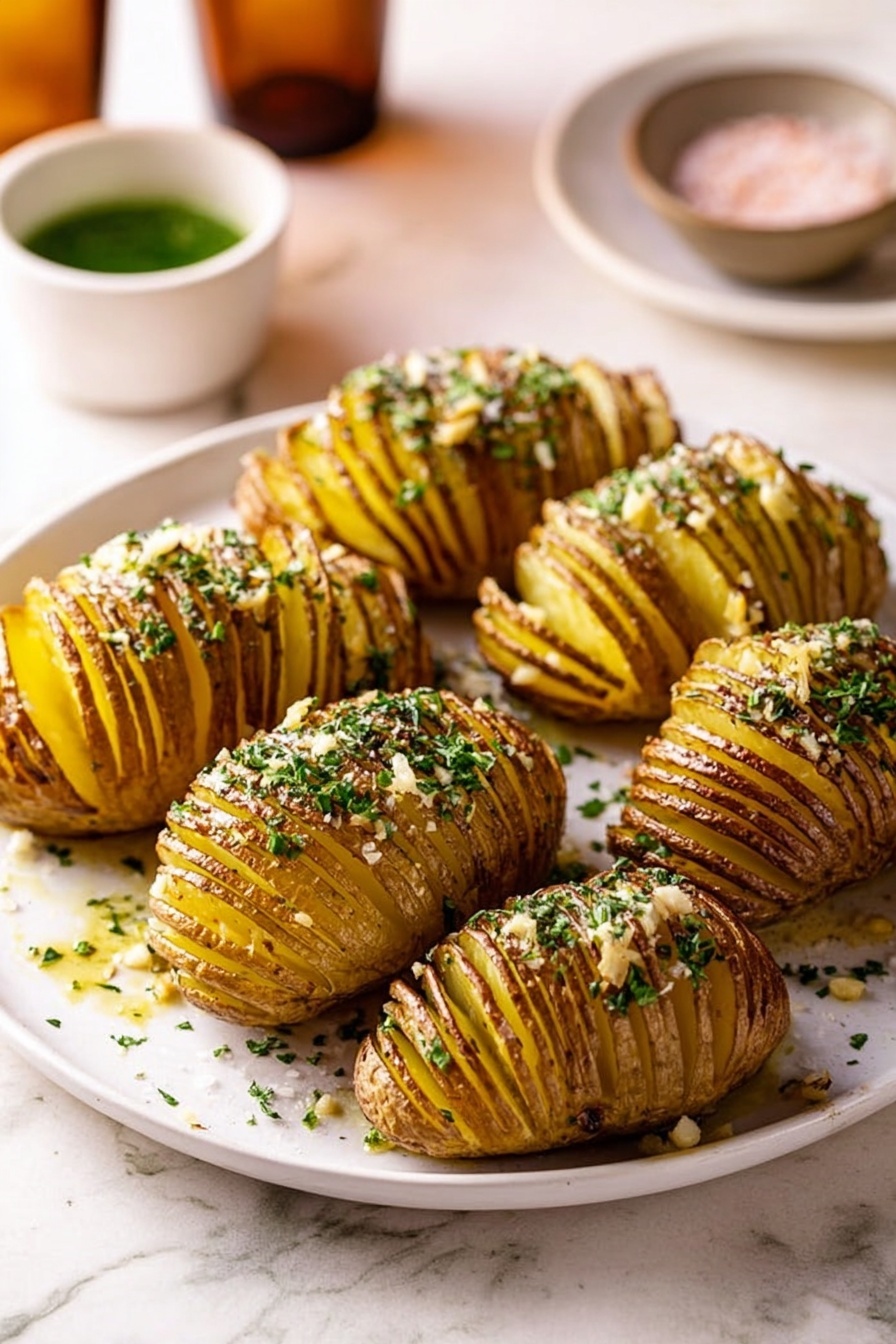
If you’ve never tried it, the Cheesy Hasselback Potatoes Recipe I’m sharing today is an absolute game changer. Imagine crispy edges, tender insides, and ooey-gooey cheese melting between every thin slice — it’s unbelievably satisfying. Trust me, once you make these, they’ll become your go-to side dish for dinners, holidays, or whenever you want to impress without fussing in the kitchen.
Why You’ll Love This Recipe
- Perfect Texture Balance: Crispy on the outside, soft and cheesy on the inside — the best of both worlds.
- Impressive Yet Simple: Looks fancy enough for guests but is really straightforward to make.
- Flavor-Packed: Garlic butter, fresh sage, and melted cheese create layers of irresistible taste.
- Customizable: Easy to tweak with your favorite herbs, spices, or cheeses to suit any occasion.

Ingredients You’ll Need
Getting the ingredients right is half the battle, and for this Cheesy Hasselback Potatoes Recipe, simple but flavorful components do all the heavy lifting. Locally sourced potatoes and fresh herbs really make a difference, so shop for quality whenever possible.
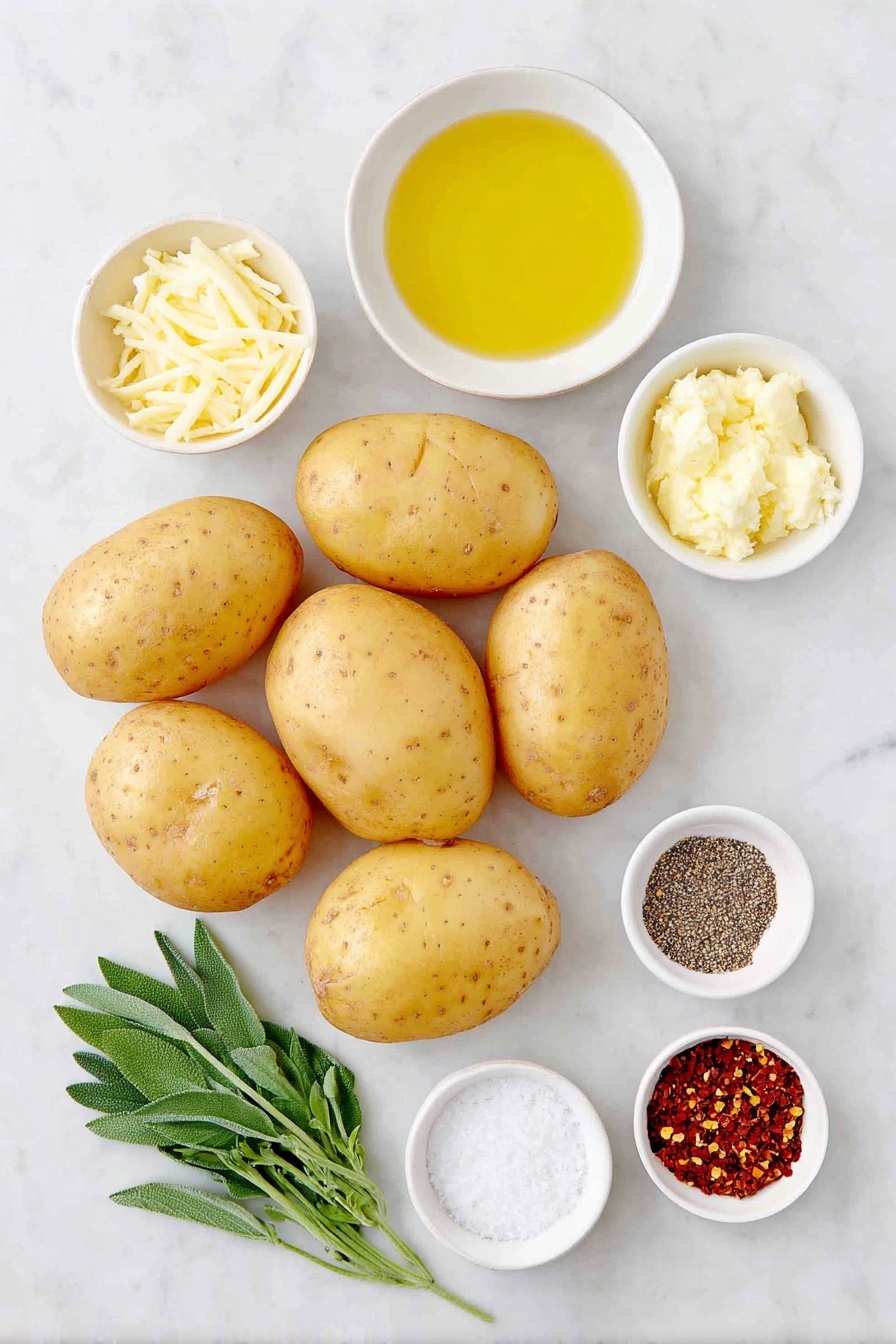
- Yukon Gold potatoes: These have the ideal waxy-yet-fluffy texture perfect for slicing and roasting evenly.
- Extra-virgin olive oil: Adds richness and helps crisp the potato edges beautifully.
- Sea salt and freshly ground black pepper: Simple seasonings that bring out the potato’s natural flavor.
- Fresh sage leaves: I love the subtle earthiness sage adds; it nestles perfectly in the slits.
- Garlic butter (homemade or store-bought): This is where the magic happens—garlic butter seeps into every nook and adds incredible savoriness.
- Fresh parsley: For a bright, fresh finish that balances richness.
- Red pepper flakes: A pinch adds just enough heat without overpowering the dish.
Variations
I love experimenting with this Cheesy Hasselback Potatoes Recipe because it’s such a flexible base. You can personalize it easily, and every time I try a new twist, it feels like a fresh experience.
- Cheese Variety: I’ve swapped out the standard cheddar for Gruyère or Parmesan — gives it a slightly nutty, complex flavor that my family goes crazy for.
- Herb Swaps: If you’re not a sage fan, rosemary or thyme work beautifully tucked between those potato slices.
- Spicy Kick: Add smoked paprika or cayenne pepper to the olive oil drizzle for a gentle smoky heat that pairs well with the creamy cheese.
- Vegan Option: Use vegan butter and nutritional yeast instead of garlic butter and cheese — I’ve done this and still loved the texture and flavor.
How to Make Cheesy Hasselback Potatoes Recipe
Step 1: Prepare Your Potatoes for Hasselback Magic
Start by preheating your oven to 425°F and lining a baking sheet with parchment paper – trust me, this step saves cleanup time later! Then, place a medium Yukon Gold potato on your cutting board. To get those signature thin slices without cutting through the base, lay two butter knives or chopsticks along each side of the potato. This is the little trick I discovered that keeps the potato intact, which is key for even roasting and that beautiful look. Carefully slice the potato crosswise into roughly ⅛-inch slices, stopping when the knife hits the knives or chopsticks. Repeat with all the potatoes. This part feels a bit time-consuming at first, but once you get the rhythm, you’ll breeze through it in no time.
Step 2: Season and Insert Sage for Flavor Layers
Place the sliced potatoes on the baking sheet and drizzle generously with extra-virgin olive oil. Don’t be shy—this oil creates that coveted crispy exterior. Sprinkle sea salt and freshly ground black pepper over everything. Here’s the trick: use your fingertips to gently season inside each slice crevice, making sure flavor seeps deep. Then, carefully slide a fresh sage leaf into each gap between the slices — it’s like a little hidden treasure that fills the potatoes with savory aroma as they roast. A little extra drizzle of olive oil over the top is the final touch before roasting.
Step 3: Roast, Butter, and Roast Again
Pop the potatoes into the preheated oven for about 50 minutes. At this point, your kitchen is going to smell like heaven. Make sure the potatoes are tender when you poke them with a fork, but not falling apart. Next, remove them from the oven and brush each potato with melted garlic butter. This step is my favorite — the butter melts down into every crevice, layering that rich garlicky flavor. Return to the oven for another 25 minutes or until the edges are crispy and the inside is perfectly cooked. Don’t skip seasoning with salt and pepper to taste once they’re out; it makes all the difference!
Step 4: Finish with Fresh Herbs and Heat
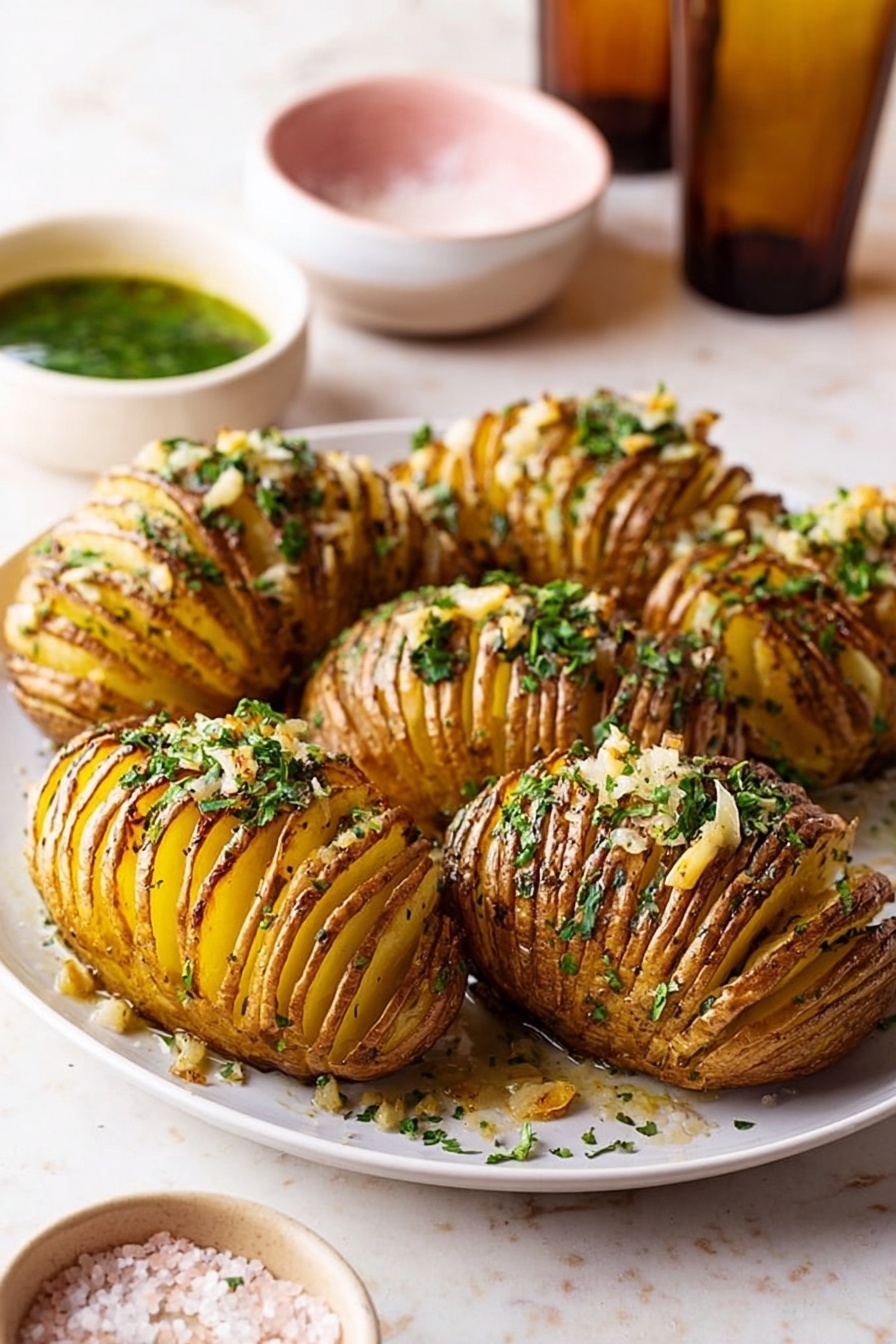
Finally, sprinkle chopped fresh parsley and a pinch of red pepper flakes over the top for brightness and a gentle warmth that contrasts beautifully with the cheese and butter. Serve each potato with extra garlic butter on the side because, honestly, can you ever have too much garlic butter?
Pro Tips for Making Cheesy Hasselback Potatoes Recipe
- Even Slices: Use the butter knife trick every time to avoid cutting all the way through; it’s foolproof and avoids a mess.
- Don’t Rush the Roast: Slow roasting at 425°F ensures crispy layers without drying out the interior.
- Get Between the Slices: When drizzling oil or brushing butter, use a small brush or your fingers to get inside the crevices for maximum flavor.
- Rest Before Serving: Let the potatoes sit a few minutes after roasting so the cheese sets just slightly and doesn’t slide off when you pick them up.
How to Serve Cheesy Hasselback Potatoes Recipe
Garnishes
I always top these potatoes with a scattering of fresh parsley and a sprinkle of red pepper flakes—these two finishers add such a fresh pop and a little heat that makes each bite exciting. Sometimes I like to add a little grated Parmesan for extra cheesy goodness right at the end.
Side Dishes
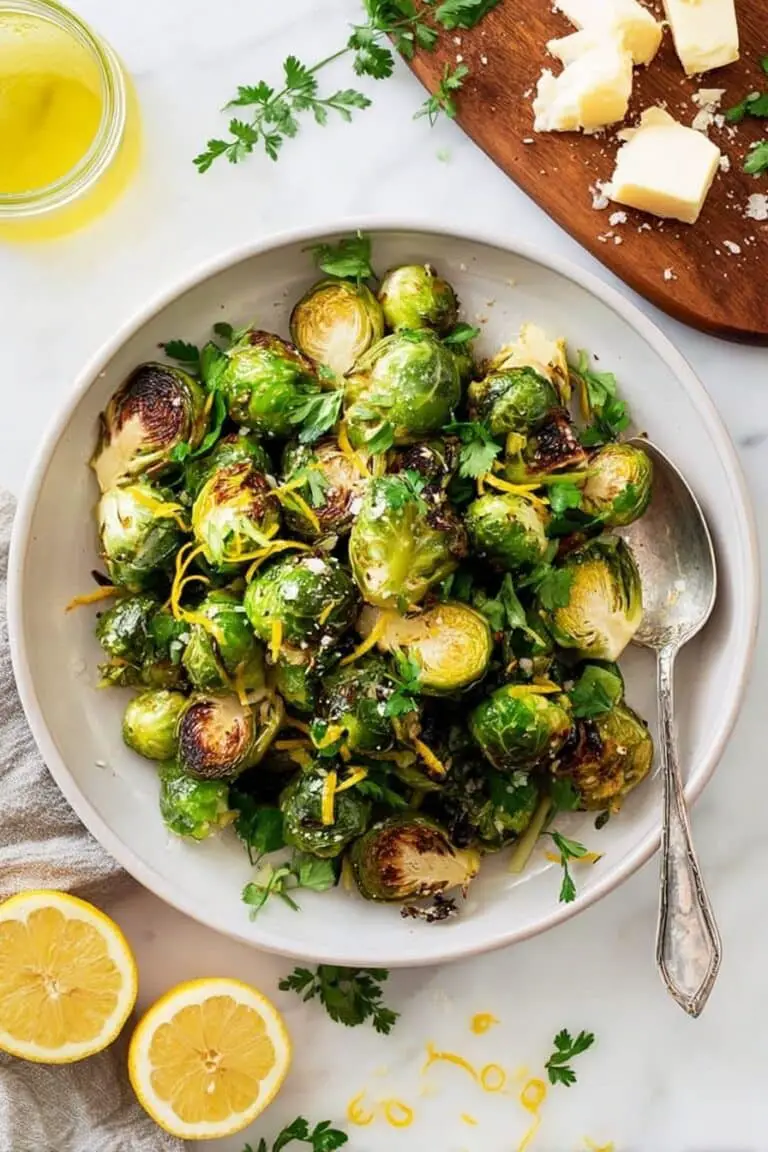
This Cheesy Hasselback Potatoes Recipe pairs beautifully with simple grilled chicken, roasted vegetables, or even a fresh green salad. I’ve found that the rich potatoes balance tangy or vibrant sides perfectly, so don’t hesitate to mix it up depending on what’s seasonal or what’s in your fridge.
Creative Ways to Present
For special occasions, I serve these potatoes on a large wooden board, nestled next to colorful roasted peppers and mushroom medleys. You can also garnish with edible flowers or microgreens for a wow factor. Guests love being able to grab individual potatoes, making it both a beautiful centerpiece and a delicious treat.
Make Ahead and Storage
Storing Leftovers
Leftover cheesy Hasselback potatoes? No problem! I store them in an airtight container in the fridge and they stay delicious for up to 3 days. If you want to keep the crispy texture, I recommend reheating them in the oven rather than the microwave.
Freezing
I’ve tried freezing these potatoes once — while they lose a bit of crispness, they thaw well and still taste great. Just wrap them tightly in foil and pop into a freezer-safe container. When ready, thaw overnight in the fridge and re-crisp in the oven.
Reheating
To reheat, I preheat the oven to 375°F, place the potatoes on a baking sheet, and warm them for about 15 minutes or until heated through and crispy again. This method keeps the edges nice and crunchy, avoiding the sogginess that microwaves tend to bring.
FAQs
-
Can I use other types of potatoes for this recipe?
Absolutely! While Yukon Gold potatoes are ideal for their creamy texture and holding shape when sliced, Russets or red potatoes can also work. Just keep in mind that waxier potatoes hold the slices better and roast more evenly.
-
How do I make sure the slices don’t cut all the way through?
I recommend using the butter knife or chopstick method to act as a guard on either side of the potato. This way, your knife stops at the right depth, keeping the base intact while slicing thinly.
-
Can I prepare these potatoes ahead of time?
You can slice and season them a few hours ahead and keep covered in the fridge, but I recommend roasting them fresh for the best texture. If you prepare too far in advance, the potatoes might oxidize and discolor.
-
What cheese works best for the Cheesy Hasselback Potatoes Recipe?
Cheddar is a classic, but I love experimenting with Gruyère, mozzarella, or Parmesan depending on the flavor profile you want. For a sharper bite, aged cheddar or smoked cheeses are wonderful.
-
How long does it take to make this recipe?
Prep usually takes about 20 minutes, and roasting takes around 1 hour and 15 minutes total, so plan for a little over an hour from start to finish. Patience here rewards you with the most delicious potatoes!
Final Thoughts
I absolutely love how this Cheesy Hasselback Potatoes Recipe turns out every single time — it’s one of those recipes that feels elevated but is actually very approachable. Whether you’re cooking for family or friends, or just want to treat yourself on a cozy night, these potatoes deliver on crispy, cheesy, buttery goodness with minimal fuss. Give this recipe a try, follow the tips I shared, and I promise you’ll have a new favorite side dish that everyone keeps asking for!
Print
Cheesy Hasselback Potatoes Recipe
- Prep Time: 20 minutes
- Cook Time: 1 hour 15 minutes
- Total Time: 1 hour 35 minutes
- Yield: Serves 6
- Category: Side Dish
- Method: Baking
- Cuisine: American
Description
Hasselback Potatoes are a deliciously crispy and tender side dish featuring thinly sliced Yukon Gold potatoes roasted to perfection. Infused with fragrant sage, garlic butter, and seasoned with sea salt and freshly ground black pepper, these potatoes make a flavorful and visually striking addition to any meal.
Ingredients
Potatoes and Seasoning
- 6 medium Yukon Gold potatoes
- Extra-virgin olive oil, for drizzling
- Sea salt, to taste
- Freshly ground black pepper, to taste
- Fresh sage leaves, for inserting between slices
Garlic Butter
- 1 recipe Garlic Butter, melted
Garnishes
- Fresh parsley, chopped, for serving
- Red pepper flakes, for serving
Instructions
- Preheat the oven: Preheat your oven to 425°F (220°C) and line a baking sheet with parchment paper to prevent sticking and for easy cleanup.
- Slice the potatoes: Place one potato on a cutting board and lay butter knives or chopsticks on both long sides to act as a stop barrier. Use a sharp knife to slice the potato crosswise into very thin ⅛-inch slices, cutting down to but not through the barriers to keep the base intact. Repeat with all potatoes carefully.
- Season and add sage: Arrange the sliced potatoes on the prepared baking sheet. Drizzle generously with extra-virgin olive oil, and sprinkle sea salt and freshly ground black pepper all over, using your hands to brush the oil and seasonings into the potato slices. Insert a fresh sage leaf between each slice to infuse flavor during roasting.
- Roast the potatoes: Drizzle a bit more olive oil over the potatoes and place the baking sheet in the oven. Roast for 50 minutes until the potatoes begin to soften and edges start crisping.
- Brush with garlic butter: Remove the potatoes and carefully brush each one with the melted garlic butter to add richness and depth of flavor.
- Continue roasting: Return the potatoes to the oven and roast for an additional 25 minutes, until they are tender inside and crispy on the edges.
- Final seasoning and serving: Season with additional salt and freshly ground black pepper as needed. Top with chopped fresh parsley and sprinkle red pepper flakes for a touch of heat. Serve warm with extra garlic butter on the side for dipping.
Notes
- Use Yukon Gold potatoes for their creamy texture and ability to hold shape well when sliced thin.
- If you don’t have butter knives or chopsticks, you can use any similar-sized objects to safely prevent cutting through the potato base while slicing.
- Make sure to get the olive oil and seasonings between the slices for maximum flavor and to promote crispiness.
- For a dairy-free version, substitute garlic butter with olive oil infused with garlic.
- To make the garlic butter, melt unsalted butter and mix in finely minced garlic; strain if desired for a smooth finish.
Nutrition
- Serving Size: 1 potato (approx. 200g)
- Calories: 210 kcal
- Sugar: 1.5 g
- Sodium: 230 mg
- Fat: 12 g
- Saturated Fat: 4 g
- Unsaturated Fat: 7 g
- Trans Fat: 0 g
- Carbohydrates: 25 g
- Fiber: 3 g
- Protein: 3 g
- Cholesterol: 15 mg


