
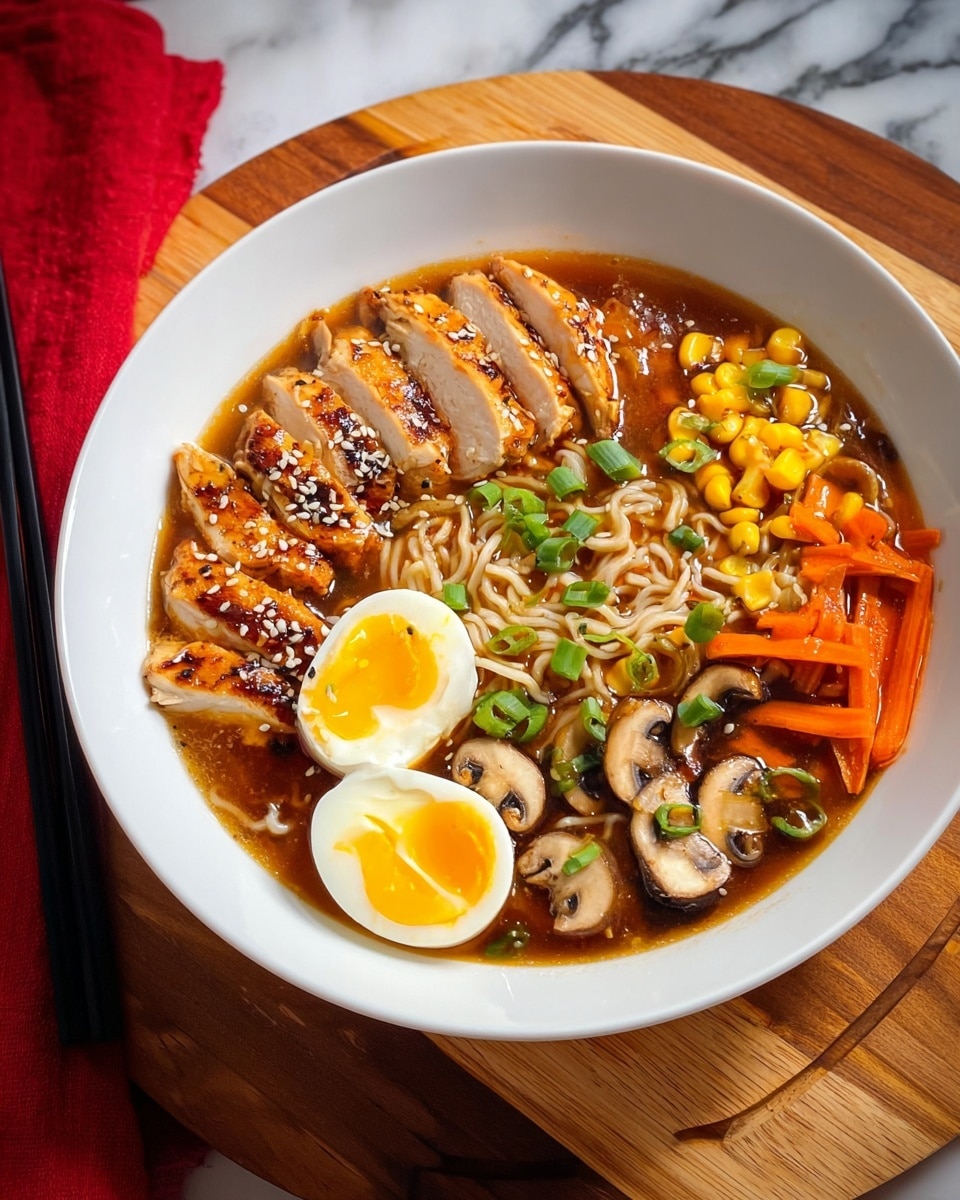
If you’re looking to cozy up with something that feels like a warm hug in a bowl, you’ve got to try this Chicken Teriyaki Ramen Recipe. I absolutely love how the tender chicken thighs soak up that sweet and savory teriyaki glaze, paired with a rich, flavorful broth and slurp-worthy noodles. When I first tried this combo, it instantly became a go-to comfort meal. Stick with me, and I’ll walk you through exactly how to get this fan-freaking-tastic dinner on your table with ease.
Why You’ll Love This Recipe
- Simple Ingredients: You probably have most of these pantry staples already, making it an easy weeknight winner.
- Rich, Balanced Flavor: The mix of ginger, garlic, and teriyaki sauce creates a broth that’s both comforting and exciting.
- Perfectly Tender Chicken: Baking the chicken thighs in teriyaki sauce keeps them juicy and full of flavor every time.
- Customizable and Fun: You can easily swap veggies, toppings, or spice it up to suit your mood.

Ingredients You’ll Need
For this Chicken Teriyaki Ramen Recipe, the magic is in the harmony between fresh veggies, tender chicken, and a rich broth infused with an umami-packed teriyaki sauce. Here’s a quick rundown of the essentials—and some tips on what to look for when shopping.
- Chicken Thighs: I prefer boneless, skinless thighs for juicy meat that stays tender and cooks evenly.
- Teriyaki Sauce: A good-quality bottle like Kikkoman really makes a difference in flavor depth.
- Chicken Broth: Homemade if you can, but store-bought works great and saves time.
- Fresh Ginger: Grated fresh ginger adds a bright, zesty kick you just can’t beat.
- Garlic Cloves: Minced fresh garlic blends beautifully in the broth.
- Soy Sauce: Use a naturally brewed low-sodium version for balanced saltiness.
- Sweet Corn: Canned is convenient and adds a subtle sweetness everyone loves.
- Toasted Sesame Seed Oil: Just a splash for that signature nutty aroma.
- Carrots: Cut into matchsticks for a little crunch and color contrast.
- Baby Bella Mushrooms: Sliced thin to soak up broth flavor and add earthiness.
- Ramen Bricks: Choose your favorite brand or style, just avoid instant cup noodles for best taste and texture.
- Large Eggs: They get boiled just right to add creamy richness to the bowl.
- Green Onions: Chopped fresh to garnish and boost freshness.
- Sesame Seeds: Toasted and sprinkled on top for a beautiful final touch.
Variations
I love making this Chicken Teriyaki Ramen Recipe my own depending on what’s in the fridge or who’s at the table. Don’t be shy—mix it up and make it yours. Here are a few ideas that have worked well for me.
- Spicy Kick: When I want a little heat, I toss in some chili flakes or a drizzle of chili oil—it perks up the broth beautifully.
- Veggie Boost: Swap in bok choy, snap peas, or spinach for more greens; they soften quickly and add vibrant color.
- Protein Swap: I’ve tried using grilled salmon or tofu instead of chicken, which works great if you want a twist.
- Gluten-Free: Just choose gluten-free soy sauce and ramen noodles, and you won’t miss a beat.
How to Make Chicken Teriyaki Ramen Recipe
Step 1: Bake the Teriyaki Chicken to Tender Perfection
Start by preheating your oven to 375°F (190°C). I like to line my 13×9 baking dish with parchment paper to save on cleanup—trust me, it’s a game changer! Place the boneless skinless chicken thighs in the dish, then pour the entire bottle of teriyaki sauce over them, making sure each piece gets nicely coated. Pop it into the oven for 30 minutes. You’re aiming for juicy, flavorful chicken that will shred beautifully without drying out. Let the chicken rest about 5 minutes before slicing—this helps keep the juices locked in.
Step 2: Simmer the Flavorful Broth and Veggies
While your chicken is baking, grab a large pot and set it to medium heat. Add chicken broth, fresh ginger, minced garlic, soy sauce, canned sweet corn, toasted sesame oil, carrots, sliced baby bella mushrooms, and half your chopped green onions. Put the lid on and let it gently simmer as you prep the rest. The steam helps soften the veggies while allowing the broth to soak up all those beautiful flavors.
Step 3: Perfect Your Soft-Boiled Eggs
In a separate large saucepan, bring enough water to cover the eggs to a rolling boil. Carefully lower in your 6 large eggs and cook them for exactly 7 minutes for a perfectly creamy yolk. Once done, transfer the eggs immediately to an ice bath (half ice, half cold water) to stop the cooking process and make peeling a breeze. This step always impresses me—there’s nothing like that silky texture in your ramen bowl.
Step 4: Cook Your Ramen Noodles Just Right
Using the same saucepan or a fresh one, boil water and cook your ramen bricks until they reach your preferred doneness—usually around 3-4 minutes for a nice chew without mushiness. Drain most of the water; you want some moisture on the noodles, but not a soggy mess. This balances well with the broth we’ll ladle over later.
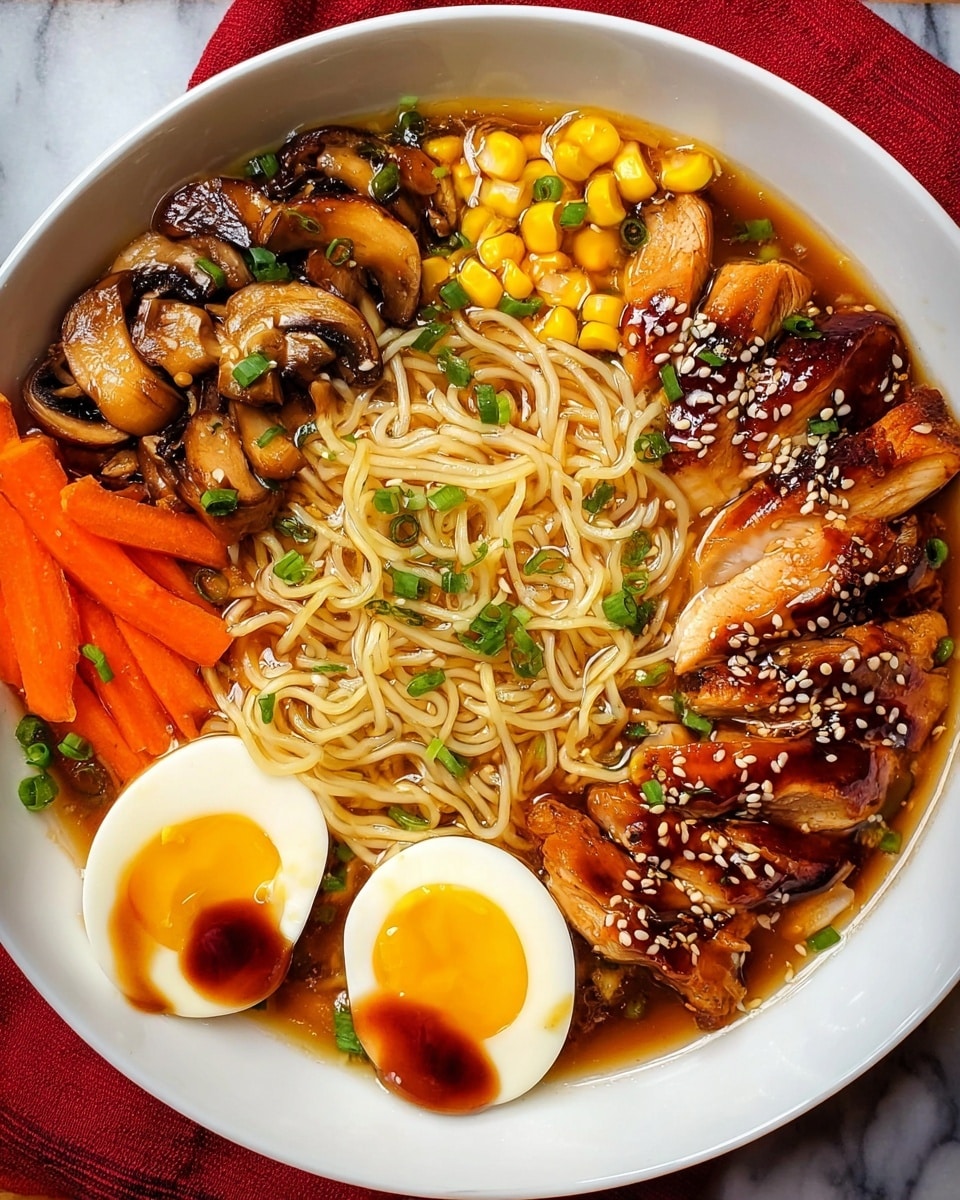
Step 5: Assemble Your Dream Bowl
Peel and slice each egg in half lengthwise. Slice your rested chicken thighs. To build your bowl, start by laying down a bed of ramen noodles, ladle over the hot broth and veggie mix, place chicken on one side, then add your halved eggs. Don’t forget to spoon some of that teriyaki sauce from the chicken pan right over the meat for an extra punch of flavor. Finish with a sprinkle of remaining green onions and toasted sesame seeds. You’re ready to enjoy an incredible meal!
Pro Tips for Making Chicken Teriyaki Ramen Recipe
- Parchment Paper for Easy Cleanup: I swear by lining the baking dish here—it saves you from scrubbing sticky teriyaki sauce later!
- Don’t Overcook Eggs: Timing those 7 minutes exactly and plunging them in ice water keeps yolks creamy, not chalky.
- Simmer, Don’t Boil the Broth: Keeping the broth at a gentle simmer ensures veggies stay tender-crisp and flavors meld without becoming bitter.
- Resist Overloading Noodles with Water: Draining most water before assembling keeps your bowl from becoming soggy.
How to Serve Chicken Teriyaki Ramen Recipe
Garnishes
I always use chopped green onions and toasted sesame seeds—they add that fresh crunch and nutty finish that make every bite exciting. Sometimes, I throw in a few thin slices of fresh chili or a drizzle of sriracha for heat, especially on chilly days.
Side Dishes
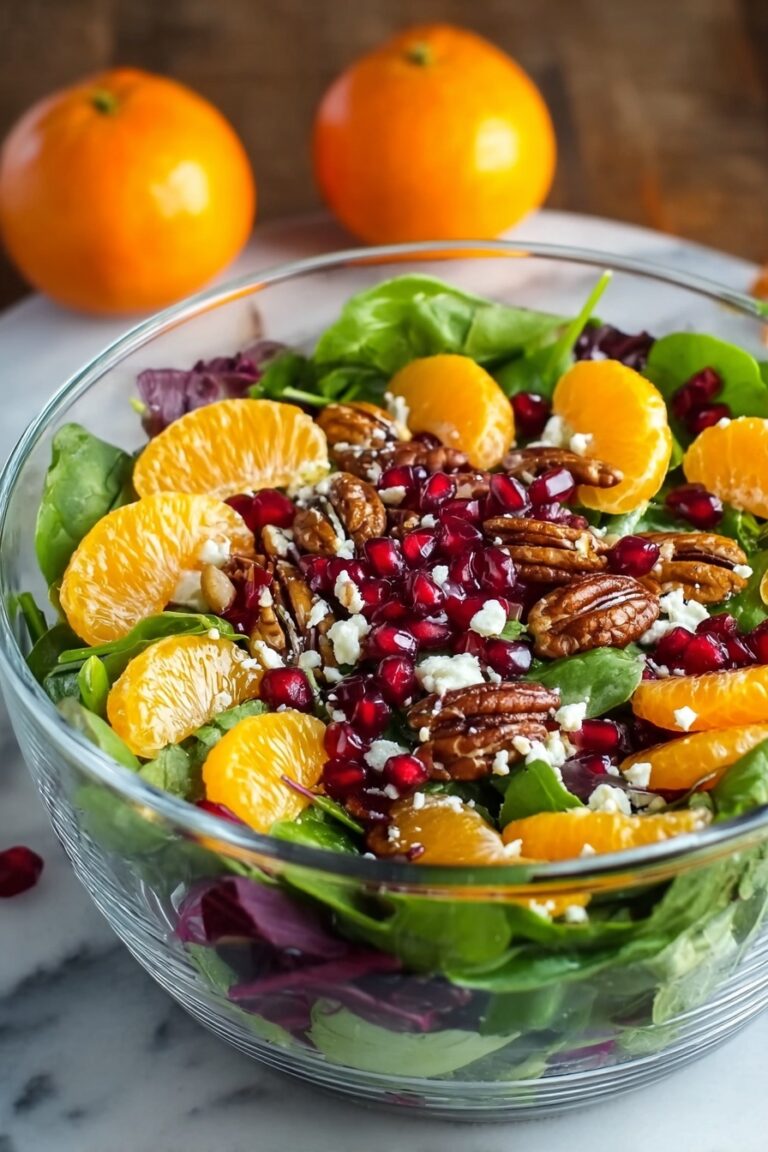
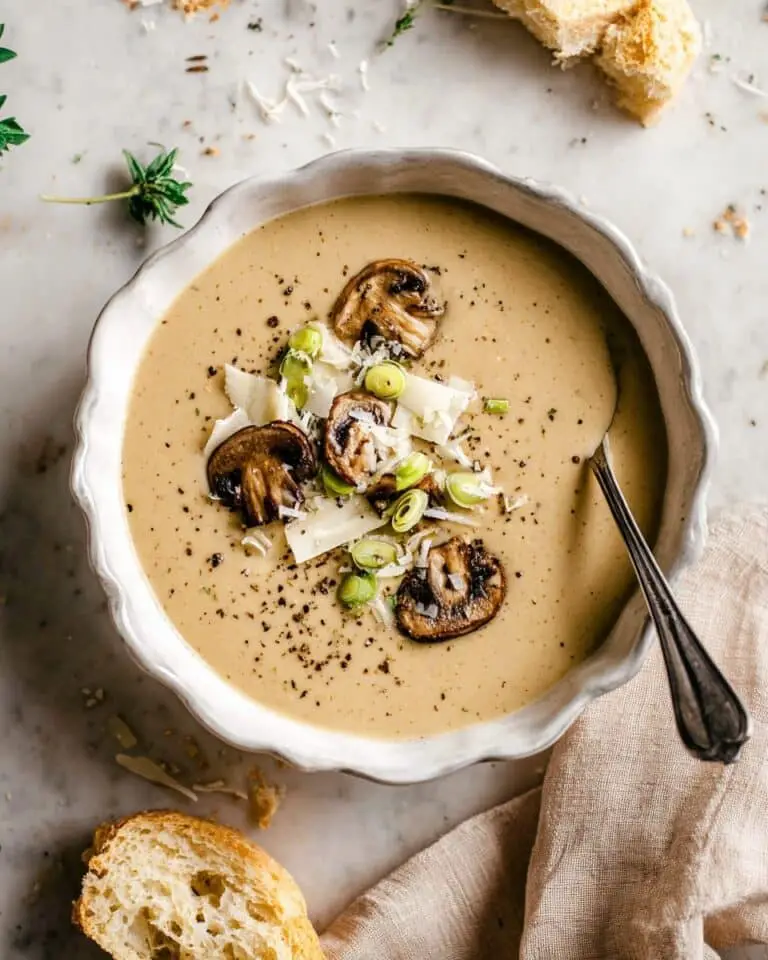
To round out the meal, I love pairing this ramen with simple sides like steamed edamame sprinkled with sea salt or crispy gyoza dumplings if I’m feeling fancy. A light cucumber salad dressed in rice vinegar also balances the richness beautifully.
Creative Ways to Present
For special occasions, I’ve served this recipe in rustic ceramic bowls and added edible flowers or fresh herbs like cilantro on top. Layering the ingredients with colorful veggies arranged neatly makes it feel extra festive and inviting. Trust me, your friends will be wowed!
Make Ahead and Storage
Storing Leftovers
When I’ve got leftovers, I store the broth and veggies separately from the noodles and chicken in airtight containers in the fridge. This helps keep the noodles from getting mushy. Usually, the chicken holds up wonderfully for about three days.
Freezing
I haven’t frozen the whole bowl assembled, but freezing just the broth and chicken without noodles works well. When you’re ready, thaw overnight in the fridge and gently reheat. Noodles are best cooked fresh since freezing can affect their texture.
Reheating
I warm up the broth and chicken gently on the stovetop to avoid breaking down the meat, then add freshly cooked ramen noodles. Reheat eggs in warm water or just add them cold from the fridge—they still taste great that way!
FAQs
-
Can I use chicken breast instead of thighs in this Chicken Teriyaki Ramen Recipe?
You absolutely can! Just keep in mind chicken breast cooks faster and can dry out more easily, so I recommend reducing the baking time and checking frequently. Thighs stay juicier and have richer flavor, which is why I lean towards them.
-
What’s the best way to avoid soggy noodles?
The key is to drain most of the water after cooking ramen noodles and add the broth just before serving. You could also keep noodles separate until mealtime if you’re prepping ahead.
-
Can I make this recipe spicy?
Definitely! Adding chili flakes, fresh sliced chili, or even a dash of sriracha to your bowl works wonders. I like to add heat gradually so it’s balanced rather than overwhelming.
-
How long does the teriyaki chicken last in the fridge?
Stored properly in an airtight container, leftover chicken thighs last about 3 to 4 days refrigerated. Always check for freshness before reheating.
-
Can I use instant ramen noodles for this recipe?
You can, but I recommend choosing ramen bricks without seasoning packets to control the flavor. Instant noodles tend to become mushy quickly and don’t hold up as well in broth compared to fresh or good-quality dried ramen bricks.
Final Thoughts
This Chicken Teriyaki Ramen Recipe has become a favorite in my kitchen because it strikes that perfect balance between comforting and satisfying while still feeling special enough for company. I hope you’ll try it soon—it really is one of those dishes that brings everyone together around the table, noodles slurping and smiles all around. Give it a go, and I bet it’ll be a new staple for you, too!
Print
Chicken Teriyaki Ramen Recipe
- Prep Time: 10 minutes
- Cook Time: 45 minutes
- Total Time: 55 minutes
- Yield: 6 servings
- Category: Soup
- Method: Baking
- Cuisine: Japanese
Description
This Chicken Teriyaki Ramen recipe combines tender, juicy chicken thighs baked in savory teriyaki sauce with a rich and flavorful broth filled with fresh vegetables, mushrooms, and corn. Served over perfectly cooked ramen noodles and topped with soft-boiled eggs, green onions, and sesame seeds, it’s a comforting and satisfying bowl full of umami goodness.
Ingredients
Chicken & Teriyaki
- 12 boneless skinless chicken thighs
- 1 (20 oz) bottle teriyaki sauce (Kikkoman recommended)
Broth & Vegetables
- 3 quarts chicken broth
- 1 tbsp fresh ginger, grated
- 6 garlic cloves, minced
- ⅔ cup soy sauce
- 2 (15 oz) cans sweet corn, drained
- 1 tbsp toasted sesame seed oil
- 2 carrots, cut in matchsticks
- 2 cups baby bella mushrooms, sliced
- 4 green onions, chopped (divided use)
Ramen & Toppings
- 8 ramen noodle bricks
- 6 large eggs
- Sesame seeds, for garnish
Instructions
- Preheat and bake chicken: Preheat your oven to 375ºF. Arrange the chicken thighs in a 13×9 baking dish lined with parchment paper. Pour the entire bottle of teriyaki sauce over the chicken. Bake uncovered for 30 minutes until the chicken is cooked through and glazed.
- Prepare the broth: While the chicken bakes, in a large pot over medium heat, combine the chicken broth, grated ginger, minced garlic, soy sauce, sweet corn, sesame seed oil, carrot matchsticks, sliced mushrooms, and half of the chopped green onions. Cover and simmer gently until ready to serve, allowing the flavors to meld.
- Soft boil the eggs: Bring a large saucepan of water to a rolling boil. Carefully add the eggs and boil for exactly 7 minutes. Remove and transfer the eggs to an ice bath (cold water with ice cubes) to cool completely. This will yield soft-boiled eggs with slightly runny yolks.
- Cook the ramen noodles: In the same or another large saucepan, bring enough water to a boil to cover the noodles. Add ramen bricks and cook according to package instructions or until desired texture is achieved. Drain most of the water and set noodles aside.
- Prepare eggs and chicken for serving: Peel the cooled eggs and slice each in half lengthwise. Remove the baked chicken from the oven and let it rest for 5 minutes. Then transfer to a cutting board and slice each piece into strips, reserving the teriyaki sauce left in the dish.
- Assemble the ramen bowls: Divide the cooked ramen noodles among six bowls. Ladle the hot broth and vegetable mixture over the noodles. Arrange sliced teriyaki chicken on one side of each bowl and place two egg halves alongside. Spoon some of the reserved teriyaki sauce over the chicken. Garnish with the remaining chopped green onions and a sprinkle of sesame seeds.
Notes
- For easier cleanup, line the baking dish with parchment paper before baking chicken.
- Adjust soy sauce quantity in broth to taste for saltiness.
- Soft boiling eggs for 7 minutes ensures a creamy yolk; boil longer for firmer eggs.
- Add extra vegetables like spinach or bok choy for more greens if desired.
- Leftover teriyaki sauce can be used as a dipping sauce or drizzled over the finished bowl.
Nutrition
- Serving Size: 1 bowl (approx. 1/6th of recipe)
- Calories: 550 kcal
- Sugar: 12 g
- Sodium: 1250 mg
- Fat: 18 g
- Saturated Fat: 4 g
- Unsaturated Fat: 12 g
- Trans Fat: 0 g
- Carbohydrates: 65 g
- Fiber: 5 g
- Protein: 38 g
- Cholesterol: 185 mg


