
If you’re looking for a fun, festive, and totally delicious treat to wow your Halloween guests, you’re going to love this Easy Spooky Halloween Chocolate-Covered Oreos Recipe. It’s one of those recipes that’s simple enough for anyone to make, but impressive enough to steal the show at any Halloween party. Whether you’re decorating with creepy candy eyes or drizzling colorful chocolate, these Oreos bring spooky sweetness to the next level. Stick around—I’m about to share everything you need to make these festive treats perfectly, even if you’ve never dipped a cookie in chocolate before!
Why You’ll Love This Recipe
- Super Simple Prep: Only a handful of ingredients and easy melting steps make it beginner-friendly.
- Eye-Catching Presentation: The colorful candy melts and spooky sprinkles bring your Halloween vibes to life.
- Perfect Party Treat: These Oreos are bite-sized delights that are crowd-pleasers with kids and adults alike.
- Customizable Fun: You can mix and match chocolate colors and decorations depending on your spooky theme.

Ingredients You’ll Need
You’ll be amazed how just a few simple ingredients come together to create this festive treat. Plus, many of these items you might already have tucked away in your pantry. Choosing quality candy melts makes the dipping smooth and glossy, so don’t skimp on that!
- Oreos: Classic sandwich cookies are the base. I like the original cream-filled kind for the best dip-and-hold flavor.
- White candy melts or white chocolate: These melt easily and provide a great canvas for mummy effects or spooky drizzles.
- Orange candy melts: Such a fun, vibrant color — perfect for that iconic Halloween pumpkin look.
- Chocolate chips or black candy melts: Great for adding dark, spooky accents or dripping details.
- Green candy melts: A fun pop of eerie color you can use for monster-themed Oreos or other designs.
- Assorted Halloween sprinkles: Think candy eyeballs, spooky shapes, and colorful sprinkles—they really take these Oreos from simple to extraordinary.
Variations
I personally love putting my own spin on this Easy Spooky Halloween Chocolate-Covered Oreos Recipe by switching up the colors and decorations depending on the mood or theme. Don’t be afraid to get creative with seasonal candies or mix in some nuts or crushed cookies for texture!
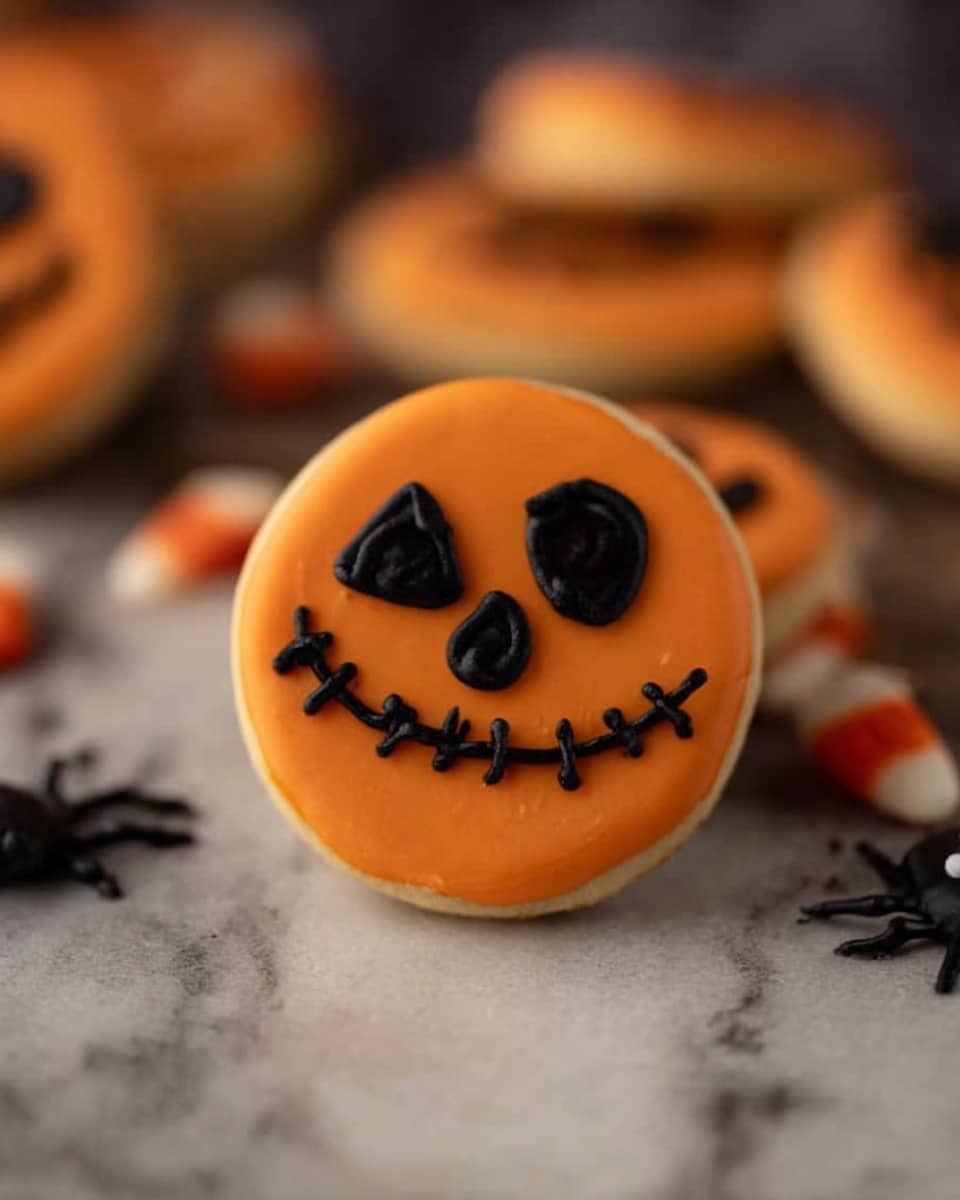
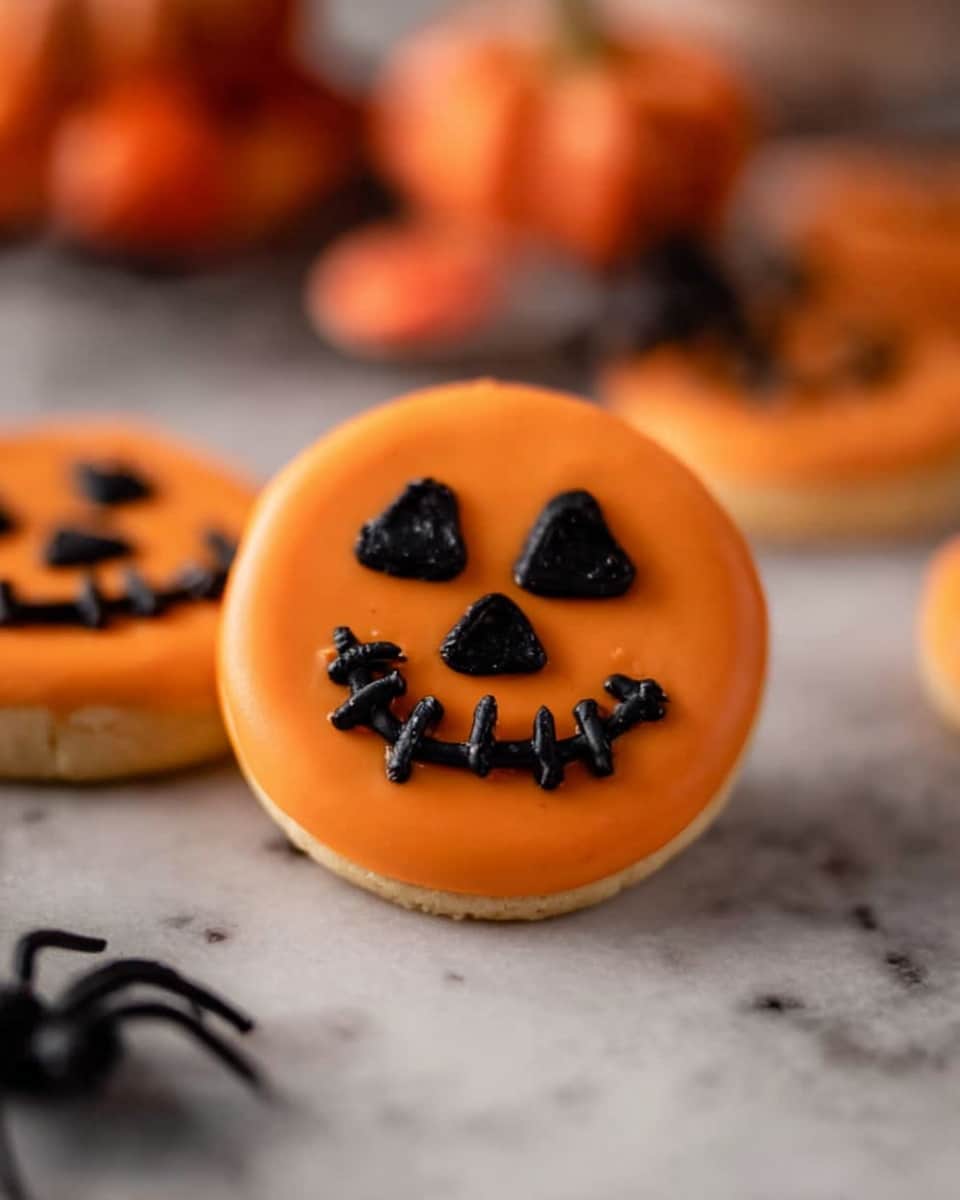
- Black and Orange Classic: My go-to combo for that traditional Halloween feel—orange-covered Oreos decorated with black candy eyes always get rave reviews.
- Mummy Oreos: I dip the cookies in white candy melts, place candy eyes, chill, then drizzle with more white melts to create the wrapped look—it’s easier than it looks and super cute.
- Gluten-Free Version: Use gluten-free sandwich cookies and ensure your candy melts are gluten-free, and you’ve got an allergen-friendly treat.
- Spooky Drizzle Effect: Instead of dipping all Oreos, dip partially then drizzle contrasting colors for a fun messy look that kids adore.
How to Make Easy Spooky Halloween Chocolate-Covered Oreos Recipe
Step 1: Prepare Your Workspace and Melt Chocolate
Start by lining a baking sheet with parchment paper—that’s where your dipped Oreos will chill and set. Next, take the first color of candy melts you want to use and melt them in a microwave-safe bowl. I always melt in 30-second bursts, stirring well between each, to avoid burning and get a silky smooth texture. It’s best to do one color at a time, so your dips stay fresh and glossy.
Step 2: Dip the Oreos and Decorate
Grab your Oreo and a chocolate dipping fork if you have one—it makes the process so much neater. Dip each Oreo fully into the melted chocolate, flipping to coat both sides evenly. Then, lift it out and gently tap or wiggle the fork against the bowl to let excess drip off. Place the dipped cookie on your parchment-lined sheet. This step is all about patience—don’t rush shaking off the extra chocolate, or your treats will be messy.
Now comes the fun part: decorating. For that mummy look, dip Oreos in white candy melts first, press candy eyeballs onto the wet chocolate, and pop them in the fridge to set. Once firm, drizzle more white candy melt over to create “bandages” and chill again. For other designs, sprinkle on Halloween-themed candies or sprinkles while the chocolate is still soft so they stick well.
Step 3: Repeat with Remaining Colors and Oreos
Once you finish with one color and its decorations, clean your tools if necessary and move onto the next candy melt color. Repeat the dipping and decorating process until all Oreos are transformed into spooky masterpieces. Your countertop might get colorful and a little messy—but isn’t that part of the Halloween fun?
Pro Tips for Making Easy Spooky Halloween Chocolate-Covered Oreos Recipe
- Use Candy Melts Over Chocolate: Candy melts are easier to work with for dipping because they cool to a shiny finish without tempering.
- Chill Cookies After Decorating: Chilling your dipped Oreos between layers helps the candy harden perfectly and keeps your drizzles neat.
- Work Quickly but Calmly: Candy melts can harden fast—dip and decorate swiftly but don’t rush so much that you make a mess.
- Avoid Moisture: Make sure the Oreos and your dipping tools are dry—water can cause the candy to seize up.
How to Serve Easy Spooky Halloween Chocolate-Covered Oreos Recipe
Garnishes
I love using candy eyeballs and vibrant Halloween sprinkles because they’re easy to apply and instantly make each Oreo fun and festive. If you want to get fancy, edible metallic dust or gel food colors can add spooky shimmer and patterns.
Side Dishes
These chocolate-covered Oreos are a sweet star on their own, but I like pairing them with a spooky punch or hot apple cider for a perfect Halloween combo that balances sweet and tart.
Creative Ways to Present
For a party, I like arranging these treats on a tiered cake stand surrounded by fake cobwebs or inside miniature cauldrons for a themed display. Wrapping individual Oreos in cellophane tied with orange and black ribbons makes cute party favors too!
Make Ahead and Storage
Storing Leftovers
After chilling until set, store your Easy Spooky Halloween Chocolate-Covered Oreos in an airtight container at room temperature or in the fridge. I’ve found they keep their texture best when kept cool but not too cold.
Freezing
If you want to prepare in advance, these Oreos freeze really well! Just pop them into a single layer on a baking tray until firm, then transfer to a freezer-safe container or bag. Thaw at room temperature to preserve their shine and texture.
Reheating
No need to reheat—these are best enjoyed chilled or at room temperature. If your candy coating feels soft, a few minutes in the fridge will bring back that perfect snap.
FAQs
-
Can I use regular chocolate instead of candy melts for this recipe?
You can, but candy melts are specifically designed to melt smoothly and harden with a nice shine without tempering. Regular chocolate can be used if tempered properly, but it may not coat as evenly or set as quickly as candy melts.
-
How do I avoid the chocolate from cracking after it hardens?
Make sure you temper the candy melts or chocolate by melting it properly and cooling slightly before dipping. Also, avoid rapid temperature changes like going straight from freezer to room temp, which can cause cracking.
-
What’s the best way to store these Oreos so they stay fresh?
Store them in an airtight container at room temperature or in the fridge if your home is warm. Avoid humid places to prevent the candy coating from becoming sticky.
-
Can I make these ahead of time for a party?
Absolutely! You can make these a few days in advance and store them properly. They even freeze well if you want to prepare a week or two ahead.
-
Do I need special tools for dipping the Oreos?
Dipping forks help with easy lifting and less mess, but if you don’t have one, a toothpick or even a fork works. Just be gentle when coaxing the excess chocolate off.
Final Thoughts
This Easy Spooky Halloween Chocolate-Covered Oreos Recipe is definitely a staple in my Halloween celebrations. I absolutely love how customizable it is, and how each cookie becomes a mini work of art that tastes incredible. It’s a treat that brings joy to kids and adults alike without requiring hours in the kitchen. I’m excited for you to try this out and add your own creative flair—trust me, once you start dipping, it’s hard to stop! Happy Halloween and happy baking, friend.
Print
Easy Spooky Halloween Chocolate-Covered Oreos Recipe
- Prep Time: 20 minutes
- Cook Time: 0 minutes
- Total Time: 20 minutes
- Yield: 36 Oreos
- Category: Dessert
- Method: No-Cook
- Cuisine: American
Description
Celebrate Halloween with these easy and spooky chocolate-covered Oreos. Featuring vibrant candy melts in white, orange, green, and black chocolate, these treats are perfect for parties and festive gatherings. Decorate with fun Halloween sprinkles and candy eyes to create eyeballs, mummies, and more spooky designs that kids and adults will love!
Ingredients
Oreos
- 1 package Oreos (36 Oreos)
Candy Melts and Chocolate
- 6 oz white candy melts or white chocolate
- 6 oz orange candy melts
- 6 oz chocolate chips or black candy melts
- 6 oz green candy melts
Decorations
- Assorted Halloween sprinkles like candy eyes, spooky sprinkles
Instructions
- Prepare Baking Sheet: Line a baking sheet with parchment paper and set aside to ensure the dipped Oreos don’t stick and have a smooth surface to rest on.
- Melt Candy Melts: In a microwave-safe bowl, melt the first candy melt color you will use for dipping. Melt in 30-second increments, stirring in between, until fully smooth. It’s best to melt and use one color at a time to prevent hardening.
- Dip Oreos: Using a chocolate dipping fork, dunk each Oreo into the melted candy melt, flipping it to coat both sides evenly. Lift the Oreo and gently tap the fork on the edge of the bowl to remove excess chocolate.
- Place on Baking Sheet: Carefully place the coated Oreo on the prepared parchment-lined baking sheet to set and harden.
- Decorate: Depending on your design, decorate the Oreos immediately with spooky eyeball candies or themed sprinkles before the coating hardens to allow them to stick well.
- Make Mummy Design: For mummy Oreos, first dip in white candy melts and place eyeball candies on top. Chill in the refrigerator until set. Then drizzle additional melted white candy melts over the top to create a layered bandage effect. Chill again to set completely.
- Repeat: Repeat the dipping and decorating process with all Oreos and all candy melt colors you want to use.
- Chill and Serve: Chill all decorated Oreos until the chocolate is fully set before serving and enjoying your spooky Halloween treats!
Notes
- Melt candy melts slowly to avoid burning, stirring after each 30-second interval.
- Use a chocolate dipping fork for cleaner coverage and less mess.
- Decorate Oreos right after dipping while the coating is still wet for best adherence.
- Chill the Oreos in the refrigerator between layers or after decorating to speed up setting.
- Store finished Oreos in an airtight container at room temperature for up to 3 days or refrigerate for longer freshness.
Nutrition
- Serving Size: 1 Oreo
- Calories: 150
- Sugar: 15g
- Sodium: 85mg
- Fat: 7g
- Saturated Fat: 4g
- Unsaturated Fat: 2g
- Trans Fat: 0g
- Carbohydrates: 21g
- Fiber: 1g
- Protein: 1g
- Cholesterol: 0mg


