
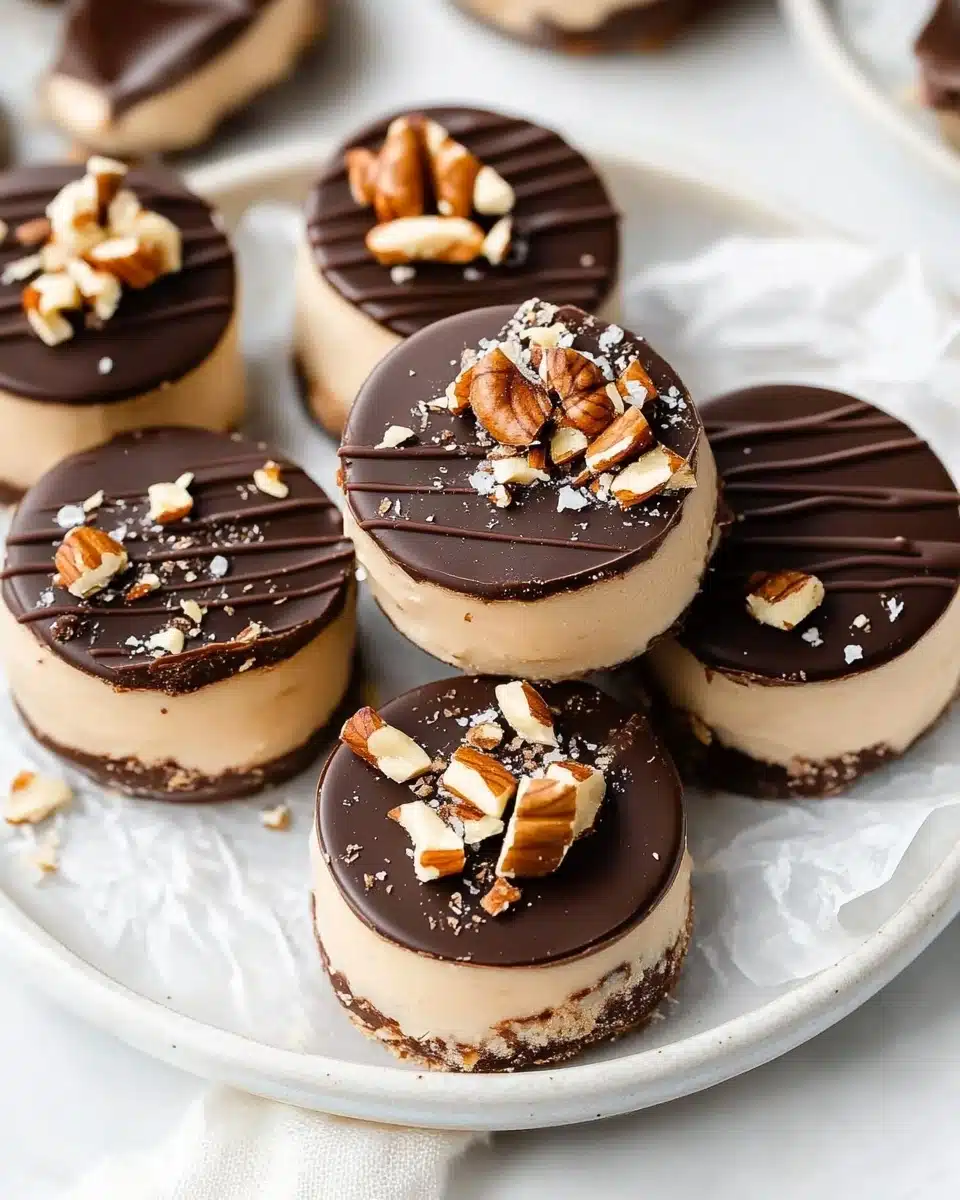
If you dream about that classic peanut butter cup flavor but crave something lighter, these Frozen Yogurt Peanut Butter Cups are the treat you need in your life! Each bite is the ultimate mash-up of creamy Greek yogurt, nutty peanut butter, and just the right hit of chocolate, sandwiched over a crisp layer of granola. If you’re looking for a cool, wholesome dessert that satisfies your sweet tooth and your snack cravings, this recipe is about to become your new obsession.
Why You’ll Love This Recipe
- Protein-Packed Satisfying Snack: These bite-sized cups have a sneaky boost of protein to keep you full and fuel your day.
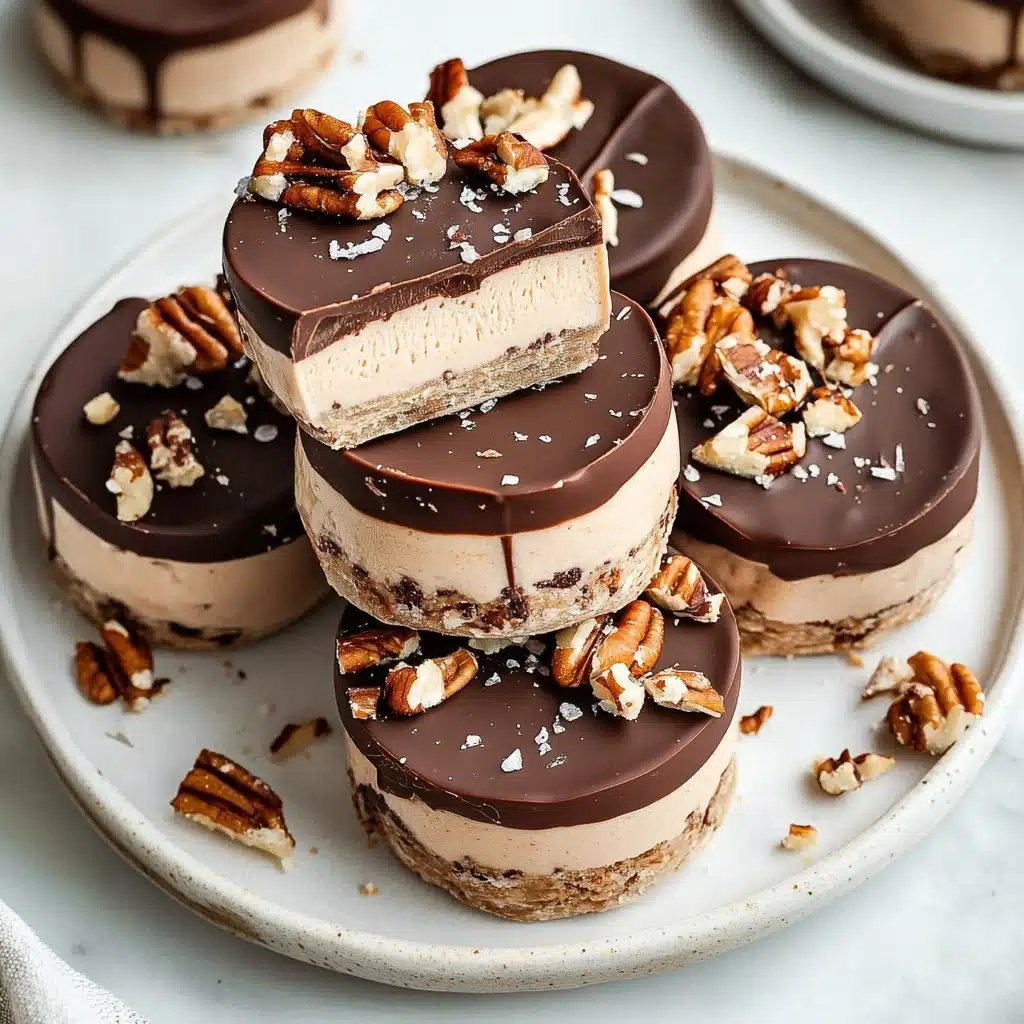
- Classic Dessert, Healthier Twist: You get that dreamy peanut butter cup experience, but with a refreshing, creamy yogurt center and a crunchy granola base.
- Make-Ahead Friendly: Stash a batch in the freezer and you’ll always have a cool sweet treat ready for snack attacks or surprise guests.
- Totally Customizable: Swap your favorite nut butter, granola, or even chocolate to fit your cravings or dietary needs.

Ingredients You’ll Need
This recipe is all about simple but thoughtful ingredients: each one plays a key role in the magical taste and texture of these Frozen Yogurt Peanut Butter Cups. Don’t skip any—each brings something special to the table!
- Granola: Gives structure and crunch as the bottom layer—choose a classic or go wild with a chocolate or nutty version for extra pizazz.
- Plain or Vanilla Whole Milk Greek Yogurt: Brings creaminess and tang, setting the stage for that luscious “cheesecake-meets-candy” vibe.
- Natural Peanut Butter: Delivers rich, salty-sweet flavor and helps hold everything together—natural, drippy PB works best here!
- Vanilla Protein Powder: Adds sweetness, vanilla warmth, and a big protein boost that turns these cups into a powerhouse snack or dessert.
- Semi Sweet Chocolate Chips: Melts into a glossy, thick shell that cracks just right with every bite.
- Coconut Oil: Mixed with chocolate for the perfect melt and shine—it also helps the chocolate set up in the freezer.
- Flaky Sea Salt & Extra Granola (optional): Sprinkle on top for that irresistible salty crunch and bakery-style finish.
Variations
One of the best parts about these Frozen Yogurt Peanut Butter Cups is how endlessly customizable they are! Don’t hesitate to riff on the basics—just swap, stir, and sprinkle to fit your mood, flavors, or what’s stashed in your pantry.
- Dairy-Free Delight: Use your favorite plant-based Greek yogurt, dairy-free chocolate chips, and a vegan-friendly protein powder to make these 100% dairy-free.
- Nut Butter Switch: Almond butter, cashew butter, or even sunflower seed butter work wonders if you want to change up the flavor profile or have a nut allergy to consider.
- Flavor Burst: For a fruity spin, add a swirl of berry jam to the yogurt filling before freezing, or use a flavored granola as your base.
- Chocolate Lovers: Double up on cocoa by adding chocolate protein powder or a dusting of cocoa between the layers!
How to Make Frozen Yogurt Peanut Butter Cups
Step 1: Build Your Crunchy Base
Start by grabbing your trusty silicone muffin pan (it makes popping the cups out so easy!). Spoon a scant tablespoon of your favorite granola into each well, just enough to cover the bottom in an even, crunchy layer. If your granola is chunky, give it a gentle crush so it lays flat and forms a sturdy base for the creamy filling.
Step 2: Mix Up the Creamy Filling
In a medium bowl, stir together the Greek yogurt, natural peanut butter, and vanilla protein powder until completely smooth. The mixture will be thick and luscious—don’t worry if you’re tempted to sneak a spoonful or two! The combination of tangy yogurt and nutty peanut butter is irresistible at this stage.
Step 3: Assemble & Tap Down
Divide the yogurt mixture among the muffin wells, scooping about three tablespoons into each one. Dollop it right on top of the granola, then use the back of your spoon to spread and gently pack it down for even cups. Give the pan a couple soft taps on the counter to help the filling settle perfectly into every nook of the granola.
Step 4: Quick Freeze
Slide the whole pan into the freezer so the yogurt mixture can firm up a bit—about 30 minutes is plenty. This step keeps the layers defined and prevents the melted chocolate from sinking in later on.
Step 5: Melt the Chocolate
Add the chocolate chips and coconut oil to a microwave-safe bowl. Microwave in 30-second spurts, stirring between each, and as the chocolate gets melty, switch to 10-second bursts. You want the chocolate super smooth and glossy, not scorched, so stay close!
Step 6: Crown with Chocolate & Toppings
Take your half-frozen cups out of the freezer. Spoon or drizzle the shiny melted chocolate over each cup, letting it spread to the edges. If you like a little extra flair, quickly sprinkle with flaky sea salt or a bit more granola while the chocolate is still soft so your toppings stick perfectly.
Step 7: Freeze Until Firm
Return the whole pan to the freezer for at least 45 minutes—or let them go overnight if you’re not in a rush. You want the yogurt peanut butter layer to be nice and firm and the chocolate to set into a shell that cracks satisfyingly on the first bite. To serve, let the cups sit at room temperature for 20–30 minutes to soften just enough for that dreamy, creamy texture.
Pro Tips for Making Frozen Yogurt Peanut Butter Cups
- The Silicone Advantage: Silicone muffin pans are a true game-changer for this recipe! They make removing each Frozen Yogurt Peanut Butter Cup a breeze without crumbling the layers or cracking the chocolate top.
- Smooth Chocolate Topper: Add coconut oil to your chocolate before melting—it thins it out just enough for a silky, easy-to-spread coating and helps prevent a dull finish.
- Tap and Set: Don’t skip gently tapping the muffin pan after assembling the yogurt and granola layer—this settles the filling into all the little crevices and ensures perfectly shaped, cohesive cups.
- Let Them Rest for Perfect Texture: Take the cups out of the freezer about 20 minutes before enjoying—this gives that frosty, creamy yogurt layer just enough time to soften to scoopable, dreamy perfection!
How to Serve Frozen Yogurt Peanut Butter Cups
Garnishes
Give your Frozen Yogurt Peanut Butter Cups a little style boost with extra granola crumbles, a dusting of flaky sea salt, or a few chopped roasted peanuts right on top of the chocolate. Not only do these garnishes add crunch and flavor, they also make the cups pop visually—perfect for when you want your snack tray to look as good as it tastes!
Side Dishes
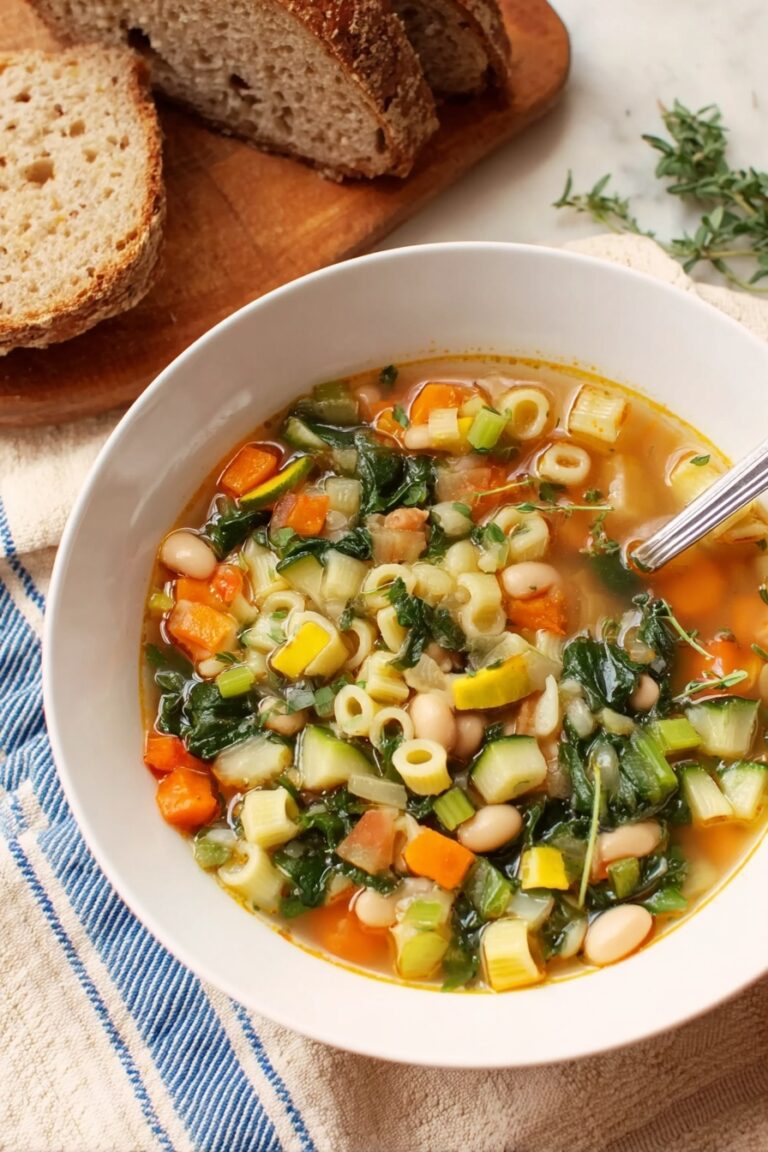
For an irresistible snack spread, serve these peanut butter cups alongside a fruit platter with strawberries, bananas, or grapes. Pairing them with a creamy latte or iced coffee makes them a chilly little treat after lunch. If you’re entertaining, add them to a healthy dessert board for a jaw-dropping, crowd-pleasing finale.
Creative Ways to Present
Have fun with the freeze! Present your Frozen Yogurt Peanut Butter Cups nestled into cupcake liners on a pretty platter, or stack them in a tall glass jar for easy grab-and-go appeal. For summer parties, freeze them in mini muffin tins for adorable bite-sized versions—or pile them in a frosty bowl with a few fresh berries for a playfully pretty dessert.
Make Ahead and Storage
Storing Leftovers
Once fully frozen, transfer your Frozen Yogurt Peanut Butter Cups to an airtight container or sealable freezer bag. Layer them with parchment paper to prevent sticking. They’ll keep beautifully, so you always have a wholesome treat ready when your cravings strike.
Freezing
These cups are perfectly designed for freezer storage! Leave them in the muffin pan for an overnight freeze if you want to prep ahead, then pop them out and store as needed. They’ll stay fresh and delicious for up to 2 months—just make sure they’re well-sealed to lock in flavor and prevent freezer burn.
Reheating
No reheating necessary—just take the cups out 20–30 minutes before serving, so the yogurt layer softens and the chocolate is still satisfyingly snappy. If you’re in a hurry, 10–15 minutes at room temperature will still make them taste wonderful, but the centers will be more ice cream-like and less creamy.
FAQs
-
Can I make these Frozen Yogurt Peanut Butter Cups without protein powder?
Absolutely! The protein powder adds a delicious vanilla flavor and a nutritional boost, but you can skip it if you prefer. Increase the Greek yogurt slightly to get the right creamy consistency—taste and adjust sweetness as needed.
-
Do I have to use a silicone muffin pan?
Silicone pans make removal much easier, but if you only have a metal muffin tin, just line each well with parchment paper cupcake liners to prevent sticking. The cups will pop out cleanly once frozen.
-
Can I use flavored Greek yogurt?
Definitely! Vanilla or honey-flavored Greek yogurt works wonderfully and adds a subtle sweetness. Just note that sweetened yogurts may make your Frozen Yogurt Peanut Butter Cups a touch sweeter—taste your filling and adjust peanut butter or protein powder accordingly.
-
How do I keep the chocolate from cracking too much?
Melting the chocolate with coconut oil helps it stay a little softer and less brittle after freezing. Also, letting the cups sit out for 20 minutes before serving softens the shell just enough for the perfect, gentle bite!
Final Thoughts
If you’ve never tried a cold, creamy treat quite like these Frozen Yogurt Peanut Butter Cups, you’re in for a pure joy moment! There’s magic in the way creamy, nutty, crunchy, and chocolatey flavors come together in every frozen bite. Treat yourself—make a batch and discover how a freezer snack can become a favorite all year round!
Print
Frozen Yogurt Peanut Butter Cups Recipe
- Prep Time: 15 mins
- Total Time: 2 hours 15 mins
- Yield: 12 cups
- Category: Dessert
- Method: Freezing
- Cuisine: American
- Diet: Vegetarian
Description
These Frozen Yogurt Peanut Butter Cups are a delightful treat that combines the creamy goodness of Greek yogurt with the nutty flavor of peanut butter, all topped with a decadent layer of chocolate. Perfect for a guilt-free indulgence!
Ingredients
Granola Base:
- 3/4 cup granola of choice, slightly crushed
Yogurt Filling:
- 1 1/4 cup plain or vanilla whole milk Greek yogurt
- 1/3 cup natural peanut butter
- 3/4 cup Puori Vanilla Protein Powder (68-70 g)
Chocolate Topping:
- 1/3 cup semi sweet chocolate chips
- 1 teaspoon coconut oil
- Optional Toppings:
- flaky sea salt
- additional granola for topping
Instructions
- Create Granola Base: Add a scant 1 tablespoon of granola to each well of a silicone muffin pan.
- Prepare Yogurt Filling: Mix Greek yogurt, peanut butter, and protein powder in a bowl. Divide mixture evenly amongst muffin wells.
- Freeze: Place pan in the freezer for 30 minutes to set.
- Melt Chocolate: Combine chocolate chips and coconut oil, microwave in increments until smooth.
- Assemble: Drizzle melted chocolate over cups, add optional toppings.
- Freeze Again: Return pan to freezer until cups are firm, about 45 minutes.
- Serve: Allow cups to soften slightly at room temperature before enjoying.
Notes
- Make It Dairy-Free: Substitute with plant-based Greek yogurt, dairy-free chocolate chips, and plant-based protein powder for a dairy-free version.
Nutrition
- Serving Size: 1 cup
- Calories: Approx. 180
- Sugar: 9g
- Sodium: 80mg
- Fat: 9g
- Saturated Fat: 4g
- Unsaturated Fat: 4g
- Trans Fat: 0g
- Carbohydrates: 16g
- Fiber: 2g
- Protein: 10g
- Cholesterol: 5mg
