
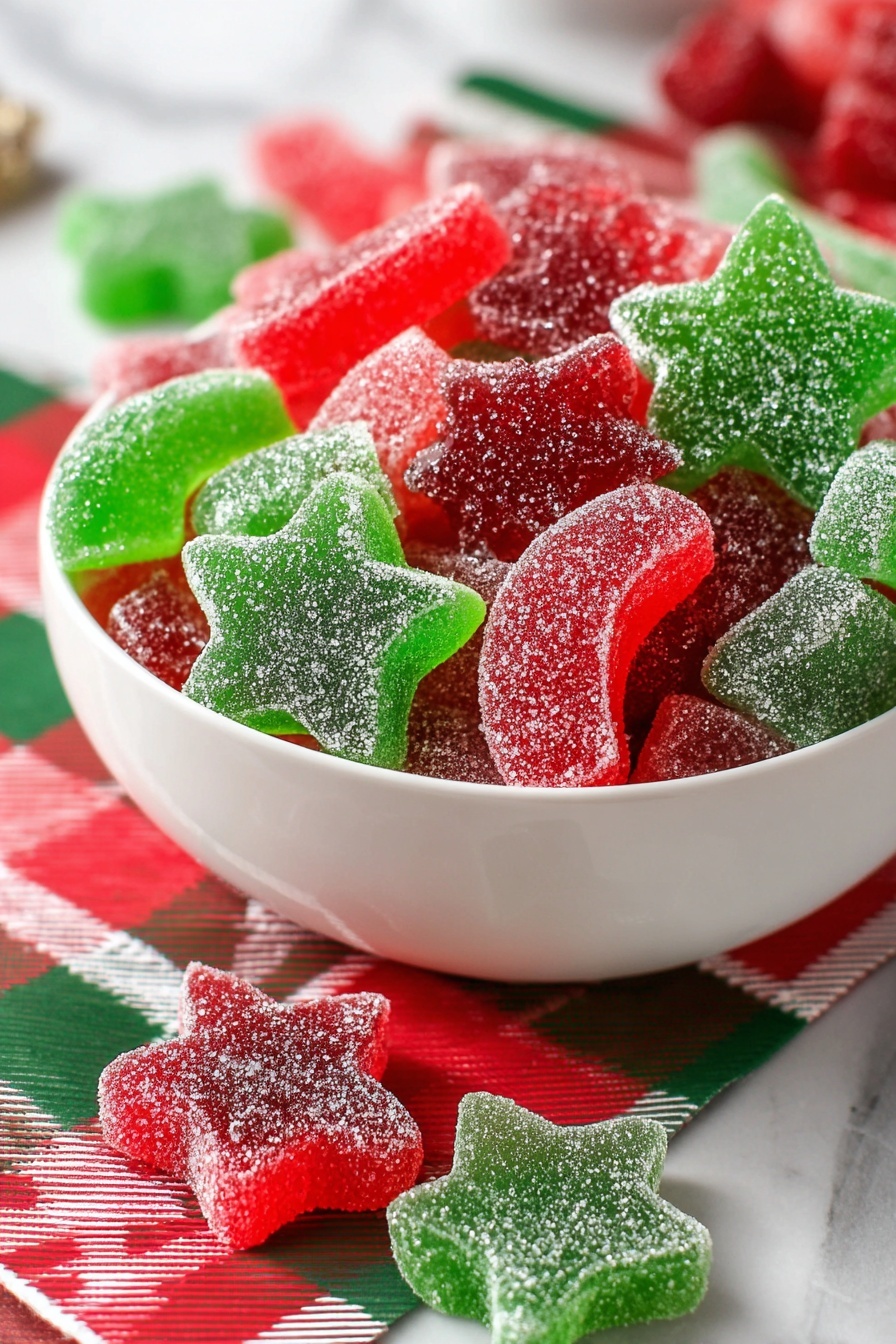
If you’ve ever craved that nostalgic, chewy candy from childhood, you’re going to absolutely love this Homemade Gelatin Gumdrops Recipe. It’s deceptively simple to make, super customizable with your favorite Jell-O flavors, and honestly, once you taste them fresh, you might never want to buy store-bought again. Let me walk you through this fan-freaking-tastic recipe that I swear anyone can nail, even if gel candies haven’t been your specialty before.
Why You’ll Love This Recipe
- Super Easy to Make: No complicated candy thermometer needed—just a saucepan and a bit of patience.
- Customizable Flavors: You can switch up the Jell-O flavors to suit your mood or season—kids especially adore picking their favorites.
- Great Texture Every Time: Firm but chewy, just the way gumdrops should be—no more guesswork on when to take them off heat.
- Perfect for Gifting or Snacking: They hold up well in airtight containers and make delightful homemade gifts during the holidays.

Ingredients You’ll Need
The ingredients for this Homemade Gelatin Gumdrops Recipe come together to create that classic soft, chewy texture and bright, fruity flavor you expect from gumdrops—with a much cleaner ingredient list! Let’s talk about why each one is important and a few tips for choosing the best.
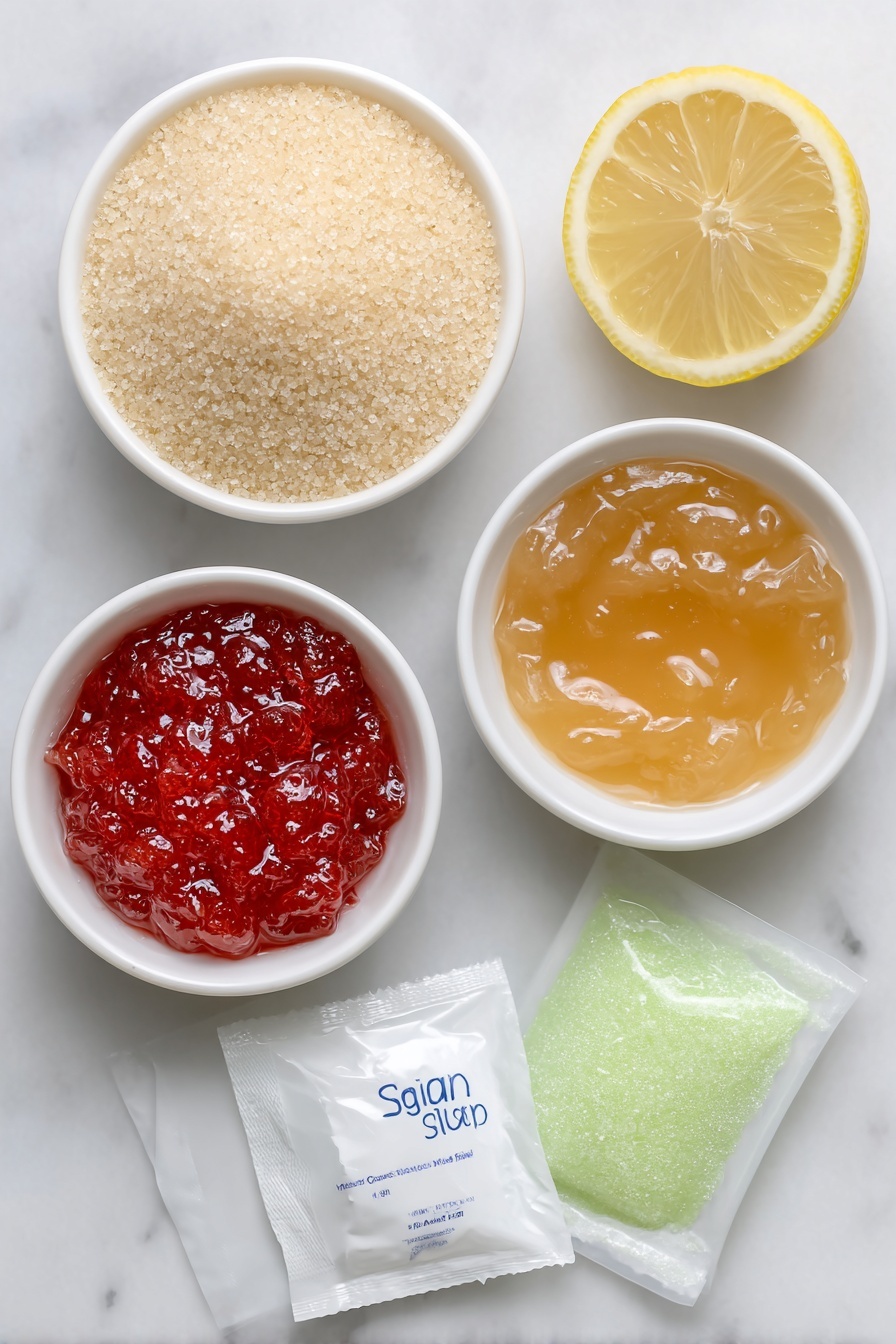
- Granulated Sugar: This is your sweetener and the coating that helps keep the gumdrops from sticking. Make sure it’s fresh and dry for best results.
- Applesauce (No Sugar Added): This keeps the gumdrops moist without adding syrupy sweetness; unsweetened is key to balance the flavors.
- Jell-O (Flavor Gelatin): Your flavor base—pick your favorite flavor packs! I love cherry and lime, but mix-and-match or even go for sugar-free options.
- Unflavored Gelatin: This gives gumdrops their signature chew. Using two envelopes usually hits the perfect firmness for cutting and shaping.
- Lemon Juice: Just a splash brightens the flavor and balances sweetness, trust me, it’s worth including.
Variations
The beautiful thing about this Homemade Gelatin Gumdrops Recipe is how easy it is to make it your own. Whether you’re aiming for a sugar-free version or want to play with flavor combos, there’s plenty of room for creativity here.
- Flavor Mixes: I’ve made half cherry and half orange in the same batch by layering the liquid before it sets—looks gorgeous and tastes like a party in your mouth.
- Dietary Modifications: For a vegan twist, try agar-agar instead of gelatin, though the texture will be a bit different. I’ve experimented a bit and love the firmness it adds.
- Sweetener Swaps: Swap out half the sugar for a finely ground powdered erythritol if you want to reduce sugar without losing texture.
- Spiced Gumdrops: Add a pinch of cinnamon or nutmeg for a cozy fall vibe that my family goes crazy over.
How to Make Homemade Gelatin Gumdrops Recipe
Step 1: Prep Your Pan and Gather Ingredients
Start by lightly coating a 9×13-inch baking dish with cooking spray—this will make it so much easier to remove your gumdrops later without sticking. Next, have your sugar, applesauce, Jell-O, unflavored gelatin, and lemon juice measured and ready to go. This recipe moves quickly once you start heating.
Step 2: Combine and Let the Mixture Bloom
Into a large saucepan, combine 2 cups of granulated sugar, the applesauce, your selected Jell-O packet, unflavored gelatin, and lemon juice. Stir everything just until it’s evenly mixed, then let the mixture sit for about a minute. This little rest lets the gelatin bloom and absorb moisture, which is crucial for that perfect gumdrop texture.
Step 3: Heat and Boil Carefully
Place the saucepan over medium heat and stir constantly as it warms. You want to bring this mixture up to a rolling boil—this usually takes a few minutes. Once it hits a boil, keep stirring and let it boil exactly one minute. Timing matters here; too long and you’ll get a harder candy, too short and the gumdrops won’t set well.
Step 4: Pour and Chill
Immediately pour the hot mixture into your prepared baking dish. Smooth it out gently (you don’t need to be perfect; it’ll set flat itself). Pop it into the refrigerator and let it chill until firm—usually about three hours, but I often leave mine overnight just to be sure it’s set well.
Step 5: Cut and Coat Your Gumdrops
Lay out a large cutting board lined with parchment paper sprinkled generously with sugar. Loosen the edges of your set gelatin with a spatula and carefully invert it onto the sugared parchment. Use small cookie cutters to cut shapes—dipping your cutters in hot water between cuts can prevent sticking. Once cut, leave the gumdrops right on the sugar to dry for about 8 hours until just a tad sticky.
Step 6: Final Sugar Coating and Storage
Roll each gumdrop in the remaining granulated sugar to give them that classic, slightly crunchy coating. Store all your homemade delights in an airtight container to keep them fresh and chewy for weeks.
Pro Tips for Making Homemade Gelatin Gumdrops Recipe
- Keep Stirring Constantly: I once got impatient and left the mixture unattended—ended up with lumpy gumdrops. Stir non-stop until boiling smooths the texture wonderfully.
- Use Sharp Cookie Cutters: Small, sharp cutters make clean shapes, and dipping them in hot water helps prevent sticking.
- Don’t Skip the Rest Time: Those 8 hours on the sugar let the gumdrops develop just the right surface tackiness before the sugar coating.
- Patience with Cooling: Rushing the refrigeration or cutting too soon will mess with set time and firmness—trust the wait!
How to Serve Homemade Gelatin Gumdrops Recipe
Garnishes
I typically keep the garnish simple with just granulated sugar because it adds that little crunch and keeps the gumdrops from sticking together. But if you want to be fancy, try dusting with a light coating of powdered sugar mixed with a hint of citric acid for a tart kick—your guests will notice!
Side Dishes
When I serve these with afternoon tea or coffee, I like to pair them with light, buttery shortbread cookies or a simple fruit tart. The gumdrops’ fruity chewiness contrasts beautifully with flaky baked goods, creating a delightful texture combo.
Creative Ways to Present
For holiday parties or birthdays, I arrange the gumdrops in colorful layers inside clear glass jars tied with ribbons—that always gets a wow! You can also thread them onto skewers for edible candy kabobs, which kids especially adore. It’s a fun way to show off those vibrant colors.
Make Ahead and Storage
Storing Leftovers
I’ve found the best way to store leftover gumdrops is in an airtight container at room temperature—not in the fridge, which can make them too firm or sticky. Layer them between sheets of parchment or wax paper to keep them from sticking together. They stay fantastic like this for up to two weeks.
Freezing
If you want to freeze them, place gumdrops in a single layer on parchment paper until frozen solid, then transfer them to a freezer-safe container. I’ve done this for holiday prep, and when thawed, they keep their chewiness surprisingly well.
Reheating
Since these are best enjoyed fresh or at room temperature, I usually let frozen gumdrops thaw naturally. Avoid microwave reheating—they can melt unevenly and lose their texture, which is no fun. Patience really pays off here!
FAQs
-
Can I use fresh fruit juice instead of applesauce in this Homemade Gelatin Gumdrops Recipe?
Fresh fruit juice wouldn’t work quite the same because it’s much thinner than applesauce and lacks the natural pectin and texture needed to give the gumdrops their body. Applesauce adds essential moisture and thickness, so I recommend sticking with it for best results.
-
Why do my gumdrops turn out too sticky or too hard?
If your gumdrops are too sticky, it usually means they didn’t chill long enough or haven’t rested on sugar before coating. Too hard? Maybe they were boiled too long or the gelatin was overused. Timing with boiling and proper chilling is crucial—follow the steps carefully and use exactly two envelopes of gelatin to get that perfect chew.
-
Can I make this recipe without Jell-O?
You could experiment with homemade gelatin syrups or natural fruit powders, but Jell-O provides both flavor and color conveniently. I’ve tried making these from scratch, and while it’s doable, it’s more complex and less reliable for beginners—using Jell-O keeps it simple and tasty.
-
How long will homemade gelatin gumdrops last?
Stored properly in an airtight container at room temperature, these gumdrops stay fresh and chewy for up to two weeks. Beyond that, they may start drying out or getting too sticky, but usually, they don’t last that long in my house—they get eaten quickly!
-
What’s the best way to cut the gumdrops?
Use small, sharp cookie cutters or clean knives for best results. Dipping your cutters in hot water first and wiping between cuts helps prevent sticking and keeps the shapes clean. Patience here pays off with neat, pretty gumdrops.
Final Thoughts
I hope you’ll give this Homemade Gelatin Gumdrops Recipe a try—it’s one of those recipes I keep returning to when I want a sweet, nostalgic treat without the fuss of candy-making complexity. My family goes crazy for these, and it’s so rewarding to watch little ones’ faces light up as they pick their shapes and flavors. Plus, sharing homemade gumdrops as gifts or party favors always gets rave reviews. Trust me, once you try making your own, there’s no going back to store-bought. Happy candy making, friend!
Print
Homemade Gelatin Gumdrops Recipe
- Prep Time: 5 minutes
- Cook Time: 5 minutes
- Total Time: 8 hours 10 minutes
- Yield: 60 gumdrops
- Category: Candy
- Method: Stovetop
- Cuisine: American
Description
Delightfully sweet and chewy homemade gumdrops made with natural fruit flavors using Jello and applesauce. These colorful treats are easy to make, require minimal ingredients, and are perfect for candy lovers looking for a fun DIY project.
Ingredients
Gumdrops Ingredients
- 2½ cups granulated sugar, divided
- 1½ cups applesauce (no sugar added)
- 6 oz flavored Jello (e.g., cherry, lime)
- ½ oz unflavored gelatin (2 envelopes)
- 1 tsp lemon juice
Instructions
- Prepare the baking dish: Coat a 9×13 inch baking dish with cooking spray to prevent sticking, then set it aside.
- Combine ingredients: In a large saucepan, mix 2 cups of granulated sugar, applesauce, flavored Jello, unflavored gelatin, and lemon juice. Stir the mixture to combine well and let it stand for 1 minute to allow the gelatin to begin dissolving.
- Cook mixture: Place the saucepan over medium heat and bring the mixture to a boil while stirring constantly to avoid burning.
- Boil and pour: Boil the mixture for exactly 1 minute, then immediately pour it into the prepared baking dish to set.
- Refrigerate to set: Refrigerate the mixture until firm, which takes about 3 hours, though overnight chilling is recommended for best results.
- Prepare for cutting: Cover a large cutting board with parchment paper and sprinkle it generously with sugar.
- Invert the gelatin: Use a spatula to loosen the sides of the jelly from the baking dish and invert it onto the sugar-coated parchment paper.
- Cut out gumdrops: Using small, sharp cookie cutters dipped occasionally in hot water to prevent sticking, cut out gumdrops from the set gelatin. Rinse the cutters as needed for clean cuts.
- Allow gumdrops to dry: Leave the cut gumdrops on the sugar-coated parchment paper for about 8 hours or until they become slightly sticky.
- Coat and store: Roll the gumdrops in the remaining granulated sugar to prevent sticking and store them in an airtight container to maintain freshness.
Notes
- If you don’t have flavored Jello, you can use gelatin with fruit juice and sugar as a substitute, though the texture and flavor might differ slightly.
- Using no-sugar-added applesauce helps control the overall sweetness; adjust sugar amount if preferred.
- Dipping the cookie cutters in hot water ensures smooth cutting and reduces sticking.
- Letting gumdrops rest on parchment paper is essential for the right texture and prevents them from being too sticky.
- Store gumdrops in an airtight container at room temperature for up to two weeks.
Nutrition
- Serving Size: 1 gumdrop
- Calories: 35
- Sugar: 9g
- Sodium: 5mg
- Fat: 0g
- Saturated Fat: 0g
- Unsaturated Fat: 0g
- Trans Fat: 0g
- Carbohydrates: 9g
- Fiber: 0g
- Protein: 0.5g
- Cholesterol: 0mg
