
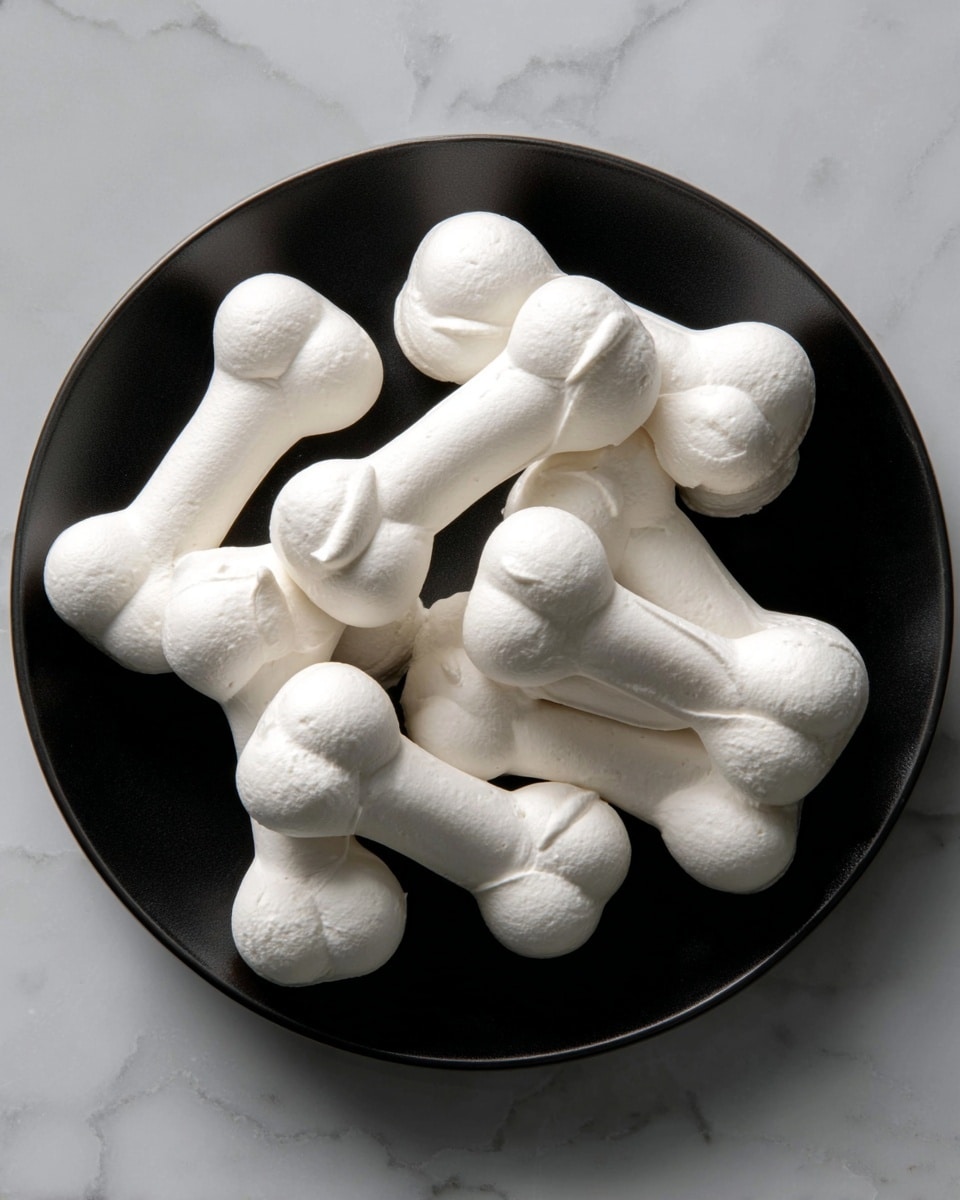
If you’ve ever wanted a spooky-but-sweet treat that’s perfect for Halloween or any fun occasion, then you’re going to adore this Meringue Bones Recipe. It’s airy, light, and just sweet enough to satisfy your sugar craving without being overpowering. I absolutely love how these little meringue bones turn out—crisp on the outside with a delicate melt-in-your-mouth texture. Keep reading, and I’ll share all my tips so you can nail these every time!
Why You’ll Love This Recipe
- Fun and Festive: These meringue bones are a creative twist on traditional meringues that really impress at parties.
- Simple Ingredients: You only need a few basics, and I’ll show you how to use them for the best results.
- Long-lasting Crispiness: Store them right, and these bones stay crisp and delightful for days—perfect for prepping ahead.

Ingredients You’ll Need
These ingredients are straightforward and work beautifully together to create those perfect crunchy, sweet bones. Make sure your egg whites are at room temperature—that’s a little trick I discovered to help them whip up fluffier and hold their shape better.
- Egg Whites: Fresh, large eggs are best for volume; avoid any yolk contamination to get stiff peaks.
- Cream of Tartar: This stabilizer helps your meringue keep its shape and prevents weeping.
- Sugar: Granulated sugar works perfectly to sweeten and provide that shiny finish.
Variations
I like to mix things up a bit depending on the occasion or mood. The basic Meringue Bones Recipe is fantastic on its own, but you can get pretty creative with flavors and decorations.
- Chocolate Drizzle: Adding a drizzle of melted dark chocolate over cooled bones gives a rich contrast that my family goes crazy for.
- Vanilla or Almond Extract: A splash of vanilla or almond extract in the egg whites before whipping adds a subtle but lovely depth of flavor.
- Food Coloring: For a spooky vibe, you can tint the meringue a pale bone color or even ghostly gray with natural or gel-based food coloring.
How to Make Meringue Bones Recipe
Step 1: Whip the Egg Whites to Soft Peaks
Start with room-temperature egg whites—that’s crucial for getting maximum volume. Beat them with the cream of tartar on medium speed until you see soft peaks that gently hold their shape. I usually stop here and check the texture before moving on because it tells you you’re on the right track. Make sure your bowl and beaters are squeaky clean to avoid any grease ruining the whip.
Step 2: Gradually Add Sugar and Beat to Stiff Peaks
Here’s where patience pays off! Slowly add the sugar one tablespoon at a time while whipping on high speed. This slow addition helps the sugar dissolve completely and prevents gritty meringue. Keep beating until you get stiff peaks that stand straight up without drooping—this can take about 5 to 7 minutes. If it looks glossy and holds shape, you’re good to go.
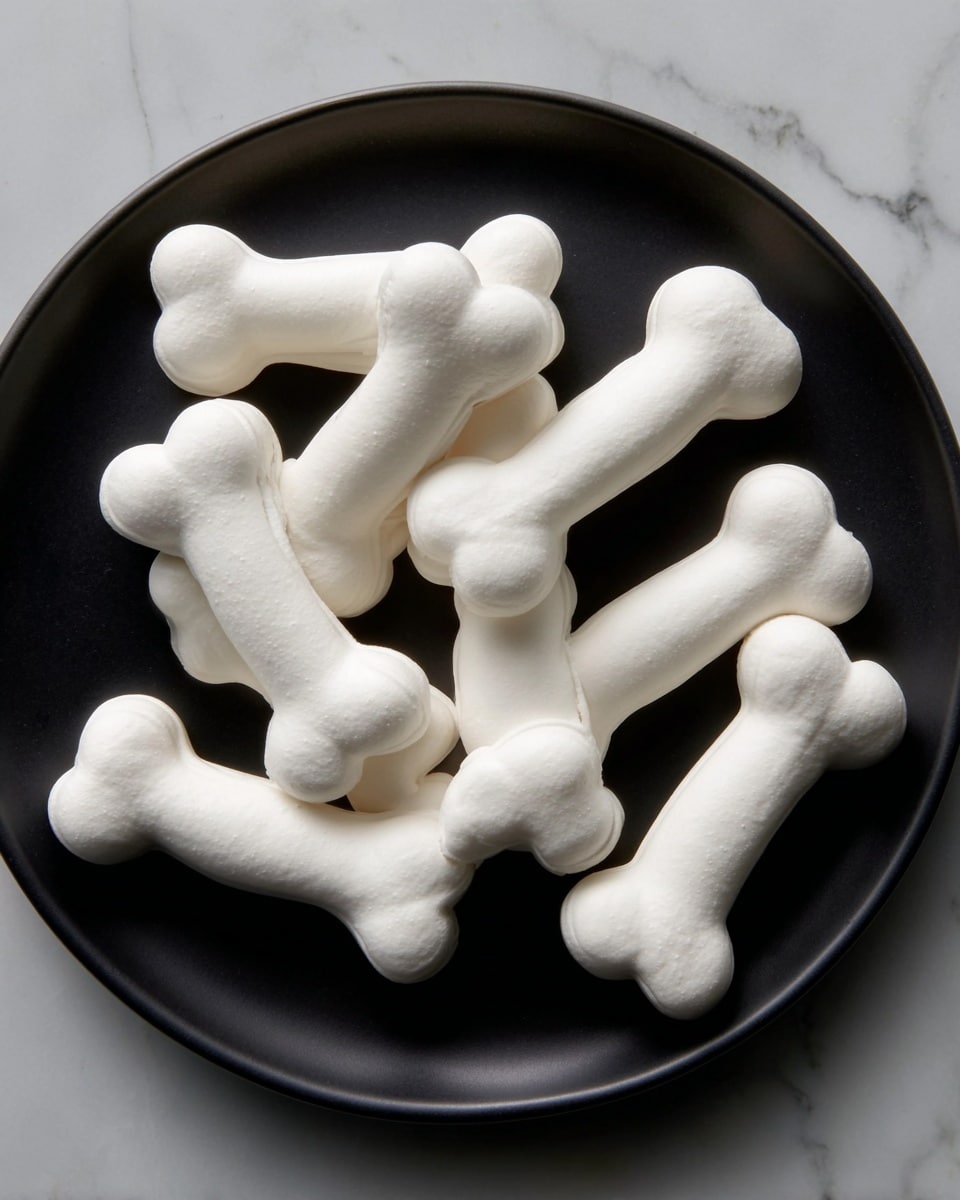
Step 3: Shape Your Meringue Bones
Transfer the meringue to a heavy-duty resealable plastic bag and cut a small hole in a corner—this turns your bag into a piping tool. Pipe a 3-inch-long log for the “bone,” then pipe two 1-inch balls on opposite ends of that log to create the distinctive knobby ends. Don’t worry if it’s your first time; the shapes are playful and forgiving. Repeat until all your mixture is used.
Step 4: Bake Low and Slow for Perfect Crispiness
Bake your meringue bones at 225°F (about 110°C) for an hour and a half or until they feel dry and crisp. Low and slow is key here—it allows the meringue to dry out instead of browning. Once done, transfer them to a wire rack to cool completely; this keeps them from getting soggy on the bottom.
Pro Tips for Making Meringue Bones Recipe
- Room Temp Egg Whites: I learned that letting egg whites sit at room temperature for 20 minutes helps them whip up better every time.
- Slow Sugar Addition: Adding sugar too quickly was my first mistake; the meringue never formed stiff peaks properly until I slowed down.
- Use a Piping Bag Substitute: A resealable plastic bag with a small snip in the corner works wonders and is easier to clean than a pastry bag.
- Avoid Humidity: I once baked meringue bones on a humid day and they turned sticky; always pick a dry day or use an air conditioner for best results.
How to Serve Meringue Bones Recipe
Garnishes
I love dusting these bones with a little powdered sugar for a ghostly, frosted look. Sometimes I’ll brush a tiny bit of edible glitter or cocoa powder mixed with cinnamon on them for extra drama. It really makes the skeletal shapes pop!
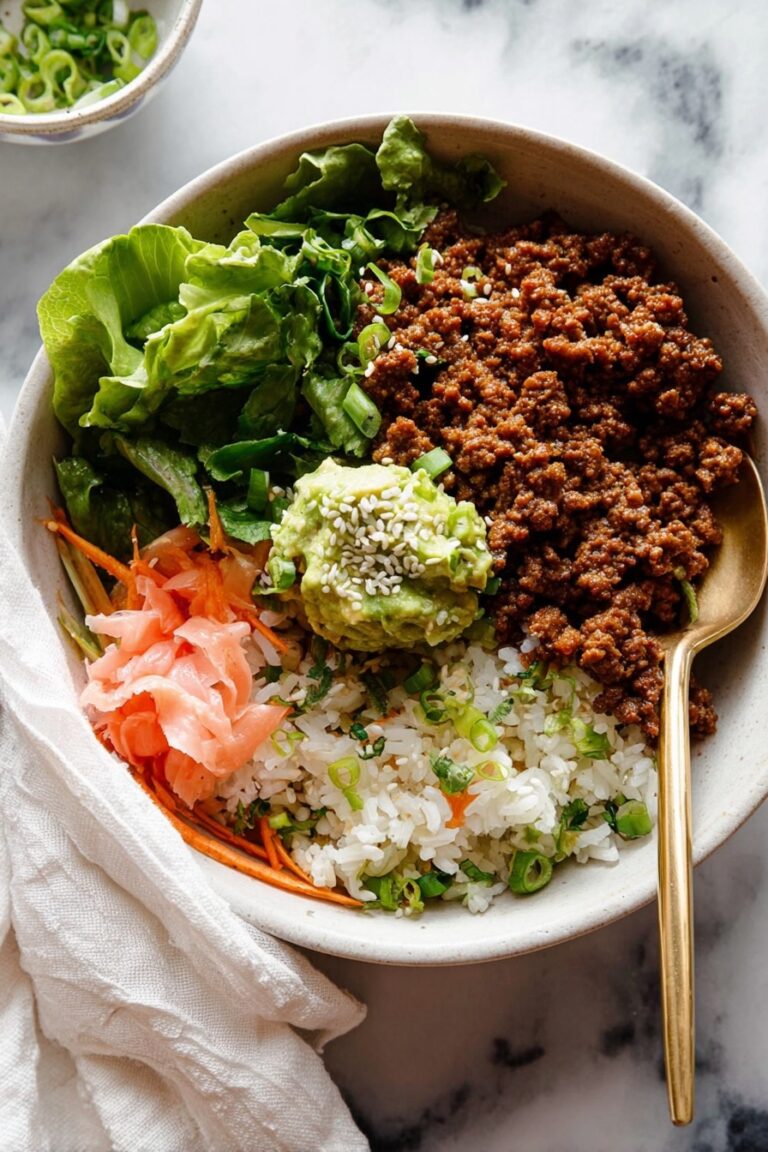
Side Dishes
Pair your Meringue Bones with a pumpkin spice latte or a rich hot chocolate to balance the sweetness with a warm, cozy drink. For parties, they’re fun alongside mini cupcakes or a fruit platter to keep things fresh and light.
Creative Ways to Present
One Halloween, I arranged these bones spilling out of a little “bone box” I decorated with craft paper to look like a spooky coffin—such a hit! You could also stack them on tiered trays or wrap small handfuls in clear treat bags tied with festive ribbons for easy party favors.
Make Ahead and Storage
Storing Leftovers
Store leftover meringue bones in an airtight container at room temperature, away from moisture. I keep mine in a sealed cookie tin lined with parchment paper, and they stay crisp for up to a week without losing that delicate crunch.
Freezing
Good news: these meringue bones freeze beautifully! Just layer them between parchment sheets in a freezer-safe container. When you want to serve them, let them thaw at room temperature—they stay lovely and crisp, just like fresh.
Reheating
If your bones soften a bit after storage, pop them in a low oven (around 200°F) for 5-10 minutes to crisp them right back up. Just keep an eye to avoid browning—this trick saved my batch once!
FAQs
-
Can I use regular vinegar instead of cream of tartar in this Meringue Bones Recipe?
Yes, you can substitute cream of tartar with an equal amount of white vinegar to stabilize your egg whites. It works well, though cream of tartar is preferred because it’s tasteless and specifically designed for this purpose.
-
Why did my meringue turn out sticky instead of crisp?
Sticky meringue is often due to humidity or under-baking. Make sure to bake at low heat for the full recommended time and store your meringues in a dry, airtight container to maintain crispness.
-
Can I make the meringue bones larger or smaller?
Absolutely! You can pipe them any size you like—it just might affect the baking time slightly. Larger bones will need a bit more time to dry through; smaller ones will bake faster. Just keep an eye on texture over time.
-
Is it necessary to use a piping bag for shaping?
Not at all! I often use a resealable plastic bag with a small tip cut in the corner for easy shaping. If you don’t have either, you can gently spoon the meringue onto the baking sheet and shape with a small spatula or the back of a spoon.
Final Thoughts
This Meringue Bones Recipe holds a special place in my kitchen, especially around October when I want something sweet but playful. The process of whipping up these meringues, baking them low and slow, and finally biting into that crisp, airy delight always makes me smile. You’ll enjoy how easy it is, too, once you get the hang of it. So go ahead, whip up a batch—you won’t regret sharing these with friends and family, I promise!
Print
Meringue Bones Recipe
- Prep Time: 30 minutes
- Cook Time: 1 hour 30 minutes
- Total Time: 2 hours
- Yield: 1 dozen
- Category: Dessert
- Method: Baking
- Cuisine: American
- Diet: Gluten Free
Description
These Meringue Bones are a delightful, light, and crunchy treat perfect for Halloween or any festive occasion. Made from simple ingredients like egg whites, cream of tartar, and sugar, these airy cookies are piped into fun bone shapes and baked low and slow to achieve the perfect crisp texture.
Ingredients
Ingredients
- 2 large egg whites, room temperature
- 1/8 teaspoon cream of tartar
- 1/2 cup sugar
Instructions
- Beat Egg Whites: In a small bowl, beat the egg whites and cream of tartar on medium speed with a mixer until soft peaks form, ensuring the mixture is light and frothy but still holds gentle peaks.
- Add Sugar Gradually: Slowly add sugar, one tablespoon at a time, while beating on high speed. Continue until stiff, glossy peaks form that hold their shape firmly without slipping off the beaters.
- Prepare Piping Bag: Transfer the meringue mixture into a heavy-duty resealable plastic bag; cut a small hole at one corner to pipe the shapes easily and precisely.
- Pipe the Meringue Bones: On parchment-lined baking sheets, pipe the meringue into 3-inch long logs. At each end of the log, pipe two 1-inch diameter balls to form the bone shape. Repeat this process until all meringue is used.
- Bake: Place the baking sheets in a preheated oven at 225°F (107°C). Bake for 1 hour and 30 minutes or until the meringues are completely firm and dry to the touch.
- Cool and Store: Remove the baked meringue bones from the oven and allow them to cool completely on wire racks. Once cooled, store them in an airtight container to maintain their crispness.
Notes
- Make sure egg whites are at room temperature for better volume when beating.
- Baking at low temperature slowly dries the meringues without browning.
- Use fresh egg whites for best stability in the meringue.
- Store the meringue bones in an airtight container to keep them crisp and prevent moisture absorption.
- You can add a drop of vanilla extract to the meringue mixture for flavor if desired.
Nutrition
- Serving Size: 1 meringue bone
- Calories: 35
- Sugar: 7 g
- Sodium: 5 mg
- Fat: 0 g
- Saturated Fat: 0 g
- Unsaturated Fat: 0 g
- Trans Fat: 0 g
- Carbohydrates: 8 g
- Fiber: 0 g
- Protein: 1 g
- Cholesterol: 0 mg


