
If you’ve been dreaming of a cozy autumn treat without the fuss of turning on your oven for long, this No-Bake Pumpkin Pie Recipe is absolutely your new best friend. I first tried this pie on a chilly October evening when I wanted all the flavors of pumpkin pie but zero of the traditional baking hassle—and let me tell you, it blew me away! Creamy, spiced, and just the right amount of sweet, it’s a dessert that feels special but comes together in a snap. Stick around, and I’ll walk you through everything you need to know to nail this easy and scrumptious no-bake pumpkin pie at home.
Why You’ll Love This Recipe
- Super Easy Prep: No roasting or long baking—just quick mixing and chilling.
- Creamy Texture: The combination of pumpkin and melted marshmallows gives an indulgently smooth, pudding-like filling.
- Great for Busy Days: Make it ahead and chill so it’s ready when hunger strikes or guests arrive.
- Family Favorite: My family goes crazy for this pie, especially kids who love the marshmallow’s sweet surprise.

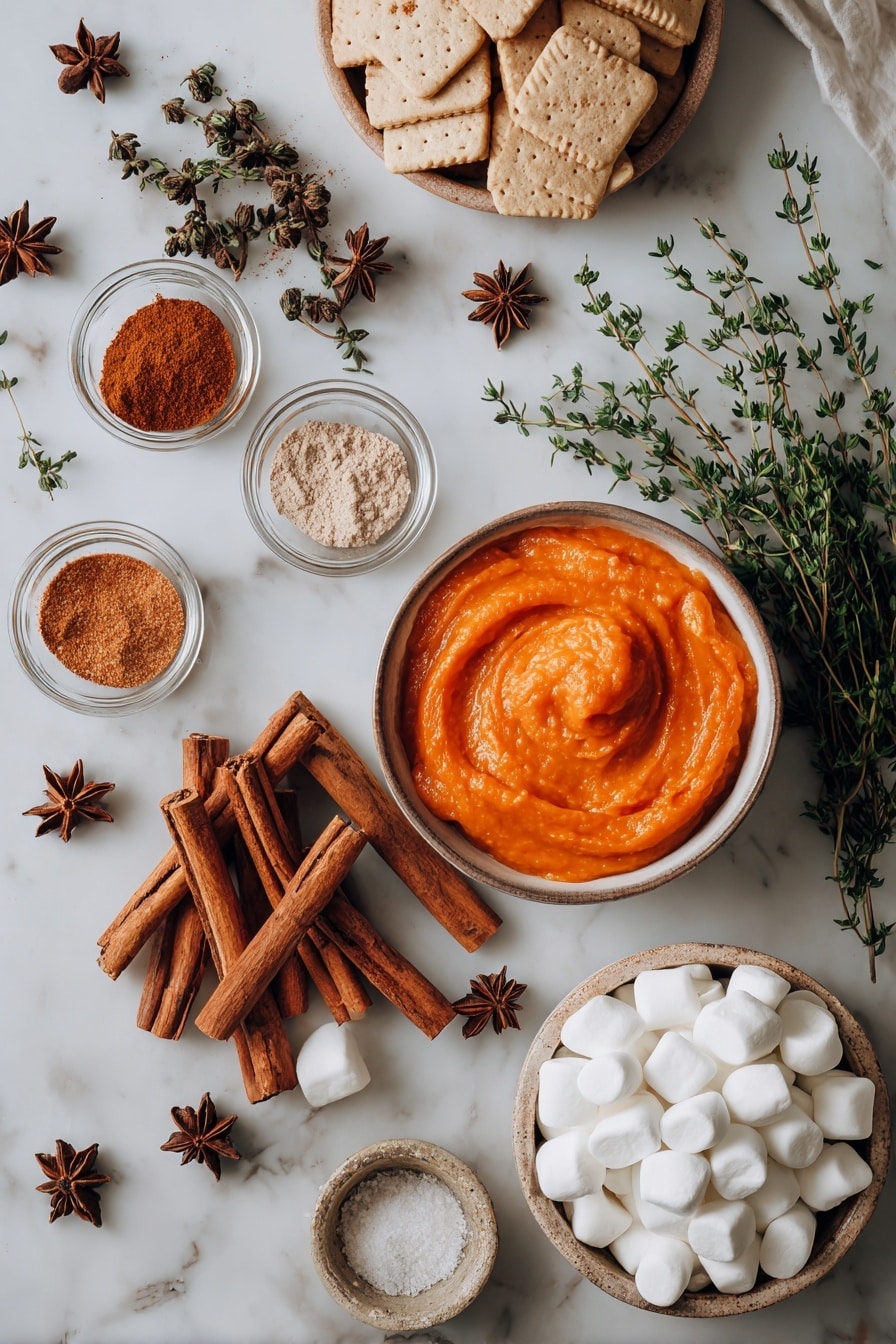
Ingredients You’ll Need
Every ingredient in this no-bake pumpkin pie recipe comes together to build that perfect balance of spice, sweetness, and creamy texture you want from a classic pumpkin pie but in a much easier way. Here’s what you’ll want to have on hand before you start, plus some tips so you shop smart.
- Unsalted Butter: Using unsalted butter helps you control the saltiness in the crust better.
- Graham Crackers: These make the crust nutty and slightly sweet—try to find whole graham sheets for that classic flavor.
- Sugar: Just a bit adds sweetness to the crust; you can swap for brown sugar if you like a deeper flavor.
- Kosher Salt: Essential for enhancing all those cozy flavors without overpowering.
- Pumpkin Purée: Make sure it’s pure pumpkin, not pumpkin pie filling, for a true homemade taste.
- Cinnamon, Nutmeg, and Cloves: The spice trio that brings pumpkin pie magic—freshly ground is even better!
- Marshmallows: Marshmallows melt smoothly for a creamy filling; mini marshmallows melt faster, but both work great.
- Heavy Cream: Whipping creams adds lightness and fluffy texture to the filling.
- Whipped Cream (for serving): Optional but highly recommended for that extra touch of indulgence.
Variations
While the classic version is a knockout, I love tossing in little tweaks to keep things interesting or to fit different dietary needs. After all, no-bake pumpkin pie recipes are meant to be easy and adaptable, right?
- Spiced Up: I sometimes add a pinch of ginger or cardamom to the pumpkin mixture for a little extra warmth and complexity.
- Gluten-Free Crust: Swap graham crackers for gluten-free crackers or crushed nuts to keep it friendly for gluten-sensitive friends and family.
- Lightened Up: You can try using half-and-half instead of heavy cream to reduce richness, but the texture will be a bit less fluffy.
- Mini Pies: I’ve made this recipe in muffin tins for individual servings—perfect for potlucks or parties!
How to Make No-Bake Pumpkin Pie Recipe
Step 1: Whip Up the Perfect Graham Cracker Crust
Start by melting the butter gently in the microwave—you want it fully melted but not browned. Then, blitz your graham crackers in a food processor until you get a fine, sandy texture. Mixing this crumb with the melted butter, sugar, and salt will give you that perfect base. Press it firmly into your pie pan, focusing on compacting it tightly along the sides and bottom so it doesn’t crumble later. Bake this at 350°F for about 8 minutes until it just starts to turn golden. Dunk it on a cooling rack and let it rest while you make the filling.
Step 2: Melt Marshmallows into Pumpkin Spice Heaven
This is the secret sauce of the No-Bake Pumpkin Pie Recipe—and it adds that creamy, fluffy texture everyone adores. Gently warm pumpkin purée with the classic spices on medium heat until those aromas start to bubble up and fill your kitchen. Then, reduce the heat and stir in your marshmallows slowly, keeping the mixture moving so it doesn’t scorch. You’ll want to end up with one smooth, velvety bowl of pumpkin-marshmallow magic. It looks and smells divine! Pop this into the fridge while you whip the cream.
Step 3: Whip Cream to Fluffy Perfection
Pour that heavy cream into a cold bowl and get ready to whip it with a hand mixer. I like to start slow and crank up the speed as it thickens. You’re aiming for those beautiful, stiff peaks that don’t flop over when you lift the beaters. This whipped cream is going to lighten the filling beautifully, giving you that luscious mouthfeel pumpkin pie lovers crave.
Step 4: Fold & Chill for the Win
When your pumpkin-marshmallow mixture has cooled to room temperature (usually around 10 minutes in the fridge), gently fold it into the whipped cream. The key here is to mix just enough so you see no streaks—your filling will be a creamy, soft orange pudding that’s ready to scoop into the crust. Spread it evenly, cover with plastic wrap, and let it chill in your fridge for a solid 4 hours so it sets nicely. Patience here means a perfect slice!
Pro Tips for Making No-Bake Pumpkin Pie Recipe
- Warm But Don’t Overheat: When melting marshmallows, keep the heat low so the sugars don’t scorch and ruin the flavor.
- Press Crust Firmly: I learned the hard way that not packing the graham crust tightly can cause crumbling when slicing. Press firmly!
- Chill Time Is Key: Don’t skip the 4-hour chill—you want the filling to develop structure, not be a runny mess.
- Use Fresh Spices: Fresh ground cinnamon and nutmeg make a world of difference—old spices can taste flat.
How to Serve No-Bake Pumpkin Pie Recipe

Garnishes
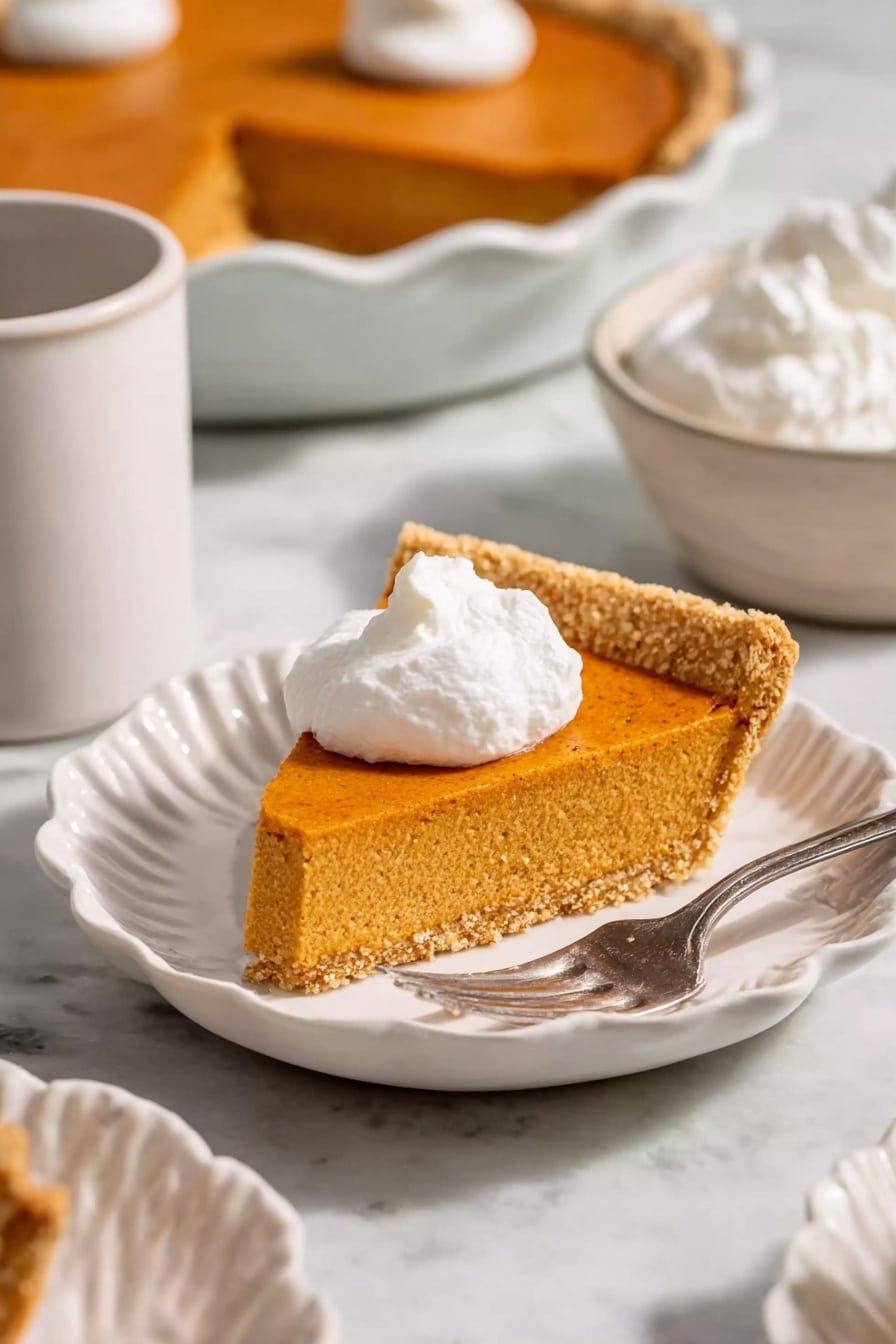
I love topping slices with a generous dollop of freshly whipped cream to complement the sweet, fluffy filling. Sometimes I sprinkle crushed toasted pecans or a light dusting of cinnamon on top for that extra texture and visual pop. Candied ginger or a drizzle of caramel syrup works wonders too if you’re feeling fancy!
Side Dishes
This pie is pretty much a star on its own, but I also like serving it alongside a warm cup of spiced chai tea or fresh espresso for a cozy autumn dessert moment. If it’s part of a holiday feast, a simple plate of vanilla ice cream or some roasted chestnuts on the side pairs beautifully.
Creative Ways to Present
To really wow your guests, try making mini no-bake pumpkin pies in small tart pans—each guest gets their own little treasure! Or layer the filling in a clear trifle bowl with ginger snap cookie crumbles and whipped cream for a gorgeous fall-themed dessert centerpiece.
Make Ahead and Storage
Storing Leftovers
Once your pie is chilled and sliced, wrap any leftovers tightly with plastic wrap or store them in an airtight container in the fridge. I find it stays fresh and creamy for up to 4 days—which means you can savor this deliciousness throughout the week without the pie drying out.
Freezing
Freezing works in a pinch if you want to save pie for later, but be aware the texture changes slightly. Wrap the whole pie tightly and freeze it for up to a month. Thaw overnight in the fridge before serving, but I recommend fresh for best creaminess.
Reheating
Since this pie is no-bake and served cold, it’s best to enjoy chilled. If you like, you can let slices sit at room temperature for 15 minutes before serving to soften the filling a bit. Otherwise, just dig right in!
FAQs
-
Can I use canned pumpkin pie filling instead of pumpkin purée?
It’s best to use pure pumpkin purée here. The canned pumpkin pie filling already contains sugars and spices which can throw off the balance of flavor and texture in this no-bake pumpkin pie recipe.
-
Do I have to bake the crust if this is a no-bake recipe?
Good question! While the filling is no-bake, I recommend baking the graham cracker crust for a short 8 minutes to help it set firmly so your pie slices nicely without crumbling.
-
Can I use a store-bought graham cracker crust instead?
Absolutely! Using a store-bought crust saves even more time, but the homemade version adds that fresh butter flavor that really takes the pie to the next level.
-
How long does the pie need to chill?
The pie needs at least 4 hours in the fridge for the filling to firm up properly—overnight chilling is even better if you have time.
-
Is this recipe suitable for kids?
Definitely! Kids tend to love the sweet marshmallow flavor in the filling, and since it’s no-bake, it’s also a fun dessert to assemble together with little helpers.
Final Thoughts
This no-bake pumpkin pie recipe has become one of my all-time favorites because it delivers that warm, comforting pumpkin flavor without a ton of work or stress—and it still feels like a celebration. I truly think you’ll enjoy how creamy and perfectly spiced it turns out, especially if you’re short on time but want all the deliciousness of fall. Give it a try, and watch it become a staple in your seasonal dessert rotation, just like it did in mine!
Print
No-Bake Pumpkin Pie Recipe
- Prep Time: 20 mins
- Cook Time: 8 mins
- Total Time: 4 hrs 28 mins
- Yield: 1 (9-inch) pie, serves 8
- Category: Dessert
- Method: Baking
- Cuisine: American
Description
This No-Bake Pumpkin Pie is a delicious twist on the classic dessert, featuring a crisp homemade graham cracker crust and a creamy pumpkin marshmallow filling. It’s quick to prepare with no baking needed for the filling, making it perfect for a festive fall treat that is smooth, flavorful, and topped with fluffy whipped cream.
Ingredients
Graham Cracker Crust
- 8 tablespoons unsalted butter
- 12 sheets (185g) graham crackers
- 2 tablespoons (28g) sugar
- 3/4 teaspoon kosher salt
Pie Filling
- 1 cup (244g) pumpkin purée
- 1 teaspoon cinnamon
- 1/8 teaspoon nutmeg
- Pinch cloves
- 1/2 teaspoon kosher salt
- 10 ounces marshmallows (49 regular marshmallows, or about 5 1/2 cups mini marshmallows)
- 1/2 cup heavy cream
For Serving
- Whipped cream, for topping
Instructions
- Preheat the oven: Set your oven to 350°F (177°C) to prepare for baking the graham cracker crust.
- Make the graham cracker crust: Melt the butter in a microwave-safe bowl. In a food processor, finely grind the graham crackers, then add melted butter, sugar, and salt, processing until the mixture resembles wet sand. Press the crust mixture evenly along the bottom and sides of a 9-inch pie pan to compact it firmly. Bake for 8 minutes until lightly browned, then cool on a rack.
- Cook the pumpkin mixture: In a large pot over medium heat, warm the pumpkin purée with cinnamon, nutmeg, cloves, and kosher salt, stirring until fragrant, about 1 minute. Lower the heat and gently fold in marshmallows, stirring constantly to melt them without scorching. Once fully melted and combined, transfer the mixture to a bowl and refrigerate until cool.
- Whip the cream: Pour the heavy cream into a large bowl and whip using a hand mixer. Start on low speed and gradually increase to high until the cream forms firm peaks and is fluffy.
- Combine pumpkin mixture and whipped cream: When the pumpkin mixture has cooled to room temperature (about 10 minutes), fold it gently into the whipped cream until fully blended with no streaks, creating a creamy pudding-like consistency.
- Assemble the pie: Spread the pumpkin filling evenly into the cooled graham cracker crust using an offset spatula or butter knife.
- Chill the pie: Cover the pie with plastic wrap and refrigerate for at least 4 hours until the filling is firm to the touch.
- Serve and store: Smooth any plastic wrap imprints from the surface and slice the pie to serve chilled. Garnish with additional whipped cream if desired. Store leftovers covered in the refrigerator for up to 4 days.
Notes
- Ensure the pumpkin mixture is cooled before folding into whipped cream to maintain the light texture.
- Press the crust firmly to avoid crumbling when slicing.
- You can use either regular or mini marshmallows for the filling.
- For best taste, serve the pie chilled.
- Store any leftovers refrigerated and consume within 4 days for freshness.
Nutrition
- Serving Size: 1 slice (1/8 of pie)
- Calories: 320
- Sugar: 20g
- Sodium: 210mg
- Fat: 18g
- Saturated Fat: 11g
- Unsaturated Fat: 6g
- Trans Fat: 0g
- Carbohydrates: 36g
- Fiber: 2g
- Protein: 3g
- Cholesterol: 55mg

