
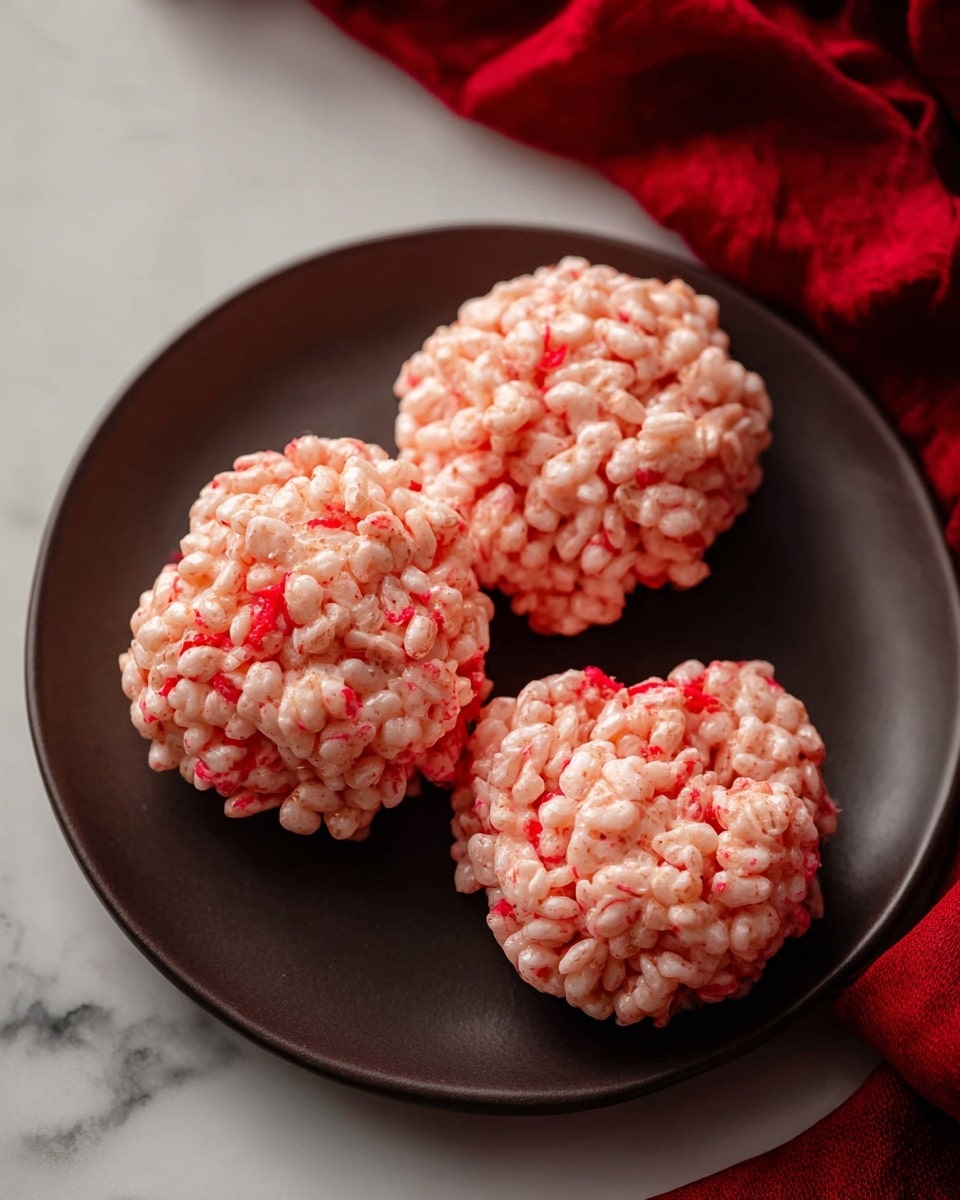
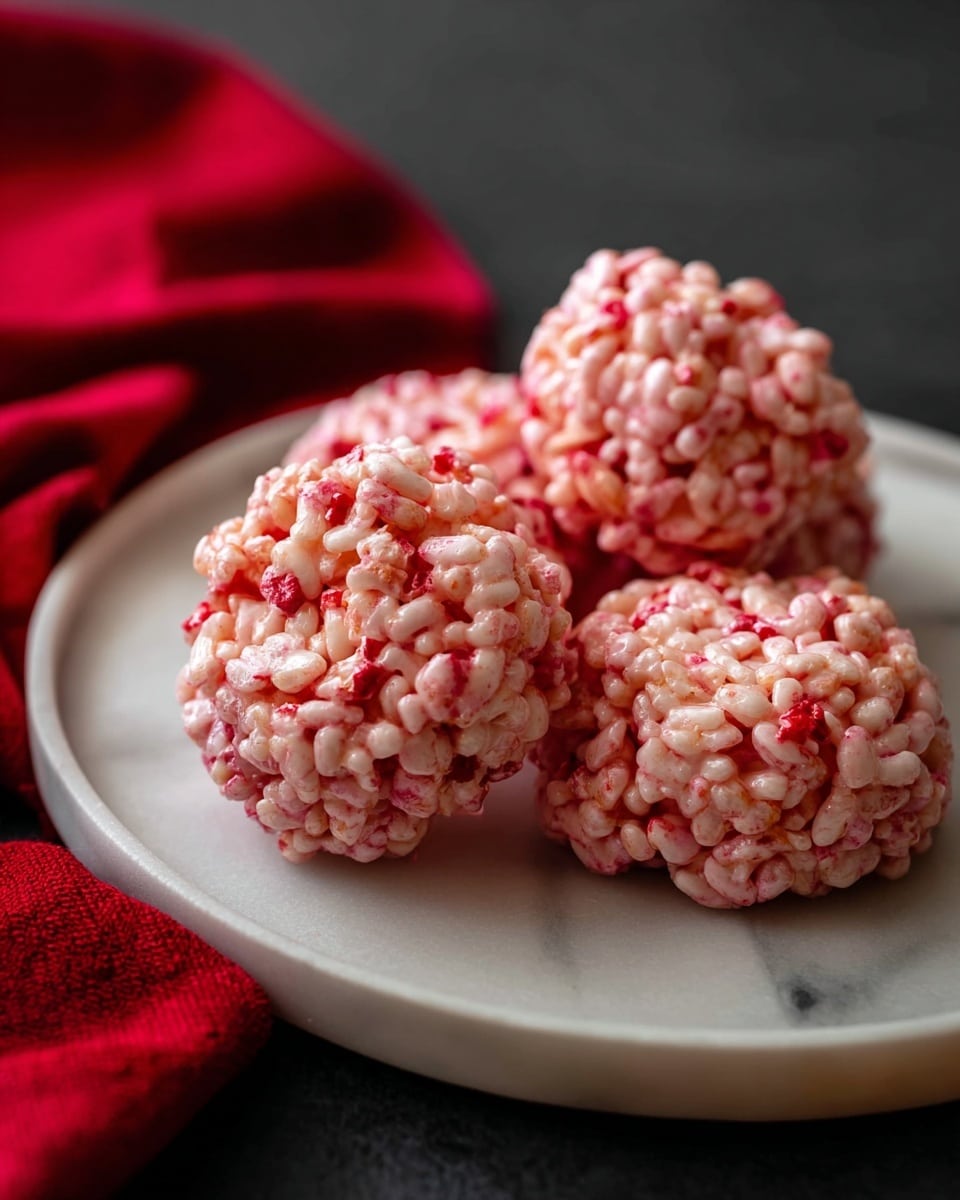
If you’re looking to wow your friends or family with a fun and spooky treat, this Rice Krispies Brains Recipe is absolutely fan-freaking-tastic. Not only is it ridiculously easy to make, but it also looks eerily perfect for Halloween or any creepy celebration. I first made this when I wanted something playful and less messy than regular Halloween desserts, and I was hooked ever since. Stick around, because I’m going to walk you through every step so your brains turn out just right, no matter your skill level!
Why You’ll Love This Recipe
- Super Easy to Make: You’ll find this recipe comes together in just about 15 minutes, perfect for last-minute plans.
- Kid-Friendly and Fun: My family goes crazy for these colorful, brain-shaped treats—they’re a hit with kids and adults alike.
- Customizable Coloring: You control the shade and “gross” factor by adjusting the red food coloring, so get as creative (or spooky) as you want.
- Perfect Texture: Chewy marshmallow coating with crispy cereal—soft, sweet, and irresistibly crunchy.

Ingredients You’ll Need
The magic of this Rice Krispies Brains Recipe really comes down to classic pantry ingredients that work so well together. You’ll want to make sure to pick fresh marshmallows for the best melt, and the right cereal texture is key for that iconic crunch.
- Rice Krispies cereal: Classic crispy rice works best for texture; any off-brand crispy rice cereal will do, just avoid sugary variants to keep taste balanced.
- Unsalted butter: Adds richness without overpowering; unsalted helps you control the salt level better in the final treat.
- Mini marshmallows: These melt quickly and evenly, giving you that gooey binder essential for shaping the brains.
- Red food coloring: This is your key to spooky, bloody-looking brains—adjust quantity depending on how bright or subtle you want the color.
Variations
Now, I love sticking to the original because it’s so perfectly nostalgic, but I’ve also played around with a few fun twists. Feel free to tweak the colors, add mix-ins, or switch up your presentation style to make it your own.
- Color Variations: One year I swapped red for neon green food coloring, and my family went wild calling them “alien brains” — so fun for different themes!
- Flavor Boosts: Adding a teaspoon of vanilla or almond extract to the melted marshmallow mix gives a subtle depth you’re going to adore.
- Diet-Friendly: Use vegan marshmallows and dairy-free butter alternatives and you’re set for a plant-based spooky treat.
- Mix-Ins: Stir in some mini chocolate chips or candy eyes before shaping to add an extra creepy surprise.
How to Make Rice Krispies Brains Recipe
Step 1: Prep Your Workspace
Start by lining a large baking sheet with parchment paper or a silicone baking mat. This will make cleanup so much easier and help the brains release without sticking. Then, measure out your Rice Krispies cereal into a big bowl — you’ll be adding melted marshmallow goodness to this soon.
Step 2: Melt Butter and Marshmallows
In a large saucepan over low heat, melt your butter gently so it doesn’t brown. Once it’s melted, toss in the mini marshmallows and stir constantly until they are completely melted and smooth. This part requires a bit of patience; stirring continuously ensures they won’t burn or stick to the pan. When everything is melted, drop in those red food coloring drops—about six for a pinkish hue, but add more if you want bold, blood-red brains.
Step 3: Combine Cereal and Marshmallow Mixture
Take the saucepan off the heat and quickly pour the marshmallow mixture over your Rice Krispies cereal. Stir gently but thoroughly to coat every crispy piece evenly. It’s warm and sticky, so get ready to work fast in the next step.
Step 4: Shape Your Brains
This is the fun part! Grab an ice cream scoop or a ¼ cup measure sprayed with non-stick spray—this helps the sticky mixture release easily. Scoop out a portion and place it onto the prepared baking sheet. With your hands (clean and buttered work best), gently pat each mound into a slightly oblong circle, roughly brain-shaped.
Use the handle of a butter knife to press an indent down the middle of each mound. Then, with the non-blade side of the knife and your fingers, gently bring the two sides closer together, forming the brain’s characteristic lobes. This little detail really sells the look!
Step 5: Add the “Bloody” Touch
If you want to get extra creepy, add a few drops of red food coloring to a small bowl and use a clean paintbrush to streak “blood” onto your brains. I discovered this trick at a party once, and everyone was impressed by how realistic and gruesome they looked. Let them cool and set completely before serving—this usually takes about 15 to 20 minutes.
Pro Tips for Making Rice Krispies Brains Recipe
- Keep Heat Low: Melting butter and marshmallows on low heat prevents burning and ensures a smooth marshmallow mix.
- Use Non-Stick Spray Liberally: Spraying your scoop and hands avoids sticky frustration and keeps shapes intact.
- Work Quickly: Marshmallow mixture sets fast, so have your tools ready before combining with cereal for easy shaping.
- Seal Loosely: Store in an airtight container but avoid squishing to keep brain shapes and texture perfect.
How to Serve Rice Krispies Brains Recipe
Garnishes
I like to add a little extra “gore” by drizzling some chocolate syrup or edible red gel on top. If you’re feeling crafty, you can even dot some black licorice strands to mimic veins—kids love getting involved with this part!
Side Dishes
These rice krispies brains go perfectly alongside some spooky fruit kabobs, witch’s brew punch, or even a simple plate of gummy worms for a full Halloween snack spread that impresses without stress.
Creative Ways to Present
For Halloween parties, I love setting the brains on a platter lined with lettuce or shredded coconut dyed green to look like moss. Another time, I arranged them inside a large edible cauldron centerpiece for some extra theatrical flair. Trust me, presentation can elevate this treat from cute to unforgettable.
Make Ahead and Storage
Storing Leftovers
Once cooled and set, I store leftovers in an airtight container at room temperature. I’ve found they stay chewy and fresh for up to a week. Just be sure not to stack them too tightly to avoid smashing the brain shapes.
Freezing
Freezing isn’t my preferred method because it can alter the texture a bit, but if you want to make them ahead of time, wrap each brain tightly in plastic wrap and freeze for up to a month. Thaw at room temperature before serving to soften.
Reheating
Since these treats are best enjoyed at room temp, I usually don’t reheat. But if they get too firm, gently warming in the microwave for about 5 seconds softens them back up perfectly. Be careful not to overheat or the marshmallows will get stringy.
FAQs
-
Can I make the Rice Krispies Brains Recipe without food coloring?
Absolutely! While the red food coloring gives the brains their classic creepy vibe, you can make them plain or use other colors to suit your theme—like green for alien brains or purple for a fun twist.
-
What’s the best way to prevent the marshmallows from sticking to my hands?
I always keep a small bowl of melted butter nearby and lightly coat my hands before shaping. Another trick is to use non-stick spray on your hands and utensils, which really cuts down on the sticky mess.
-
Can I use regular-sized marshmallows instead of mini ones?
Yes, you can! Just chop the large marshmallows into smaller pieces for quicker melting, or melt them slowly and stir constantly to avoid burning.
-
How do I keep the brain shapes from falling apart?
The key is working quickly while the marshmallow mixture is still warm and sticky, plus using non-stick spray on your scoop and hands. Also, pressing the shapes firmly but gently helps them hold together well as they cool.
Final Thoughts
I absolutely love how this Rice Krispies Brains Recipe turns out every single time—it’s such a fun way to bring a little spooky joy to the table without any fuss. When I first tried this, I didn’t expect it would become a Halloween staple, but now it’s a tradition my whole family looks forward to. You’ll enjoy how easy it is, how great it tastes, and how impressive it looks on your party spread. Give it a try and watch everyone’s eyes light up—you won’t regret it!
Print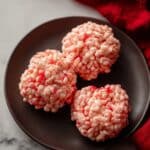
Rice Krispies Brains Recipe
- Prep Time: 15 minutes
- Cook Time: 5 minutes
- Total Time: 20 minutes
- Yield: 16 treats
- Category: Snack
- Method: Stovetop
- Cuisine: American
- Diet: Vegetarian
Description
These Rice Krispies Brains are a spooky and fun treat perfect for Halloween or themed parties. Crispy rice cereal coated in marshmallow mixture is shaped into realistic brain-like mounds and decorated with red food coloring to mimic blood, creating a playful and delicious dessert that’s easy to make and sure to impress guests.
Ingredients
Base Ingredients
- 5 cups (132g) Rice Krispies or any crispy rice cereal
- ¼ cup (57g) unsalted butter
- 1 10-oz bag (283g) mini marshmallows (about 8 cups)
- Red food coloring, about 6 drops plus extra for decorating
Instructions
- Prepare Baking Surface: Line a large baking sheet with parchment paper or a silicone baking mat and set it aside to keep the treats from sticking.
- Set Aside Cereal: Place the Rice Krispies cereal in a large bowl and set it aside for later mixing.
- Melt Butter and Marshmallows: In a large saucepan over low heat, melt the unsalted butter. Add the mini marshmallows and stir continuously until they are completely melted and smooth.
- Add Coloring: Once the marshmallows have melted, remove the saucepan from heat and stir in about 6 drops of red food coloring to achieve a pinkish hue that will lighten after mixing with the cereal.
- Combine Cereal and Marshmallow Mixture: Add the Rice Krispies cereal to the melted marshmallow and butter mixture, stirring until the cereal is evenly coated.
- Shape the Brains: Lightly spray an ice cream scoop or ¼ cup measuring cup with non-stick spray. Use it to scoop portions of the mixture onto the prepared baking sheet. With your hands, gently form each mound into a slightly oblong circle representing a brain shape.
- Create Brain Indents: Use the handle of a butter knife to make an indent on top of each mound to mimic the brain folds, then use the non-blade side of the knife alongside your free hand to slightly close the two halves of the “brain.”
- Decorate with Blood: Add a few drops of red food coloring to a small bowl. Using a clean paintbrush, paint streaks of “blood” onto the brains to give a realistic appearance.
- Cool and Store: Allow the Rice Krispies Brains to cool and set completely at room temperature. Once set, store them in an airtight container for up to one week to maintain freshness.
Notes
- Spraying the scoop with non-stick spray helps in releasing the sticky mixture easily.
- The red food coloring amount can be adjusted to get your desired pink or red shade.
- Use a silicone baking mat for easier cleanup and to prevent sticking.
- These treats are best eaten fresh but can be stored airtight for up to a week.
- Be careful not to add too much food coloring, as it can affect the texture.
Nutrition
- Serving Size: 1 treat
- Calories: 110
- Sugar: 10g
- Sodium: 60mg
- Fat: 3.5g
- Saturated Fat: 2g
- Unsaturated Fat: 1g
- Trans Fat: 0g
- Carbohydrates: 20g
- Fiber: 0g
- Protein: 1g
- Cholesterol: 10mg
