
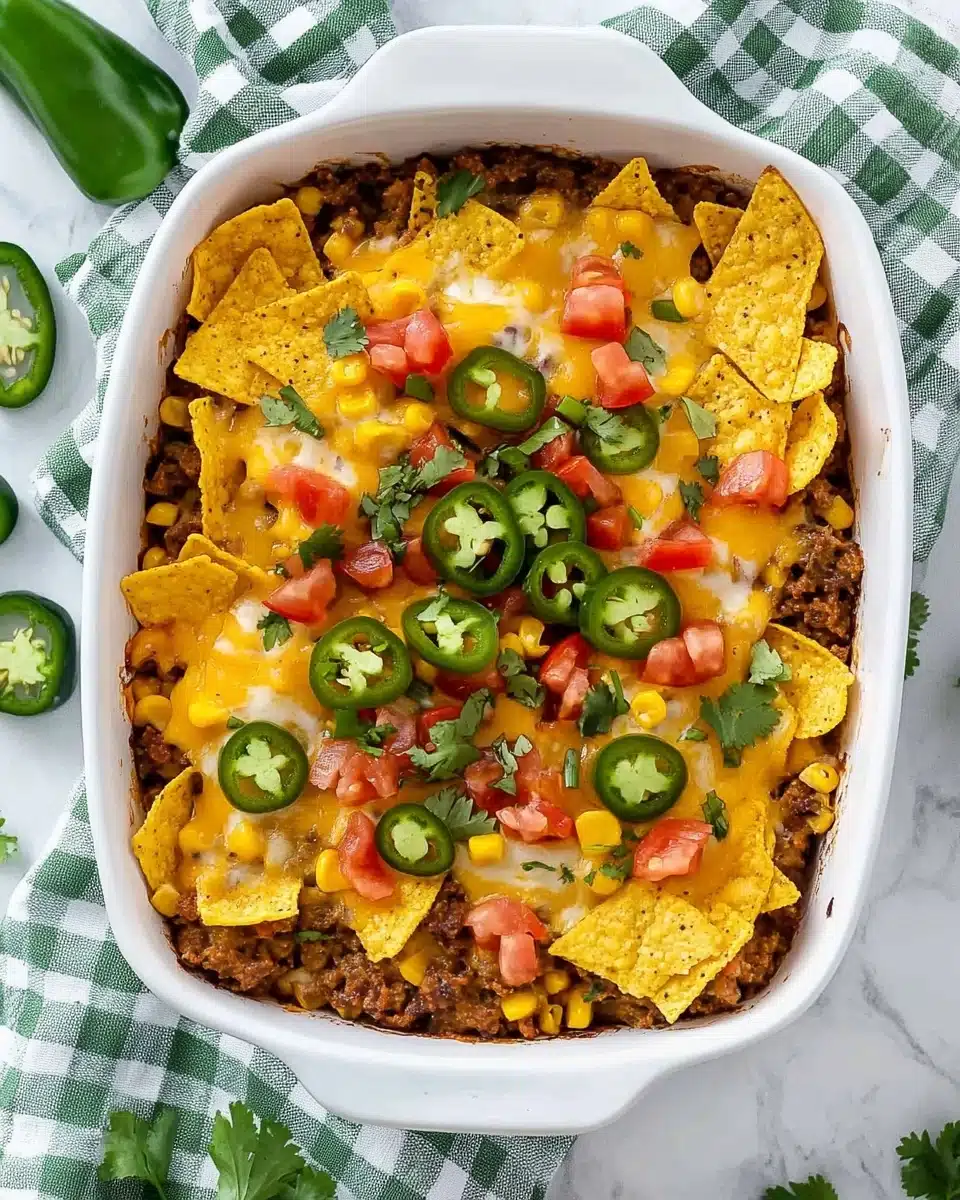
If you love all the flavors of a classic street-side walking taco but want an easy, crowd-pleasing meal that’s perfect for busy nights or game day gatherings, this Walking Taco Casserole is about to become your new weeknight MVP! It’s got bold Tex-Mex flavor, layers of crunchy corn chips, gooey cheese, and all your favorite taco toppings—all baked together in one bubbly, satisfying dish.
Why You’ll Love This Recipe
- Ultimate Comfort Food: Every bite is melty, saucy, cheesy, and packed with satisfying crunch, making it exactly what you crave after a long day!
- Customizable for Any Crowd: The toppings bar lets everyone make their plate just how they love it, from mild and kid-friendly to loaded with spice and zing.
- Weeknight Quick & One Pan: From skillet to oven in minutes, with no need to fuss—Walking Taco Casserole means minimal cleanup and maximum flavor.
- Game Day or Potluck Star: This casserole always disappears fast! It’s made to impress, share, and feed a hungry group with zero leftovers.

Ingredients You’ll Need
One of my favorite things about Walking Taco Casserole is how it turns the simplest pantry staples into an irresistible, flavor-packed meal. Each ingredient has a starring role in creating that classic taco taste with cheesy, crunchy, hearty layers you’ll crave!
- Ground Beef (1 pound, 80-90% lean): This forms the savory foundation with juicy flavor—feel free to swap in ground turkey or chicken for a lighter spin.
- Chopped Yellow Onion (1 cup): Onions bring subtle sweetness and extra depth to the beef mixture as they soften during browning.
- Chili Seasoning Mix (1 packet): Provides instant Tex-Mex flair, heat, and a balanced punch of flavor—use a mild or hot blend depending on your crew’s spice tolerance.
- Beef Broth or Water (½ cup): Helps create a saucy, moist filling that melds all the spices together beautifully.
- Canned Kidney Beans (1 can, drained): Brings texture, creaminess, and a satisfying pop of color, while making the dish extra hearty.
- Fritos Corn Chips (½ bag): The crunchy, salty heart of the casserole—don’t skip these! Add more if you adore extra crunch.
- Shredded Cheese (3 cups, Mexican blend or cheddar): Cheese lovers, rejoice: melty cheese ties it all together with gooey, stretchy magic.
- Optional Toppings: Shredded lettuce, jalapeños, chopped tomatoes, sour cream, green onions, cilantro, guacamole—pile them on for freshness and color!
Variations
One thing I especially adore about Walking Taco Casserole is how wildly adaptable it is. Whether you’re catering to picky eaters or looking to sneak in more veggies, you can riff on the base recipe and make it your own in a snap.
- Go Vegetarian: Swap the ground beef for a plant-based crumble or extra beans like black beans or pinto beans for a meatless, protein-packed spin.
- Spice It Up: Add a can of drained diced green chiles, hot salsa, or sliced jalapeños right into the filling for serious kick!
- Make it Chip-Heavy: Love the crunch? Layer extra Fritos (or even Doritos or tortilla chips) on top and mix some into the filling.
- Lighten It Up: Use lean ground turkey, reduced-fat cheese, or load up on lettuce, tomatoes, and salsa for fresh flavor with fewer calories.
How to Make Walking Taco Casserole
Step 1: Brown the Beef and Onions
Start by heating your largest skillet over medium heat, then add the ground beef and chopped onion. Sauté everything together, breaking up the beef with your spoon, until the meat is browned and the onions are beautifully soft. If there’s any extra grease, just drain it off before adding the next ingredients—it keeps the casserole from getting soggy.
Step 2: Add Seasoning, Beans, and Cheese
With the heat off, sprinkle in the chili seasoning mix, pour in the beef broth or water, add your drained kidney beans, and stir in 1 cup of shredded cheese. Mix until everything’s happily combined—this makes the filling hearty, saucy, and infused with flavor in every bite.
Step 3: Assemble the Casserole
Spoon the delicious beef mixture evenly into your casserole dish (9×9 or 9×11 inches works great). Scatter the Fritos corn chips generously over the top, then shower everything with the rest of your cheese—this is the ooey-gooey magic moment!
Step 4: Bake and Finish with Toppings
Pop the dish into your preheated oven (350°F) and let the cheese melt and bubble for 10-15 minutes, until it’s irresistibly golden. When it comes out, the real fun begins—add spoonfuls of shredded lettuce, tomatoes, jalapeños, or whatever toppings your heart desires for the ultimate Walking Taco Casserole experience!
Pro Tips for Making Walking Taco Casserole
- Layering for Maximum Crunch: If you want the Fritos extra crisp, add half before baking and the rest immediately after—this way you get that irresistible crunch and melty cheese in every bite.
- Cheese Choices Matter: For the perfect melt and pull, shred your own cheese from a block; it melts creamier than pre-shredded types and really takes the casserole over the top.
- Toppings Bar Magic: Let everyone customize! Serve the casserole with a platter of toppings so guests (even the picky ones!) can build their dream plate.
- Make-Ahead Game Plan: Assemble the casserole up to the point of adding chips and cheese, cover, and refrigerate—then top and bake just before serving for fresh, bubbly results every time.
How to Serve Walking Taco Casserole

Garnishes
Don’t hold back on the garnishes—this is where Walking Taco Casserole absolutely shines! Pile on shredded lettuce for freshness, juicy diced tomatoes, zingy pickled jalapeños, a dollop of sour cream, or a sprinkle of refreshing cilantro. Let each person top their plate as little or as much as they like for a playful, colorful finish.
Side Dishes
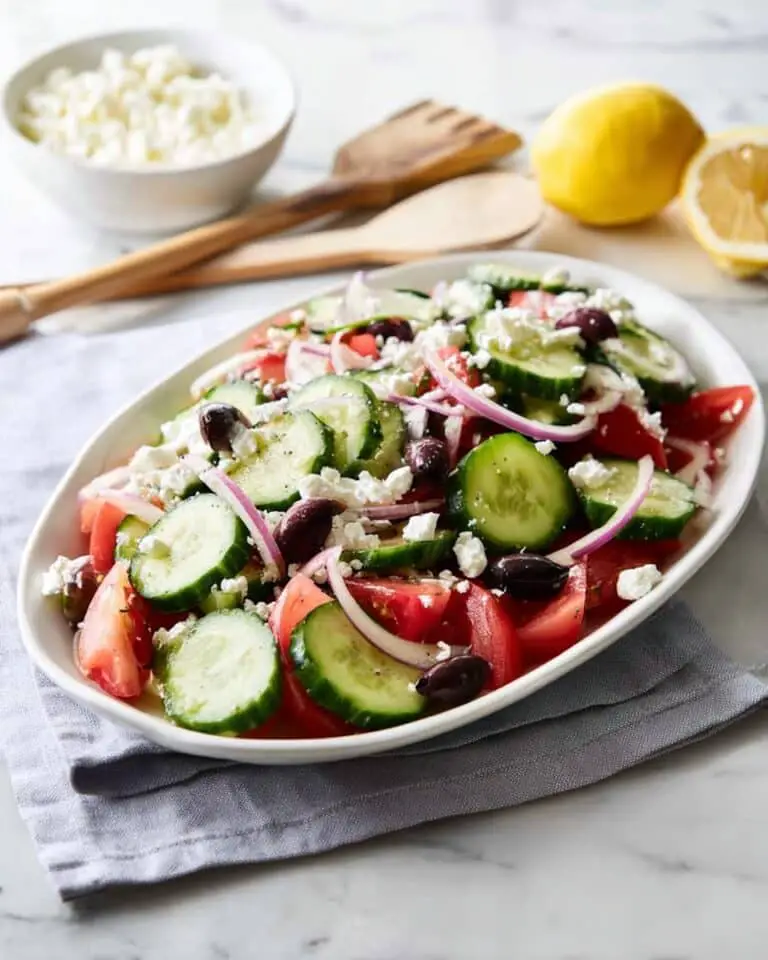
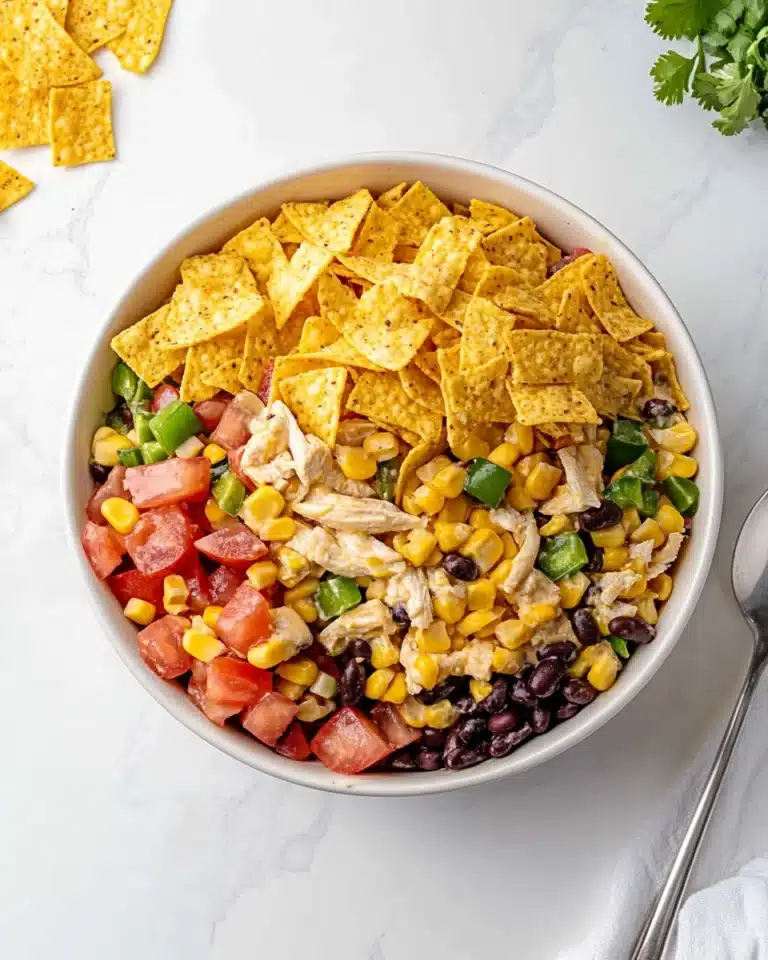
This casserole pairs wonderfully with simple sides: a crisp green salad, creamy guacamole and chips, or Mexican rice and refried beans. If you’re hosting a party, add a bowl of fresh fruit or a platter of sliced cucumbers and carrots to keep things light and balanced.
Creative Ways to Present
Dish up Walking Taco Casserole “bar-style,” letting everyone serve themselves with their favorite toppings, or scoop hearty squares into individual paper boats for a true walking taco vibe! For parties, set out mini bowls or cups so people can mingle and snack, just like at a picnic or tailgate.
Make Ahead and Storage
Storing Leftovers
If you’re lucky enough to have leftovers (trust me, it’s rare!), simply scoop the casserole into an airtight container. It will keep well in the fridge for up to 3 days, and honestly, it might taste even better the next day once the flavors have mingled together.
Freezing
Walking Taco Casserole can be assembled and frozen before baking. Just leave off the Fritos and final cheese topping—add those after thawing so they don’t go soggy. Wrap tightly and freeze for up to 2 months, then bake from thawed at 350°F until hot and bubbly.
Reheating
To reheat, cover the casserole with foil and warm in a 350°F oven until heated through, about 15-20 minutes. For individual servings, the microwave works too—just add a handful of fresh Fritos on top for crunch before serving.
FAQs
-
Can I make Walking Taco Casserole ahead of time?
Absolutely! You can assemble everything except for the Fritos and final cheese topping, cover, and refrigerate for up to 24 hours. Add the chips and cheese just before baking for the best fresh-out-of-the-oven texture.
-
What’s the best way to keep the chips from getting soggy?
For maximum crunch, sprinkle half the chips before baking, then add the rest right after it comes out of the oven. Serving the toppings bar-style also lets everyone sprinkle on extra Fritos as they eat!
-
Can I use a different kind of cheese?
Definitely! Mexican blend, sharp cheddar, Monterey Jack, or even pepper jack all melt beautifully here. Feel free to experiment with your favorite cheese combinations for different flavor twists.
-
Is Walking Taco Casserole gluten-free?
It can be! Just be sure to check that your chili seasoning and Fritos (or corn chips) are certified gluten-free, and you’re all set to enjoy a celiac-friendly casserole.
Final Thoughts
I can’t wait for you to share a bubbling, cheesy pan of Walking Taco Casserole with your favorite people! It’s the kind of meal that brings everyone to the table, sparks happy chatter, and disappears in minutes. Give this recipe a whirl and make it your own—it just might become a new family tradition.
Print
Walking Taco Casserole Recipe
- Prep Time: 10 minutes
- Cook Time: 25 minutes
- Total Time: 35 minutes
- Yield: 5 Servings
- Category: Baking
- Method: Stovetop
- Cuisine: Mexican
Description
Walking Taco Casserole is a delicious and easy-to-make dish that combines all the flavors of a classic walking taco in a comforting casserole form. Perfect for a weeknight dinner or a gathering with friends, this recipe is sure to be a hit!
Ingredients
Ground Beef Mixture:
- 1 pound ground beef (80-90% lean)
- 1 cup chopped yellow onion
- 1 packet chili seasoning mix
- 1/2 cup beef broth or water
- 1 can kidney beans, drained
Assembly:
- 1/2 bag Fritos corn chips
- 3 cups shredded cheese (Mexican blend or cheddar)
- Optional Toppings: shredded lettuce, jalapeños, chopped tomatoes, sour cream, green onions, cilantro, guacamole
Instructions
- Preheat the oven: Preheat the oven to 350°F.
- Cook the beef: In a large skillet over medium heat, cook the ground beef and onions until the beef is browned and the onions are tender. Drain any excess fat.
- Season the beef: Turn off the heat and mix in the chili seasoning, beef broth, drained kidney beans, and 1 cup of shredded cheese.
- Assemble: Spread the beef mixture into a casserole dish and top with corn chips and remaining shredded cheese.
- Bake: Bake for 10-15 minutes until the cheese is melted and bubbly.
- Serve: Top with your favorite toppings like lettuce, tomatoes, jalapeños, sour cream, green onions, cilantro, or guacamole.
Nutrition
- Serving Size: 1 serving
- Calories: 480 kcal
- Sugar: 2g
- Sodium: 770mg
- Fat: 30g
- Saturated Fat: 13g
- Unsaturated Fat: 14g
- Trans Fat: 1g
- Carbohydrates: 23g
- Fiber: 4g
- Protein: 30g
- Cholesterol: 100mg


