
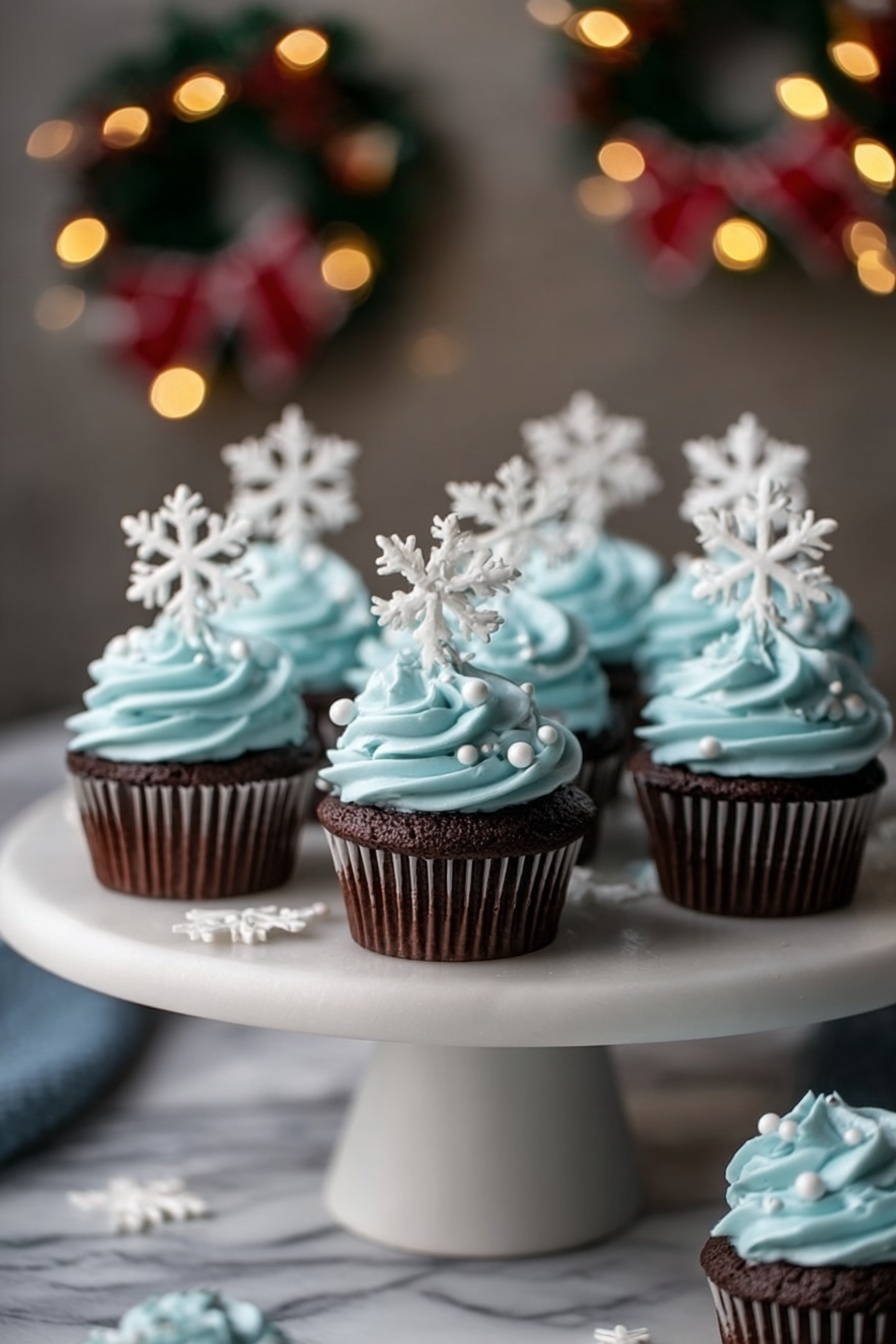
If you’re looking to wow your friends and family with something that screams cozy winter magic, you absolutely have to try this Winter Wonderland Chocolate Cupcakes Recipe. These cupcakes are not just chocolatey and moist—they’re topped with a dreamy snowflake buttercream that totally steals the show. When I first tried this recipe, I was amazed at how effortless it was to get bakery-worthy cupcakes right in my own kitchen. Trust me, once you make these, your dessert game will never be the same!
Why You’ll Love This Recipe
- Moist and Rich Cupcakes: Thanks to the buttermilk and cocoa powder combo, the cupcakes come out super tender and chocolatey.
- Stunning Winter Presentation: The blue-tinted buttercream with snowflake decorations gives a festive vibe that’s perfect for holiday parties or cozy nights in.
- Simple Ingredients, Big Flavor: No fancy extras needed—basic pantry staples come together to create this winter wonderland delight.
- Fun to Make and Customize: You can easily swap decorations or color to fit your celebration or mood.

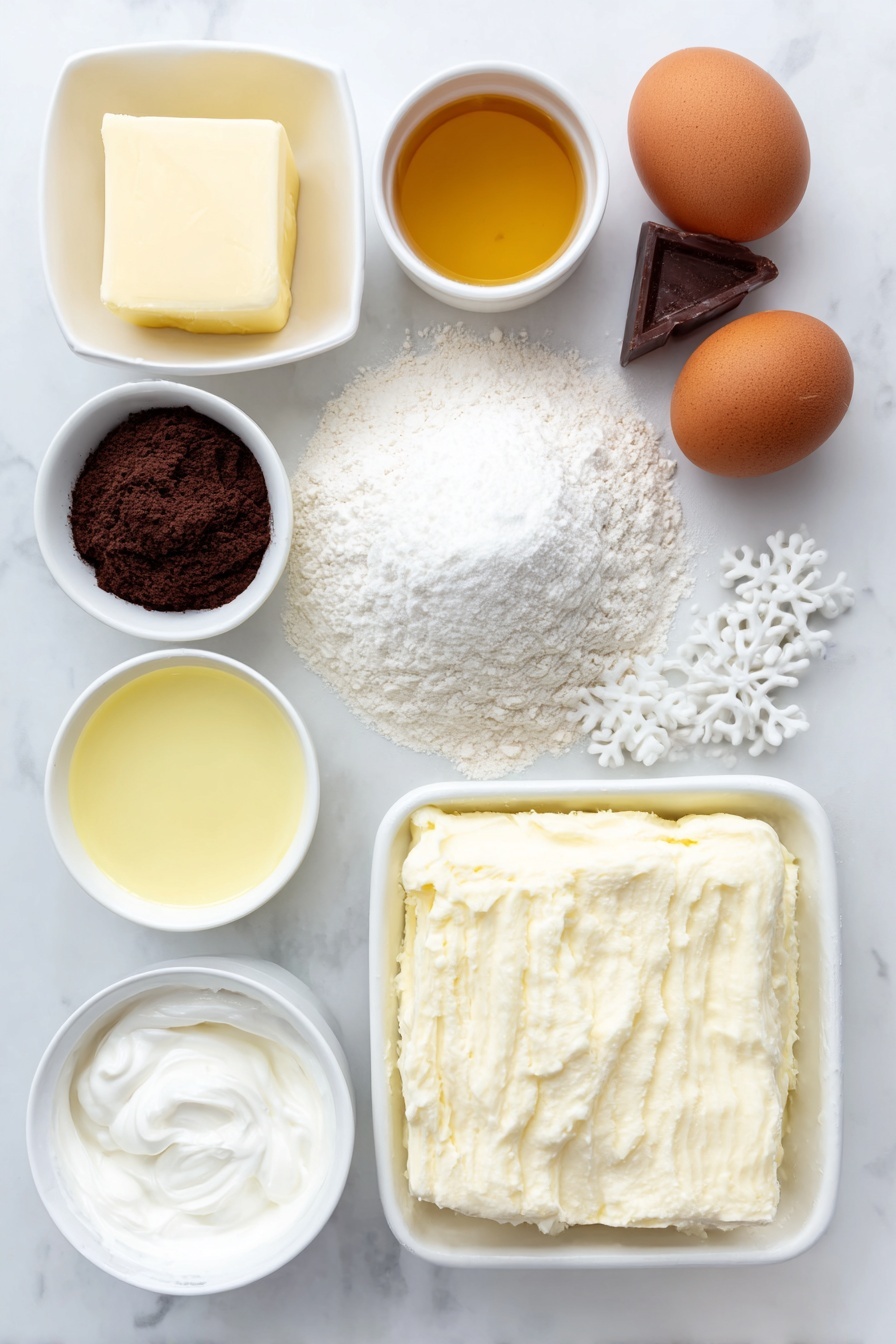
Ingredients You’ll Need
All the ingredients in this Winter Wonderland Chocolate Cupcakes Recipe play nicely to create that perfect balance between rich chocolate and light, fluffy frosting. Just make sure you get good-quality cocoa powder and fresh butter—that’s where the magic starts!
- All-purpose flour: Provides structure to the cupcakes, so don’t swap it out for whole wheat unless you want a denser texture.
- Unsweetened cocoa powder: Use natural cocoa for a deep chocolate flavor; Dutch-process will give a smoother taste but adjust leavening if you swap.
- Baking powder: Helps the cupcakes rise just right, so measure carefully.
- Baking soda: Works with buttermilk to make the crumb tender and light.
- Salt: Enhances all the chocolatey goodness in the batter.
- Unsalted butter (room temperature): For creaminess and flavor—softened is key for smooth mixing.
- Granulated sugar: Adds sweetness and helps with the cupcake’s tender crumb.
- Large eggs: Bind everything together and add richness.
- Vanilla extract: Elevates the chocolate flavor and adds warmth.
- Buttermilk: Makes the cupcakes moist and gives a subtle tang that balances the sweetness.
- Powdered sugar: Essential for silky smooth buttercream frosting.
- Heavy cream: Adds luscious creaminess to the frosting and helps achieve that perfect frosting texture.
- Blue gel food coloring: For that signature wintery blue shade in the buttercream—just a few drops go a long way.
- Edible snowflake toppers and edible pearls: To make your cupcakes look festive and magical—store-bought ones are great, or you can get creative and make your own!
Variations
I love making this recipe my own by switching up the decorations or even adding little twists to the flavors. Feel free to play around—this recipe is super forgiving and easy to customize for dietary needs or special occasions.
- Mint Chocolate: Add a teaspoon of peppermint extract to the frosting for a cool, refreshing upgrade that my whole family goes crazy for during the holidays.
- Gluten-Free: Swap the all-purpose flour for a 1:1 gluten-free baking flour blend; just double-check your leavening for best results.
- Vegan Version: Use vegan butter and a flax egg (1 tbsp flaxseed meal + 3 tbsp water) to replace the eggs—works surprisingly well!
- Festive Toppings: Instead of snowflakes, try crushed candy canes or edible glitter for different winter vibes.
How to Make Winter Wonderland Chocolate Cupcakes Recipe
Step 1: Preheat and Prep Your Pan
Get your oven set to 350°F (175°C) and line a 12-cup muffin tin with your favorite cupcake liners. This early step is key because a well-prepped muffin tin prevents sticking and keeps your cupcakes looking perfect when you peel off the liners.
Step 2: Mix Your Dry Ingredients
Grab a bowl and whisk together the flour, cocoa powder, baking powder, baking soda, and salt. I always take a moment here to sift the ingredients to avoid lumps, especially with cocoa powder—it makes a smoother batter and results in a finer crumb.
Step 3: Cream Butter and Sugar
In a separate large bowl, beat the softened butter and granulated sugar until the mixture is light and fluffy. This usually takes about 3-4 minutes with a hand mixer or stand mixer. Adding the eggs one at a time here, then mixing in the vanilla, makes sure everything emulsifies beautifully.
Step 4: Combine Dry and Wet Ingredients
Now for the trick: add the dry ingredients and buttermilk alternately, starting and ending with the dry. So, it goes dry, wet, dry, wet, dry. This careful mixing keeps the batter tender and avoids overworking the gluten, which might make your cupcakes tough. Mix just until combined—there’s no rush here!
Step 5: Bake to Perfection
Divide the batter evenly among the cupcake liners and pop them into your preheated oven. Bake for 18-20 minutes, then test doneness by poking a toothpick in the center—it should come out clean or with just a few moist crumbs. I’d recommend letting them cool completely on a wire rack before frosting; warm cupcakes can melt your buttercream, and trust me, you don’t want that mess!
Step 6: Craft the Snowflake Buttercream
Beat room temperature butter until creamy, then gradually add powdered sugar one cup at a time on low speed. Add heavy cream and vanilla, then crank up the mixer to medium-high and whip for 3-5 minutes until fluffy. Stir in your blue gel coloring until you get that perfect frosty hue—start with a few drops, then add more if needed.
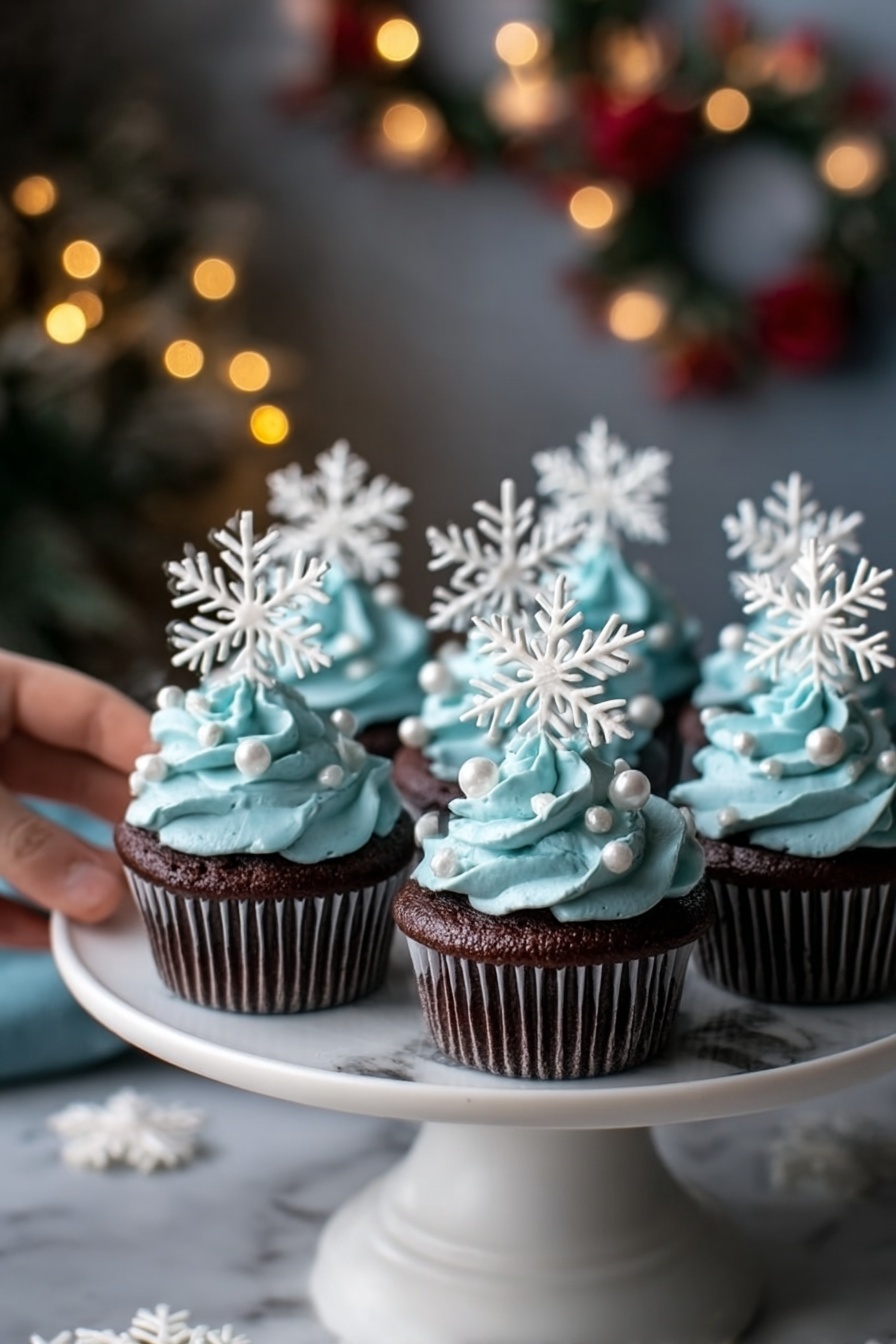
Step 7: Decorate Like a Winter Wonderland
Load your buttercream into a piping bag fitted with a large star tip, swirl a generous dollop onto each cooled cupcake, and finish with edible snowflake toppers and a sprinkle of silver or white edible pearls. The look is simply magical, and I love how these cupcakes instantly become the centerpiece of any dessert table.
Pro Tips for Making Winter Wonderland Chocolate Cupcakes Recipe
- Room Temperature Ingredients: I learned the hard way that cold butter or eggs can make batter lumpy—letting everything come to room temp ensures a smooth batter and cakey texture.
- Don’t Overmix: Mixing the batter too much can result in dense cupcakes; mix just until the flour disappears for the fluffiest results.
- Frost When Completely Cool: Warm cupcakes melt the buttercream fast—patience here pays off for neat, pretty frosting swirls.
- Use Gel Food Coloring: It won’t thin your frosting like liquid food coloring, so your buttercream stays stable and pipes beautifully.
How to Serve Winter Wonderland Chocolate Cupcakes Recipe
Garnishes
I always go for edible snowflake toppers because they instantly bring that winter magic vibe. Silver and white edible pearls add a lovely sparkle and win over adults and kids alike. Sometimes I throw a little edible glitter on top for that extra festive pop—your guests will be asking where you got these!
Side Dishes
These cupcakes are a celebration on their own, but I like pairing them with a lightly spiced hot chocolate or a warm cup of chai tea to complement the rich chocolate flavor. For holiday parties, a simple berry compote or whipped cream on the side adds a fresh contrast that balances the sweetness perfectly.
Creative Ways to Present
For holidays, try placing the cupcakes on a wooden serving tray dusted lightly with powdered sugar to mimic fresh snow—it’s a crowd-pleaser. I’ve also wrapped mini cupcake boxes with ribbons so guests can take a personal snowflake treat home, which is always a hit and looks super cute!
Make Ahead and Storage
Storing Leftovers
I store any leftover cupcakes in an airtight container at room temperature if I plan to eat them within two days. This keeps the cupcakes moist and the buttercream fresh. If it’s warmer in your kitchen, you might want to refrigerate them to avoid melting, but just bring them back to room temp before serving for the best texture.
Freezing
I’ve found that freezing the unfrosted cupcakes works best—wrap individually in plastic wrap and pop them in a freezer bag. When you’re ready to enjoy, thaw completely and then frost as usual. Buttercream doesn’t freeze as well, so avoid freezing cupcakes after frosting to keep that creamy texture intact.
Reheating
If you want to warm up a cupcake (unsliced), 10-15 seconds in the microwave does the trick—just don’t overdo it or you’ll melt that beautiful buttercream. For cupcakes without frosting, a quick 20-second zap helps bring back that freshly baked feel.
FAQs
-
Can I make the Winter Wonderland Chocolate Cupcakes Recipe dairy-free?
Absolutely! Swap the butter for a dairy-free alternative like coconut oil or vegan butter, replace buttermilk with almond or oat milk mixed with a tablespoon of lemon juice or vinegar, and use dairy-free heavy cream or coconut cream for the frosting. Just note the texture may be slightly different but still delicious!
-
How do I avoid the cupcakes being dry?
Using buttermilk in the batter and not over-baking are key. Watch your cupcakes closely after 18 minutes; as soon as a toothpick comes out clean or with a few crumbs, pull them out. Overbaking dries them out, so timing is everything.
-
What if I don’t have blue gel food coloring?
You can use regular liquid food coloring, but add it sparingly to avoid thinning the frosting. Alternatively, try natural colorants like butterfly pea powder (for a blue tint) to keep that frosty effect without artificial dyes.
-
Can I use box cake mix for these cupcakes?
While you can, you won’t get the same homemade rich cocoa flavor or the satisfying texture that comes from scratch. I’d recommend following this recipe—it’s straightforward and results in a moister cupcake that feels way more special.
-
How long do these cupcakes stay fresh?
When stored properly in an airtight container at room temperature, they’re best eaten within 2-3 days. If refrigerated, they can last 4-5 days but should be brought to room temperature before serving.
Final Thoughts
This Winter Wonderland Chocolate Cupcakes Recipe quickly became a favorite in my kitchen because it’s the perfect blend of rich chocolate, light frosting, and festive flair. It’s a recipe I feel confident sharing with friends, knowing it will impress without the stress. Honestly, whether you’re baking for a holiday party or a cold-weather treat, these cupcakes make everything feel a little more magical. Give them a whirl—you might just find your new go-to winter dessert!
Print
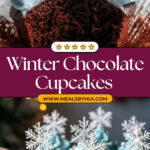
Winter Wonderland Chocolate Cupcakes Recipe
- Prep Time: 25 minutes
- Cook Time: 20 minutes
- Total Time: 45 minutes
- Yield: 12 servings
- Category: Dessert
- Method: Baking
- Cuisine: American
Description
Delight in these Winter Wonderland Chocolate Cupcakes topped with a fluffy snowflake buttercream frosting. Rich, moist chocolate cupcakes are baked to perfection and adorned with a creamy blue buttercream, edible snowflakes, and shimmering pearls, making them the perfect festive treat for winter celebrations.
Ingredients
Chocolate Cupcakes:
- 1 cup all-purpose flour
- ½ cup unsweetened cocoa powder
- 1 tsp baking powder
- ½ tsp baking soda
- ¼ tsp salt
- ½ cup unsalted butter, room temperature
- ¾ cup granulated sugar
- 2 large eggs
- 1 tsp vanilla extract
- ½ cup buttermilk
Buttercream Frosting:
- 1 cup unsalted butter, room temperature
- 4 cups powdered sugar
- 2-3 tbsp heavy cream
- 1 tsp vanilla extract
- Blue gel food coloring, as needed
Decorations:
- Edible snowflake toppers (store-bought or homemade)
- Silver, white, or mixed edible pearls
Instructions
- Preheat the oven: Set your oven to 350°F (175°C) and line a 12-cup muffin tin with cupcake liners to prepare for baking.
- Combine dry ingredients: In a medium bowl, whisk together all-purpose flour, unsweetened cocoa powder, baking powder, baking soda, and salt until evenly mixed.
- Cream butter and sugar: In a large bowl, beat the room temperature butter and granulated sugar together until the mixture is light and fluffy. Then, add the eggs one at a time, beating well after each addition. Stir in the vanilla extract.
- Mix dry and wet ingredients: Gradually add the dry ingredient mixture to the butter mixture, alternating with the buttermilk. Begin and end with the dry ingredients, mixing gently just until combined to ensure a tender cupcake texture.
- Bake the cupcakes: Distribute the batter evenly into the prepared cupcake liners. Bake in the preheated oven for 18-20 minutes or until a toothpick inserted into the center comes out clean. Remove from oven and allow cupcakes to cool completely before frosting.
- Prepare the buttercream frosting: Beat the unsalted butter in a large bowl until creamy and smooth. Gradually add powdered sugar, one cup at a time, mixing on low speed to prevent sugar dust. Once fully incorporated, add heavy cream and vanilla extract, then increase the mixer speed to medium-high and beat for 3-5 minutes until the frosting is fluffy and light.
- Color the frosting: Add several drops of blue gel food coloring to the frosting and mix until you achieve your desired winter blue shade.
- Decorate the cupcakes: Transfer the blue buttercream to a piping bag fitted with a large star tip. Pipe generous swirls onto the cooled cupcakes. Top each with edible snowflake toppers and scatter silver, white, or mixed edible pearls around to create a frosty winter wonderland look.
Notes
- Ensure the butter and eggs are at room temperature for easier mixing and better texture.
- Do not overmix the batter once the dry ingredients are added to avoid dense cupcakes.
- Use gel food coloring instead of liquid to prevent frosting consistency changes.
- Store decorated cupcakes in an airtight container in the refrigerator for up to 3 days.
- Bring cupcakes back to room temperature before serving for best flavor and texture.
Nutrition
- Serving Size: 1 cupcake
- Calories: 350
- Sugar: 30g
- Sodium: 150mg
- Fat: 20g
- Saturated Fat: 12g
- Unsaturated Fat: 7g
- Trans Fat: 0g
- Carbohydrates: 38g
- Fiber: 3g
- Protein: 4g
- Cholesterol: 70mg